Connecting FNIR to Vizard
Note: Currently tested and working with Vizard 6
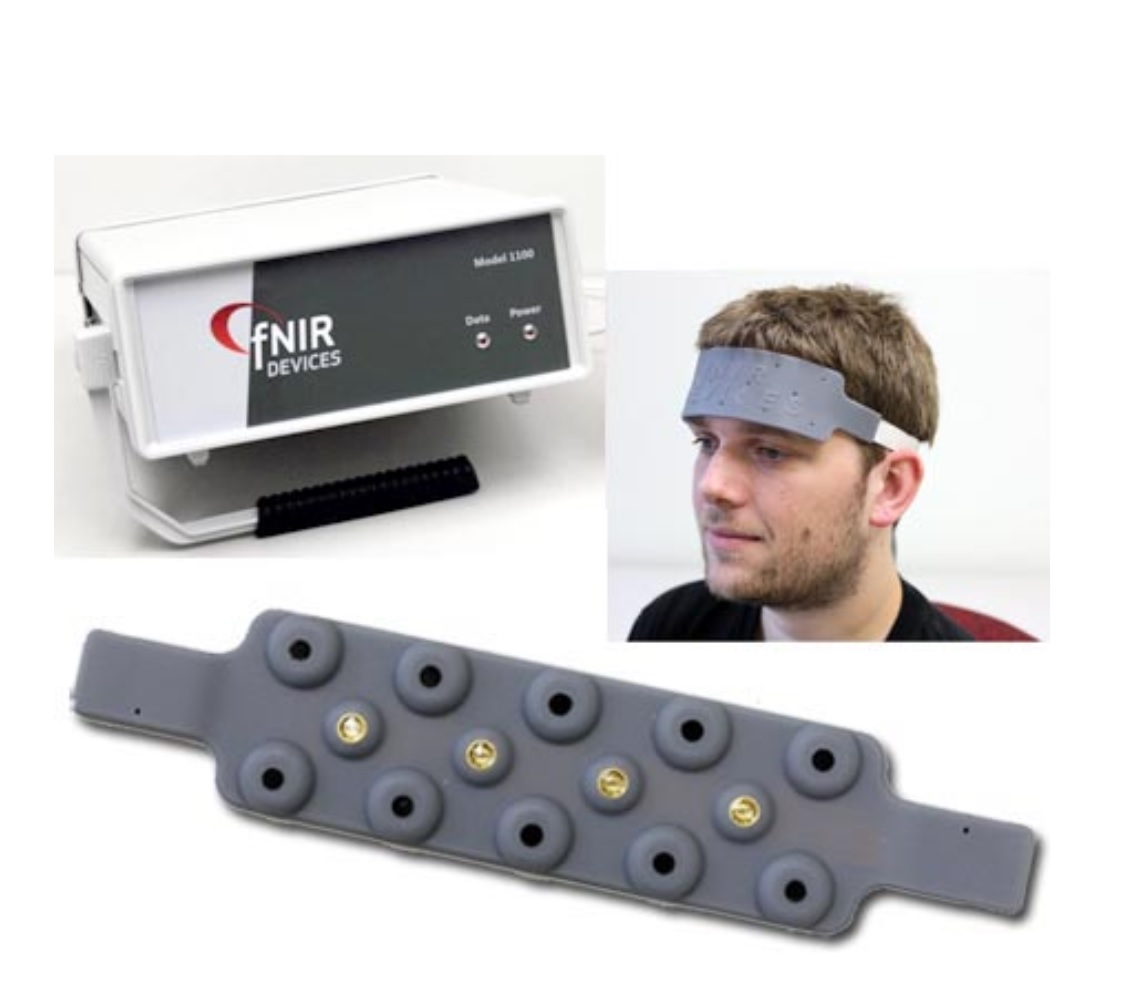
Description from Biopac on FNIR: "An fNIR System provides researchers with real-time monitoring of tissue oxygenation in the brain as subjects take tests, perform tasks, view advertisements, experience ergonomic layouts, or receive stimulation. It allows researchers to quantitatively assess brain functions—such as attention, memory, planning, and problem solving—while individuals perform cognitive tasks. Monitor cognitive state of the subject in natural environments".
“Easily sync with stimuli presentation systems and integrate with other physiological and neurobehavioral measures that assess human brain activity, including eye tracking, pupil reflex, respiration, and electrodermal activity”.
After connecting the hardware for your FNIR you will need to start up COBI studio to stream the FNIR data to Vizard.
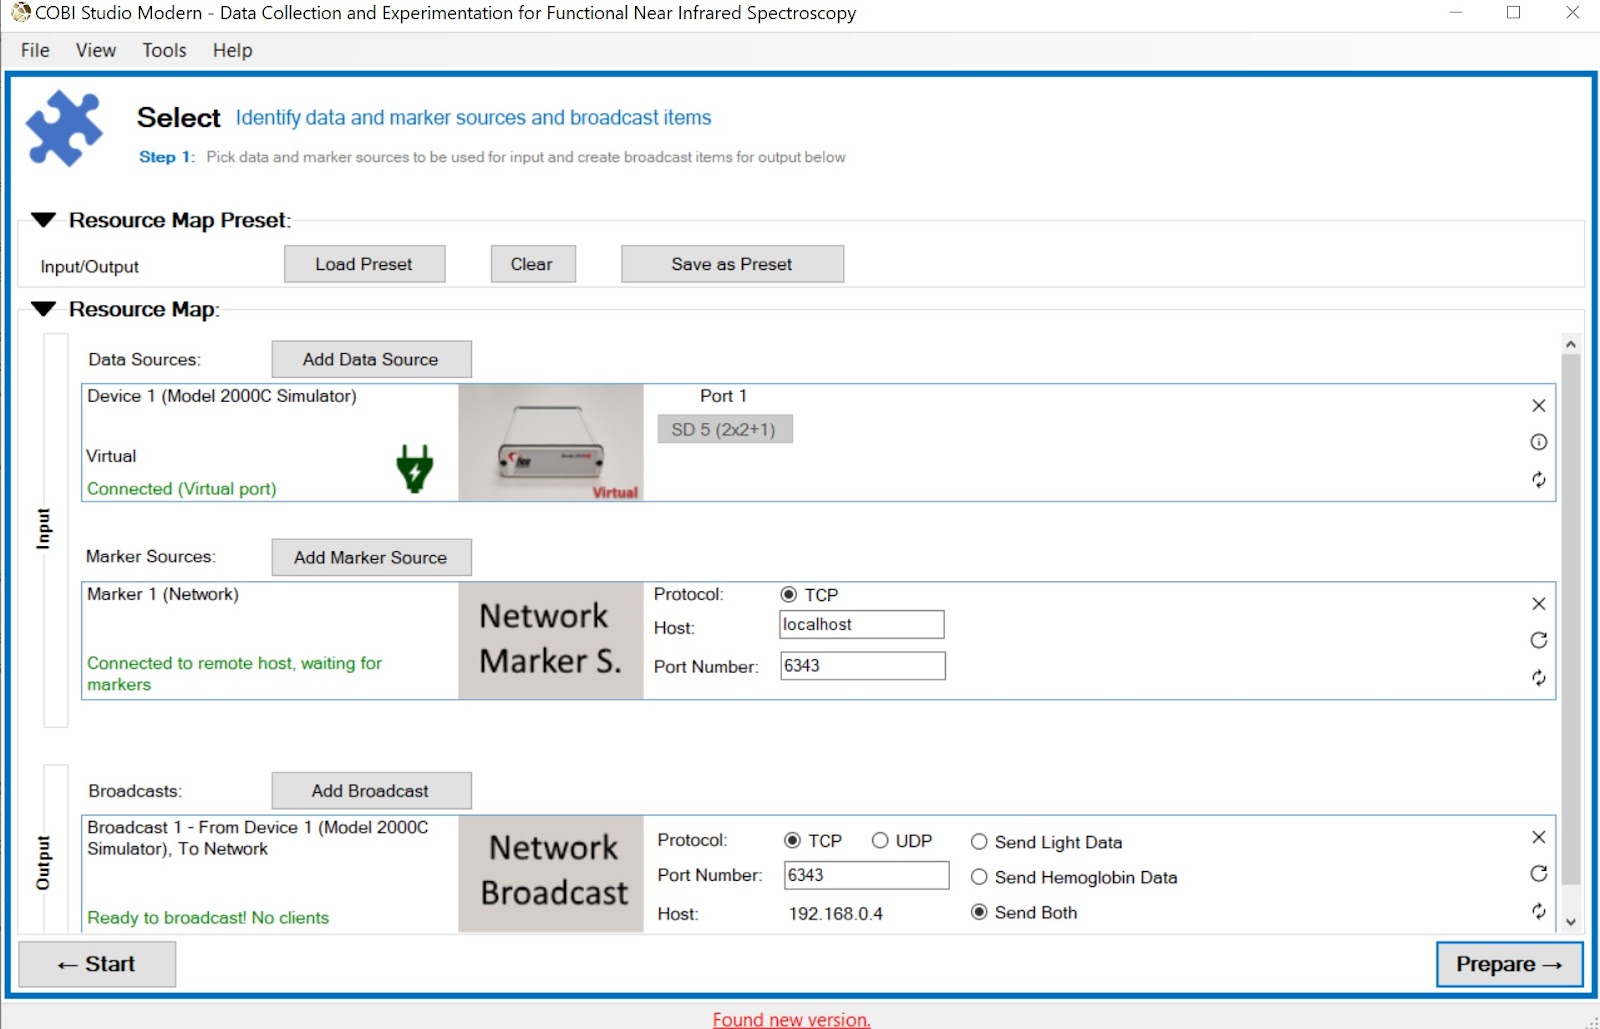
Under Data Source add your hardware
In Marker Source you can add markers that you can send to sync with events, such as key presses.
In the Network Broadcast section, add a TCP protocol broadcast and not the port number and host IP address.
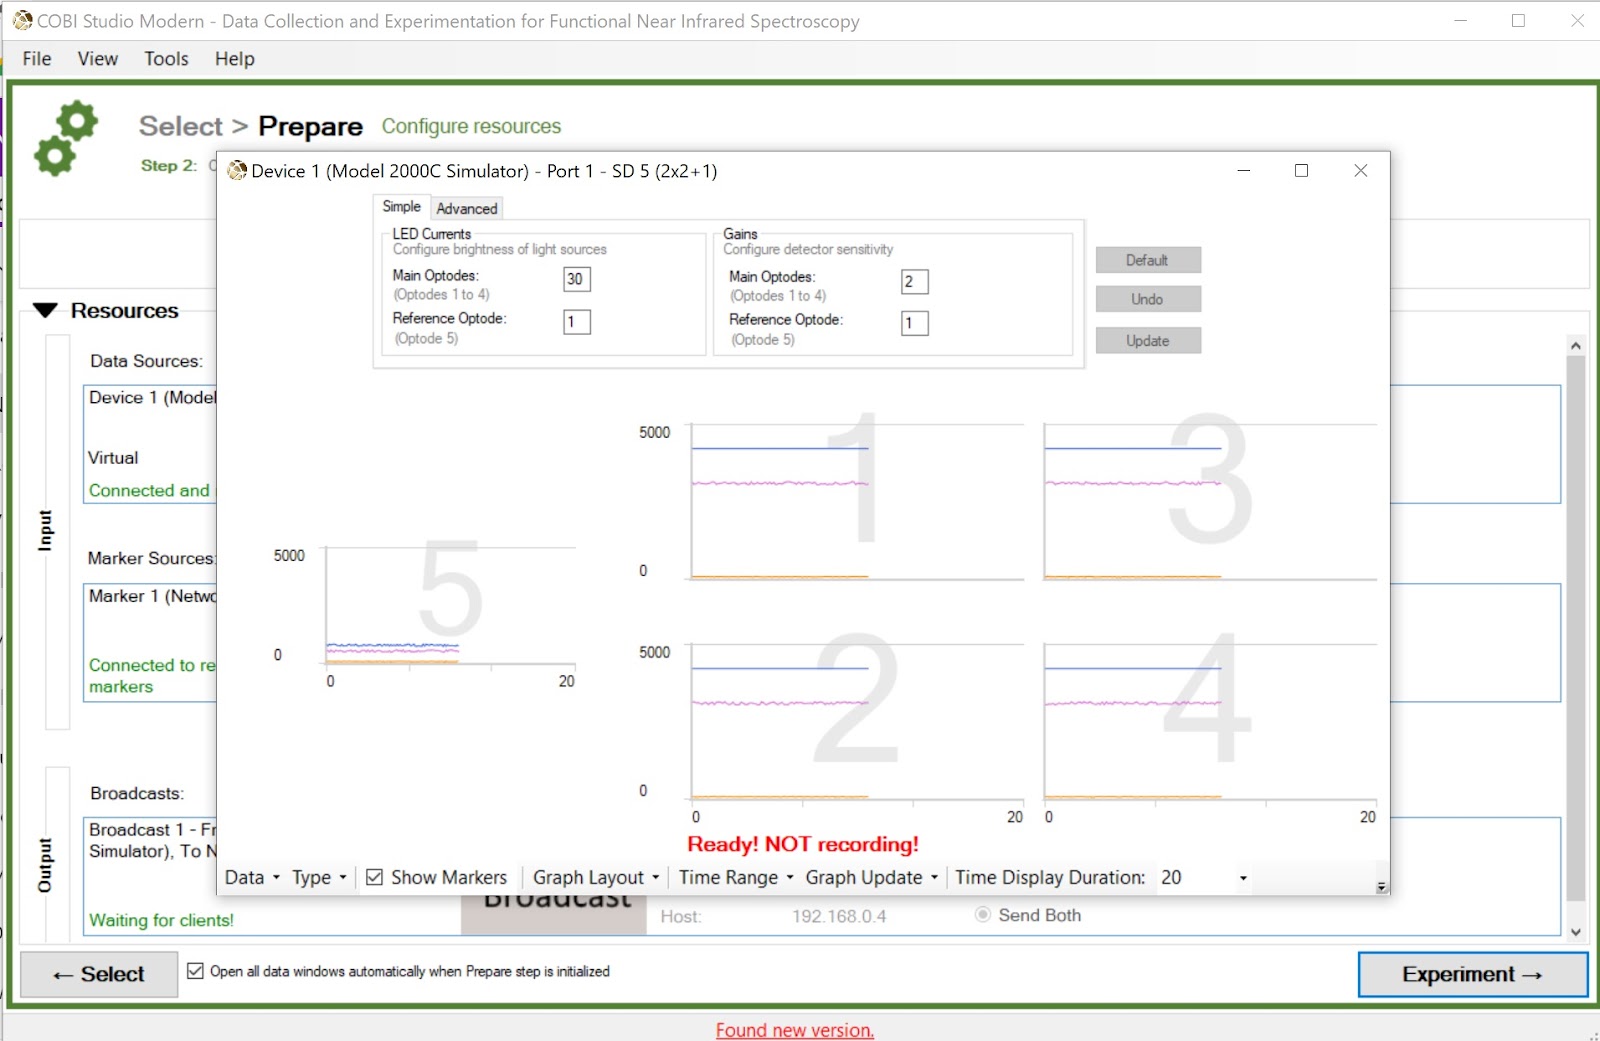
Click on Prepare and make sure your hardware is set up and ready to go. Place the FNIR device under your headset and connect left and right side connections.
Click on “Experiment”. Here you can enter experiment information to catalog the data. If you are just checking the data or demoing the system, you can click “No Experiment”
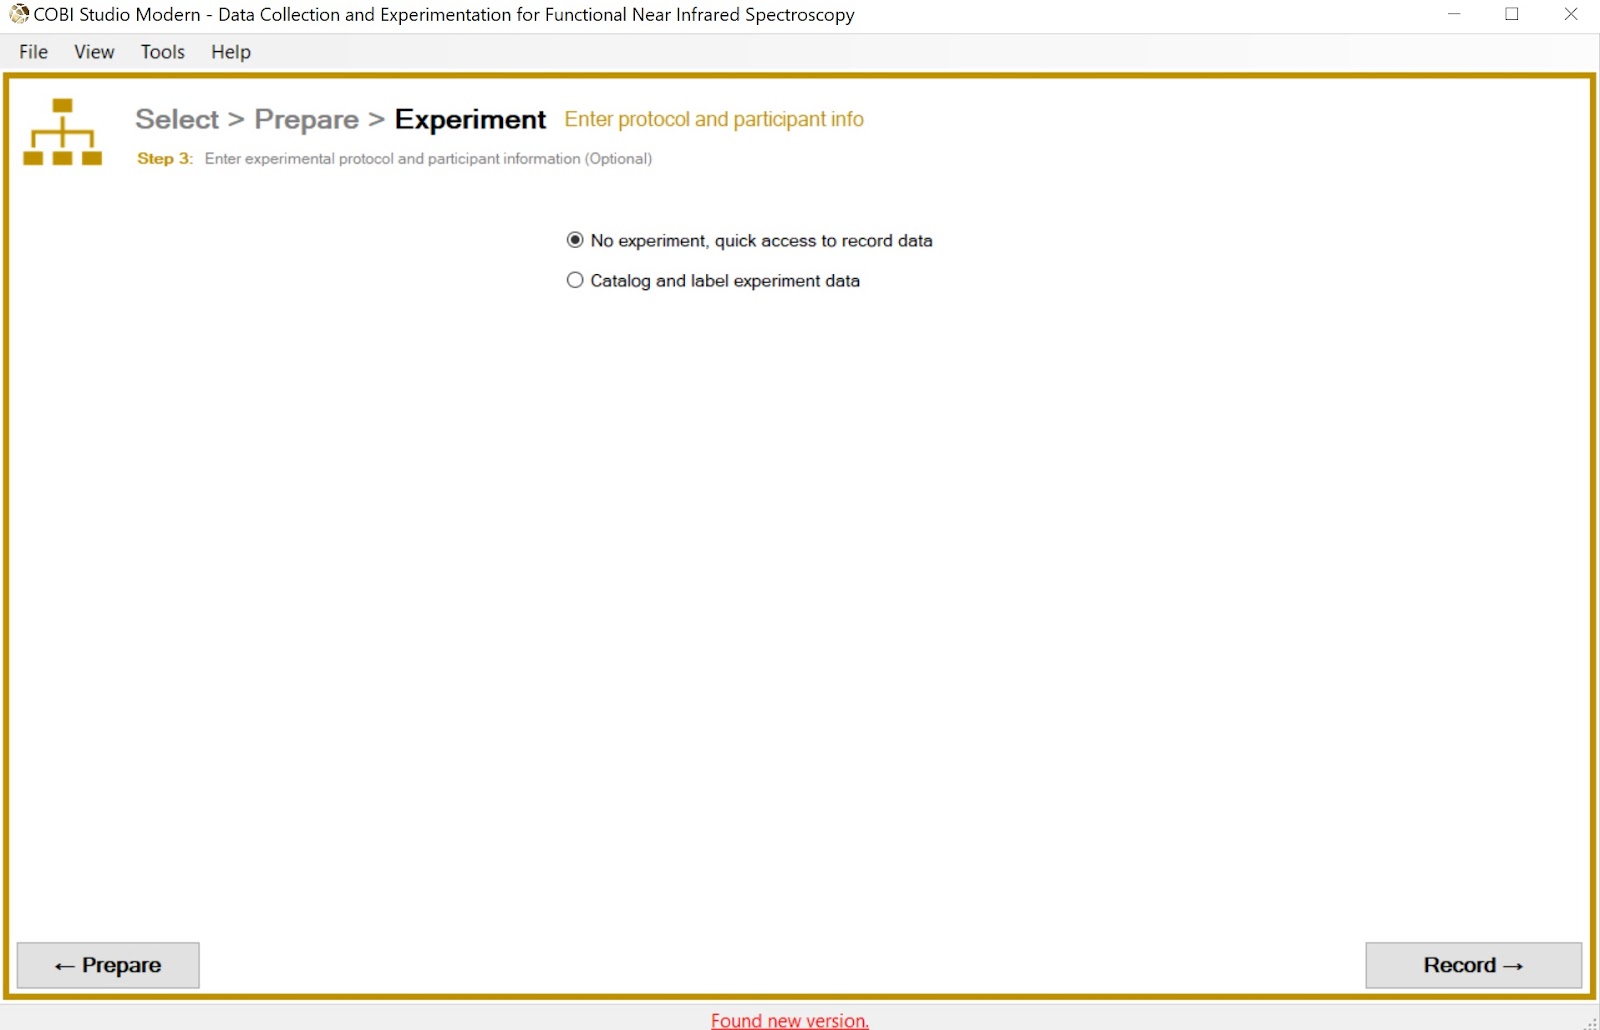
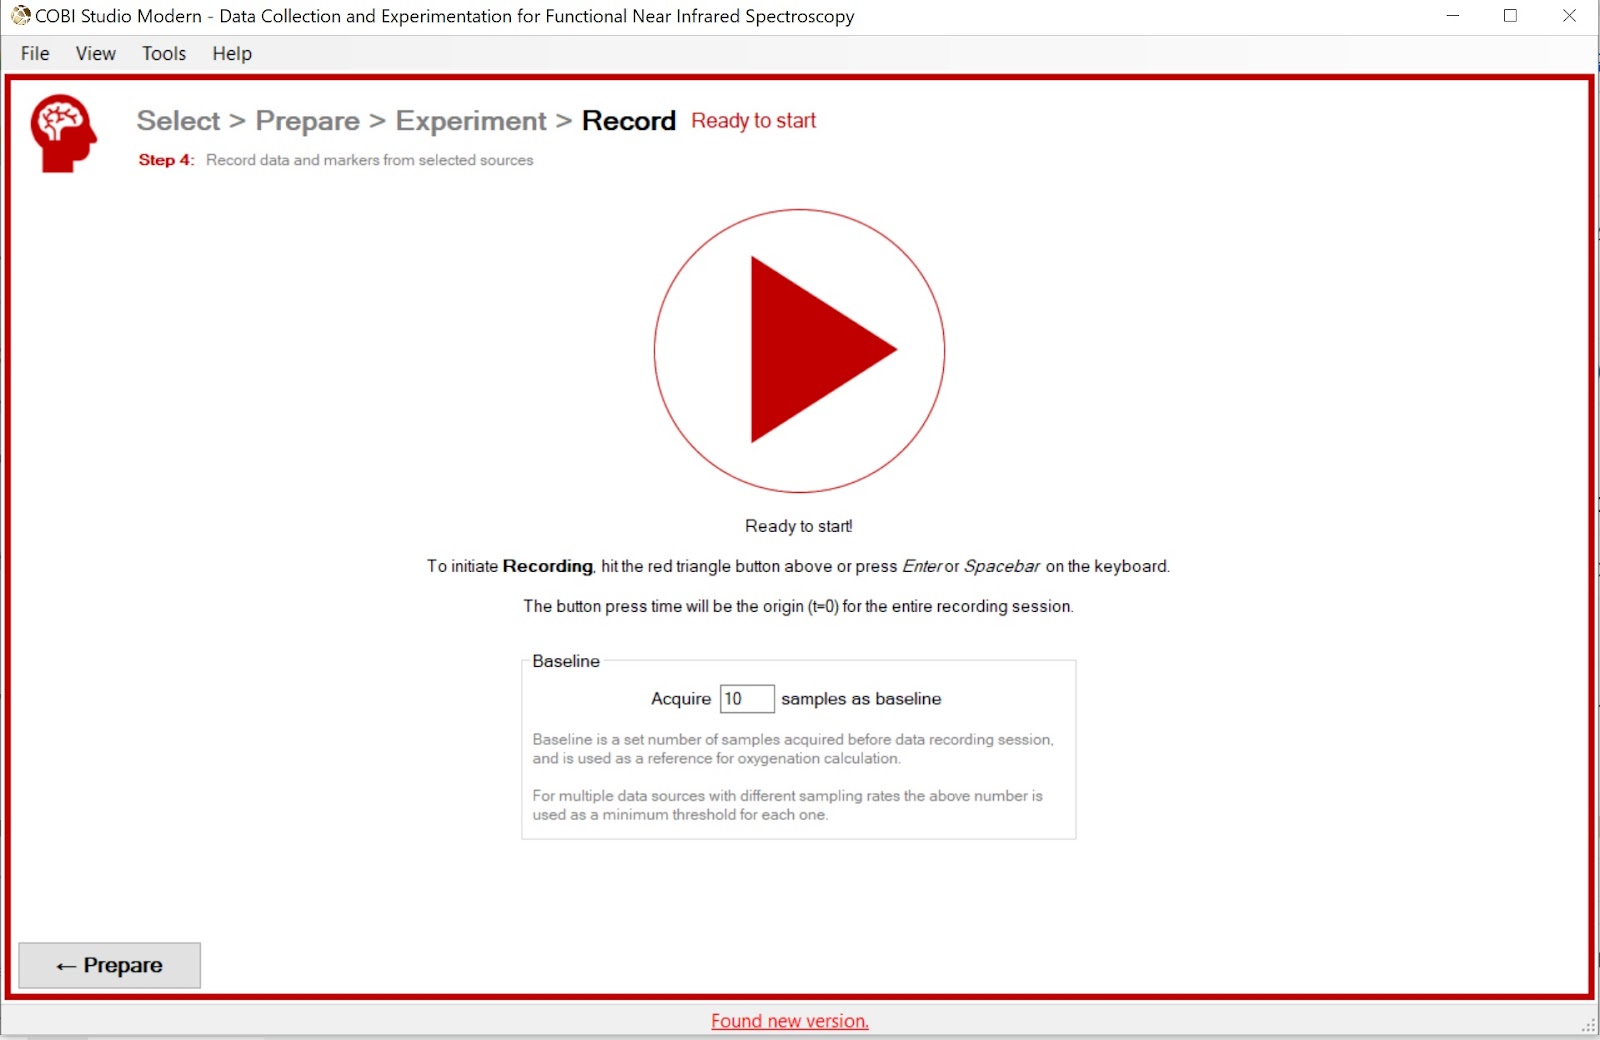
Click on Record and then click the red triangle to begin recording your data
Next you will run a Vizard script to collect and save the data.
Vizard Code
Contact Worldviz for the “cobibiopac.py” module that is needed to send FNIR data to Vizard
Use the following code as an example to send data to Vizard. Make sure to place the cobibiopac.py module in the same folder as your code (or reference the path that it is located).
For further analysis of data use the FNIR soft software
How to Connect your Oculus Quest to Vizard and Vizible using the new Oculus Link Update

-
Make sure that your Oculus software on your PC is up to date, as well as the firmware on the Quest itself.
-
Turn on your Quest.
-
Plug your USB 3.0 to USB-C cable into a USB 3.0 port on your PC, then plug the USB-C end into your headset (note: the cable that comes with the Quest will not work, so you should either purchase one off of Amazon (such as this one), or you can purchase the official Oculus Link cable from Oculus here.
-
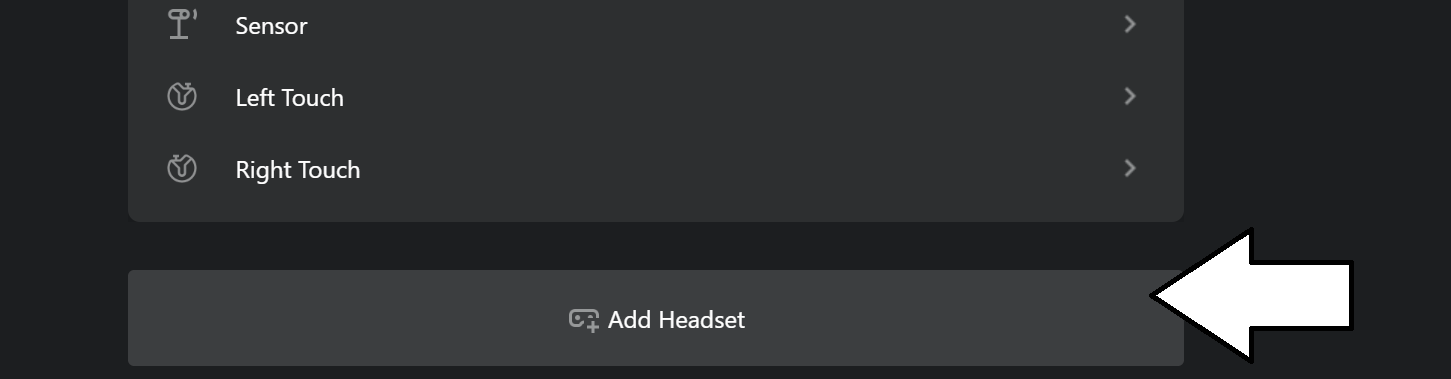
In Oculus, click on “Add Headset” and add the Quest, following the instructions that appear.
-
Once plugged in, you’ll be prompted to enable Oculus Link (beta) on the Quest, select “Enable” to begin remote rendering via Oculus Link.
-
Once connected you can run the VizBox/Oculus touch preset from vizconnect to connect it to Vizard, or connect in the same way that you do for Oculus. See this page in the Vizard Documentation for more details. For Vizible, simply select the Oculus Preset from your choice of hardware.

Some things to consider when using Oculus Link to connect the Quest to your PC:
-
You may have some performance issues due to the compression methods used to deliver the content to the Quest
-
The Quest actually has a slightly higher resolution than the Rift S (1440x1600 per eye for the Quest vs. 1440x1280 per eye for the Rift S)
-
The Quest has a slightly lower refresh rate (72HZ vs. 80Hz for the Rift S)
-
The Rift S has 5 cameras for tracking, while the Quest has just 4
-
The Quest is just slightly heavier at 571 Grams, vs. 500 Grams for the Rift S
-
If having the issue where Oculus is saying you need to update the Quest drivers, but Quest is saying “no updates available”, make sure that you are not on the “public test channel” for Oculus.
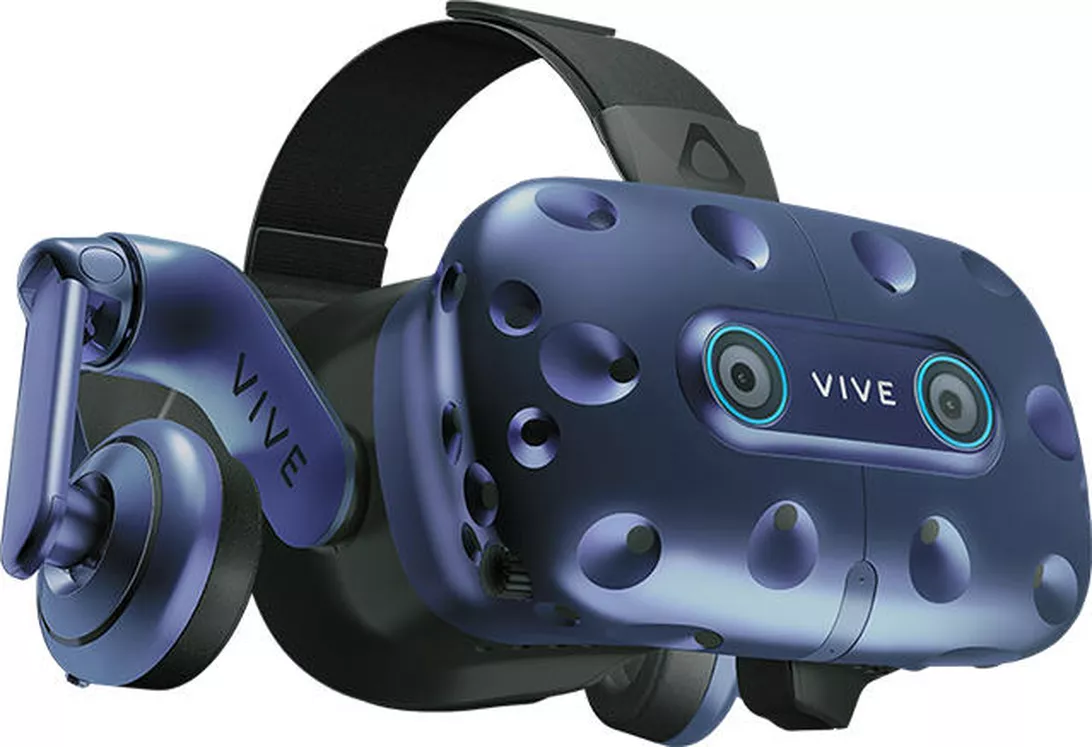
How to setup the Vive Pro Eye
For more information on how you can use the Vive Pro Eye in your research and help with setting up studies, contact sales@worldviz.com
-
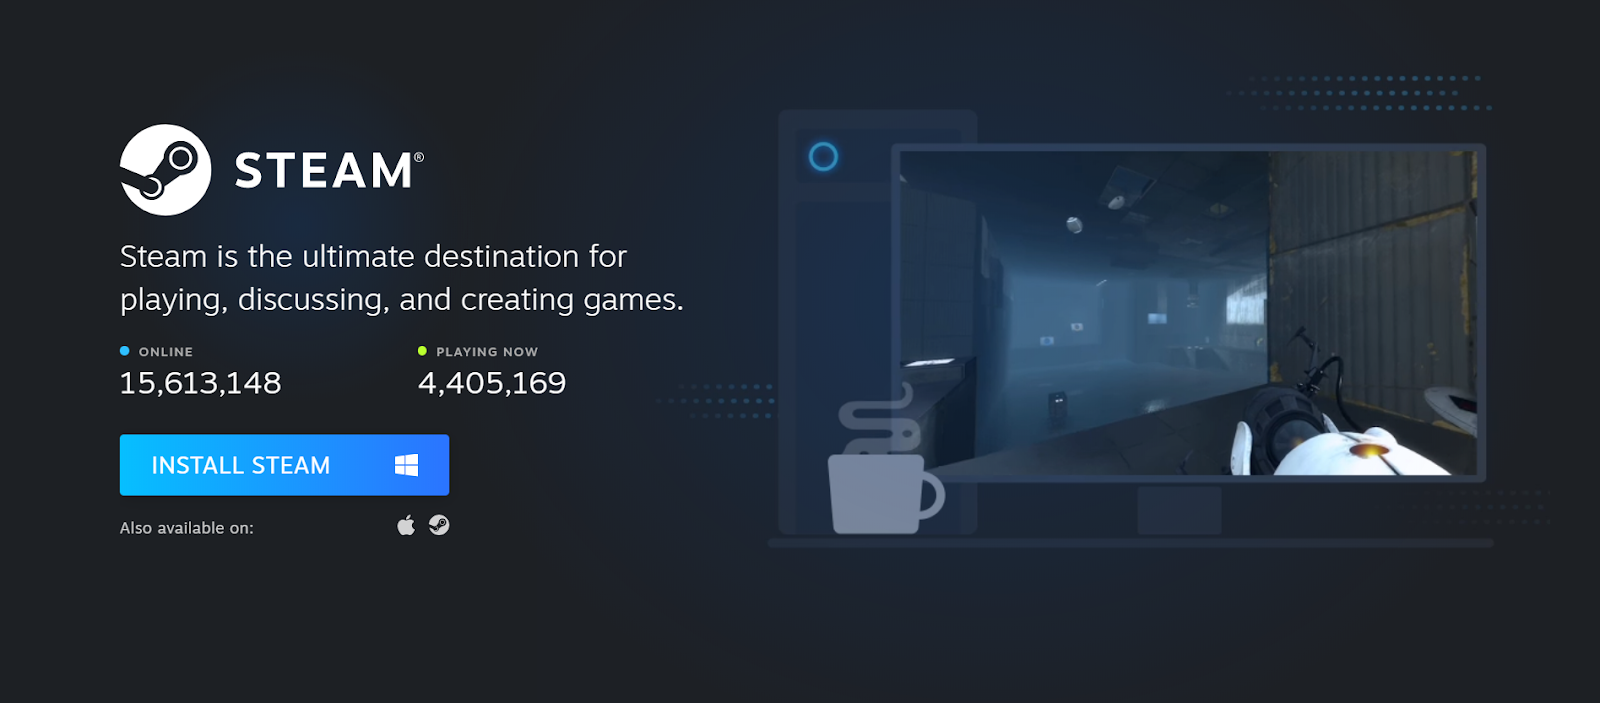
If you do not have SteamVR installed, you will need to do that first. Make a Steam account and download the Steam App from this link.
-
Plug in your headset and when prompted, install SteamVR
-
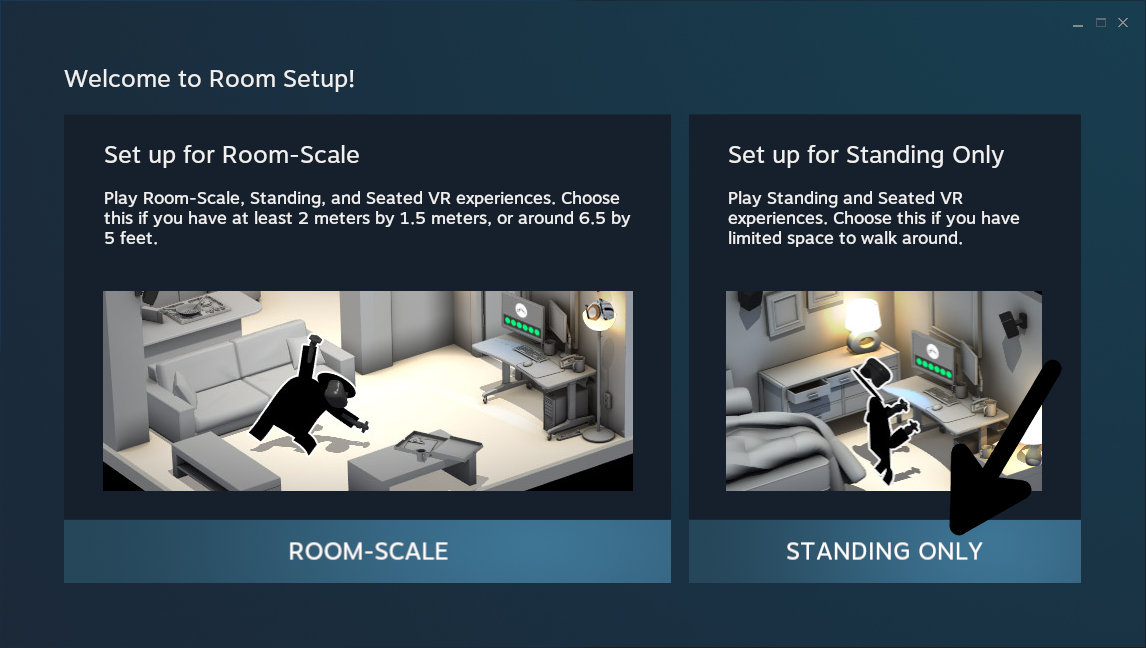
Run SteamVR and do a room setup
-
Download and install the Vive Pro Eye Eye Tracking software from this link
-
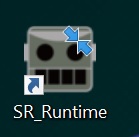
Run SR_Runtime from the shortcut
-
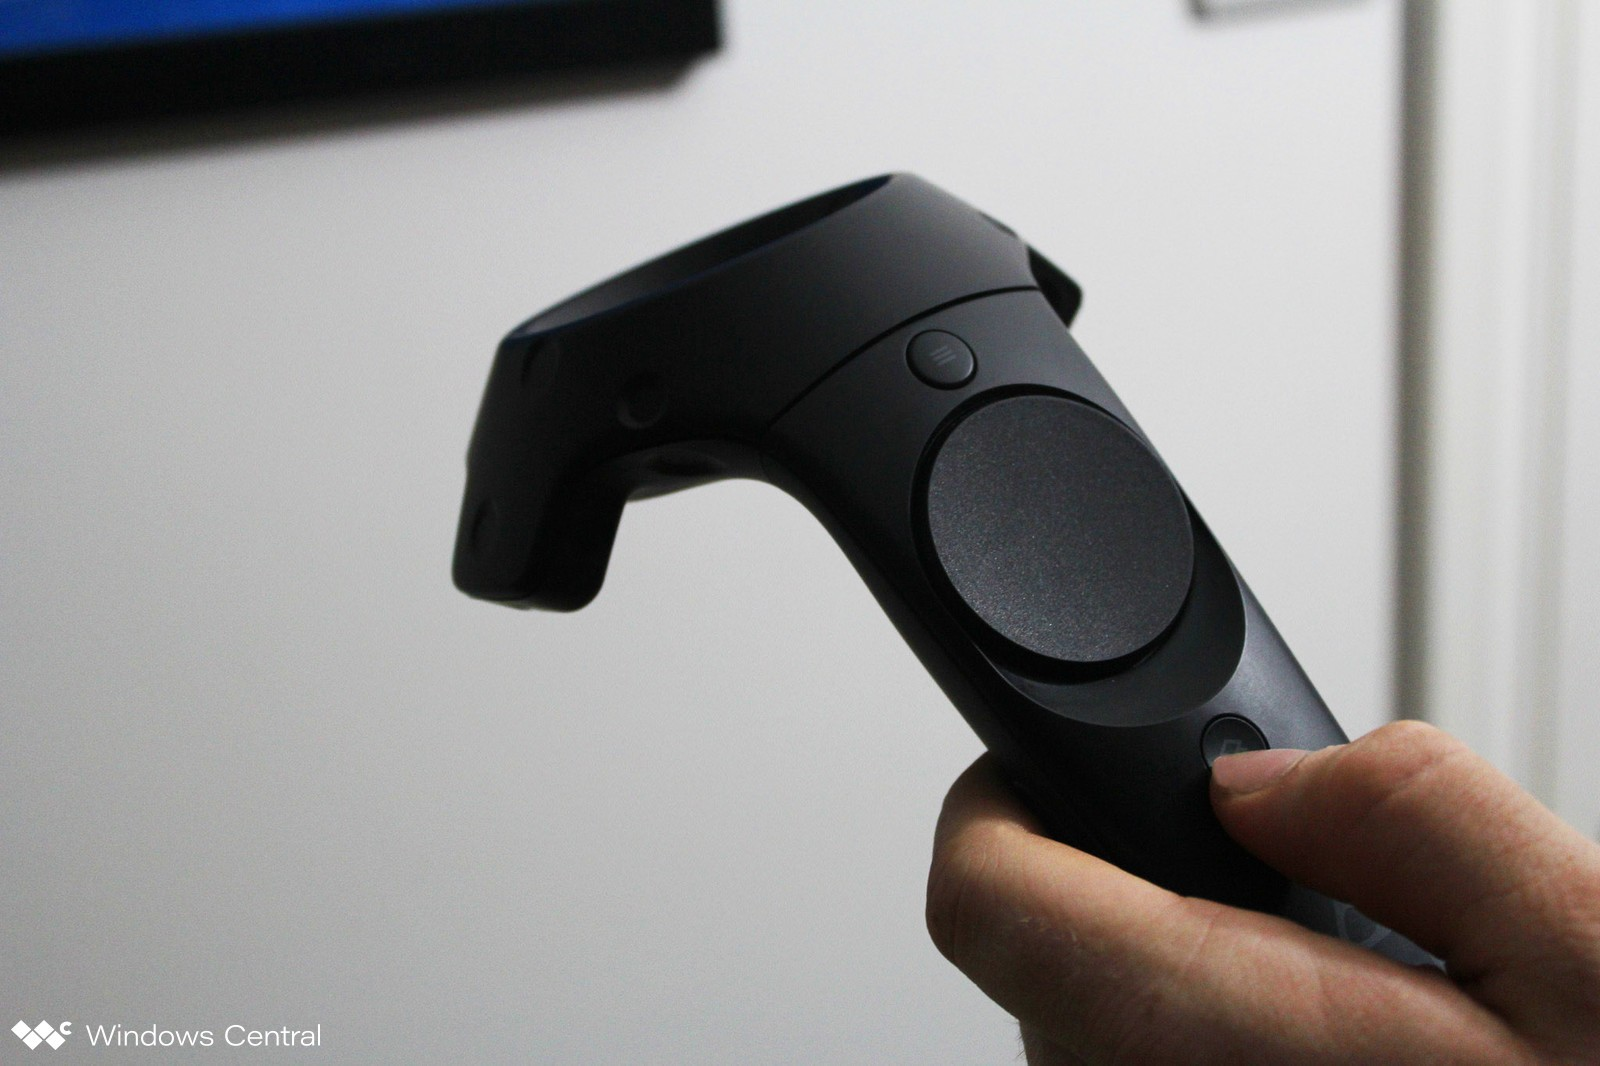
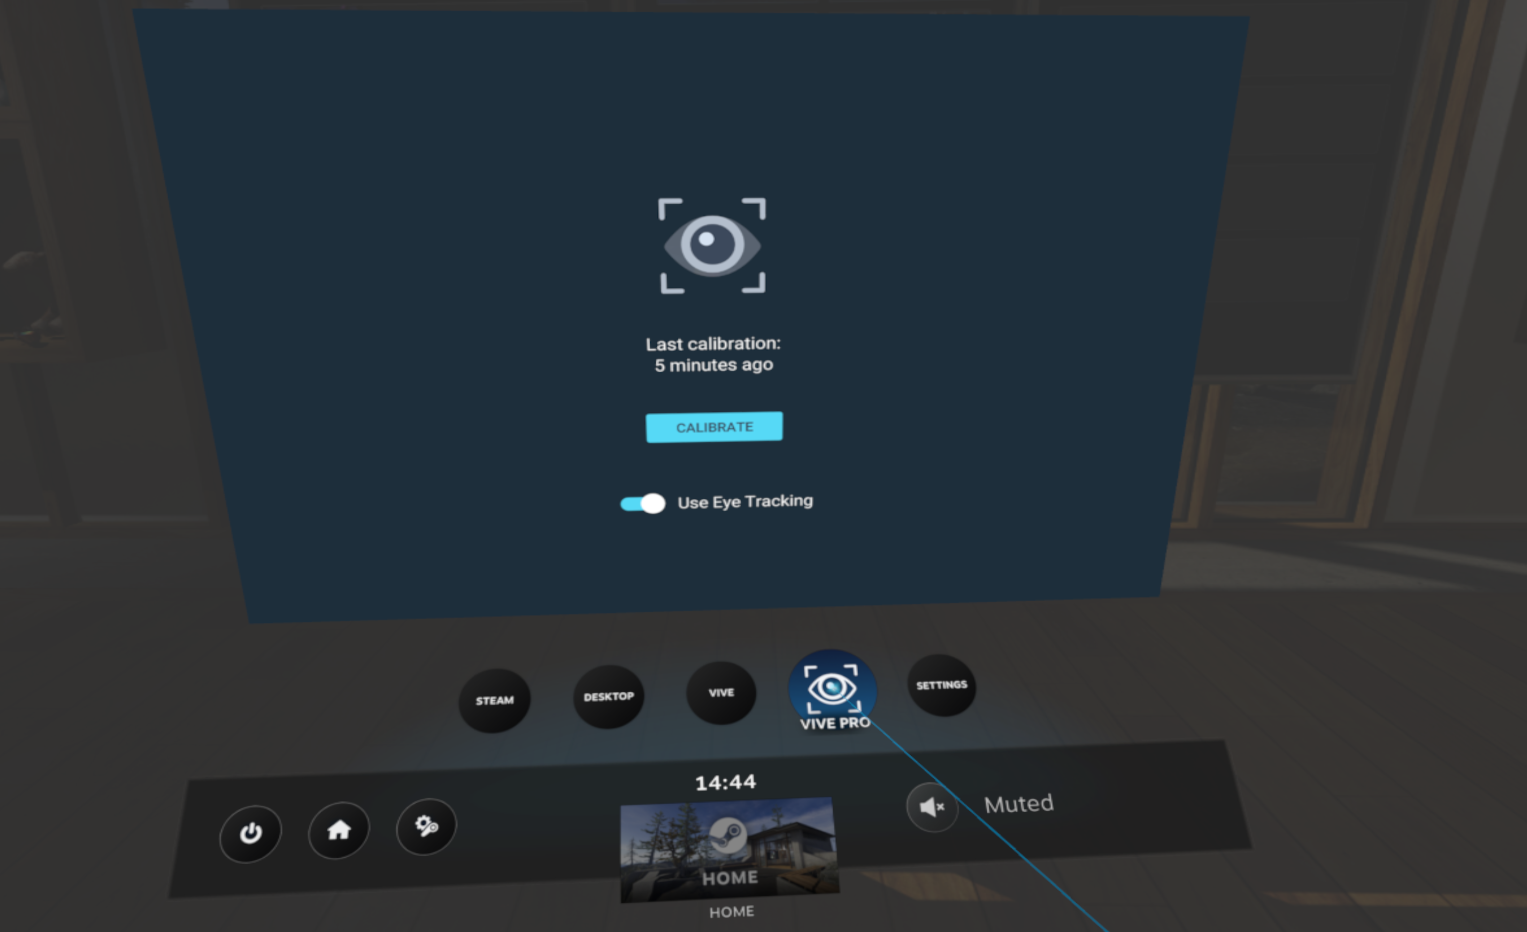
Calibrate within SteamVR by clicking on the menu button on the Vive controller while wearing the headset. This should bring up the settings menu. From here click on the button that says “Vive Pro Eye”
-
If it is the first time you are running the Vive Pro Eye, you will need to agree to some terms and turn on eye tracking by clicking on the agreement that comes up in the headset.
-
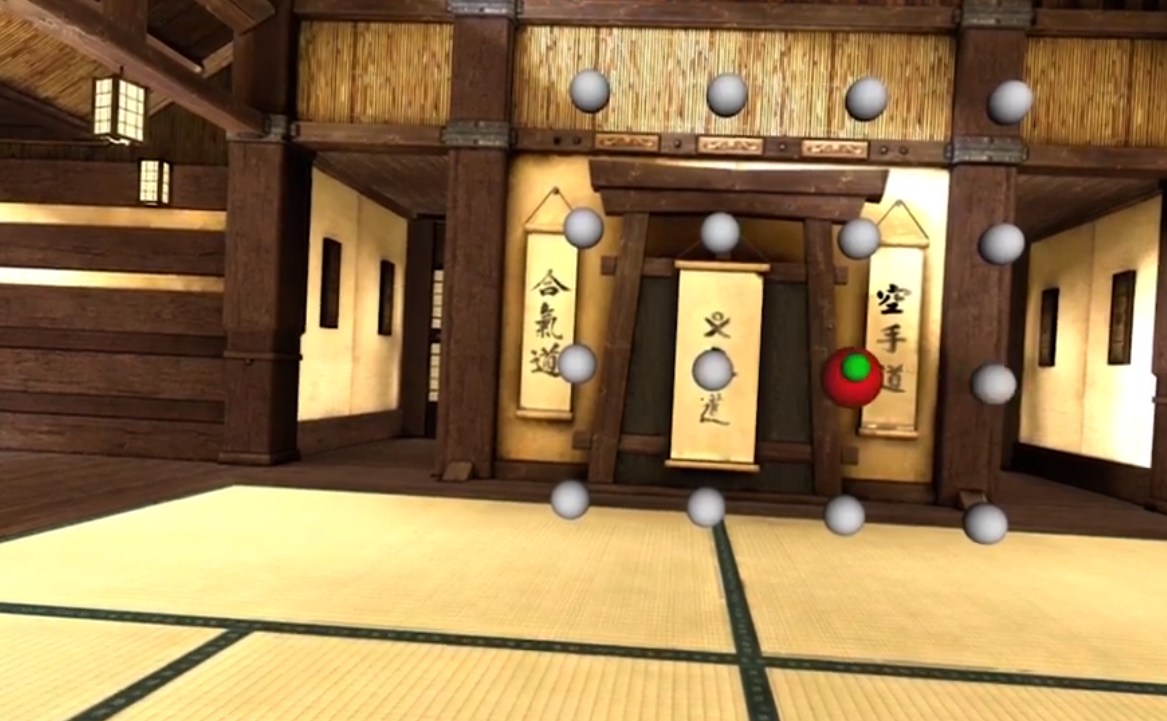
Next, click “calibrate” and follow the instructions. To verify eye tracking is working, open up Vizard and go to File- Quick Open and type in “Vivepro” and double click on the viveProEyeExample.py
-
This example allows you to verify that the eye tracking is working. When you look at the array of balls the ones you are looking at should change color. You can also toggle a gaze intersect by pressing the “g” key.
For more information on how you can use the Vive Pro Eye in your research and help with setting up studies, contact sales@worldviz.com
Connecting Vizard to BIOPAC AcqKnowledge
By Jeff Loomis
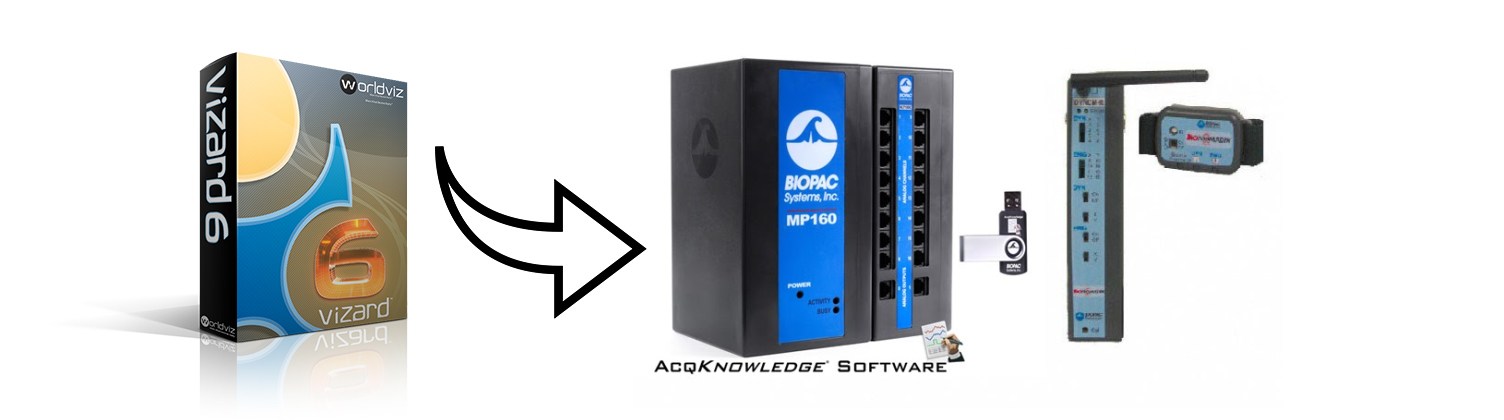
BIOPAC provides a large range of monitoring devices for detecting physical or physiological changes over time. The BIOPAC virtual reality platform provides:
-
Controlled and replicative experimental setups
-
Manipulation of the environment (and avatars) that would be impossible or prohibitively expensive in the real world
-
Synchronization of the events from the virtual world with physiological data
-
Biofeedback data transfer protocol for real-time digital communication, which allows the participant’s physiological feedback to control the VR world
How to Setup an Eye Tracking Experiment using the WorldViz VR Eye Tracking Analytics Lab
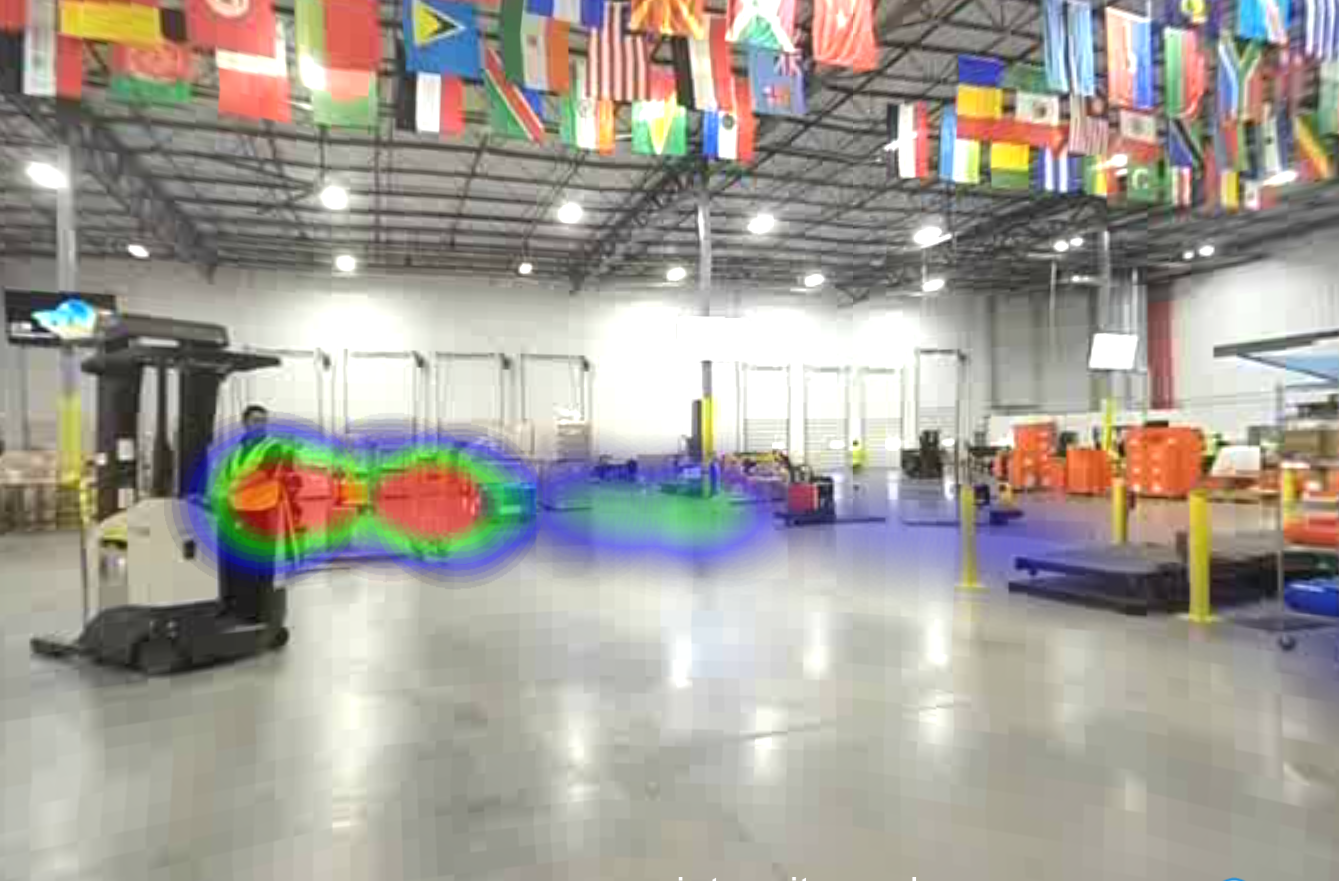
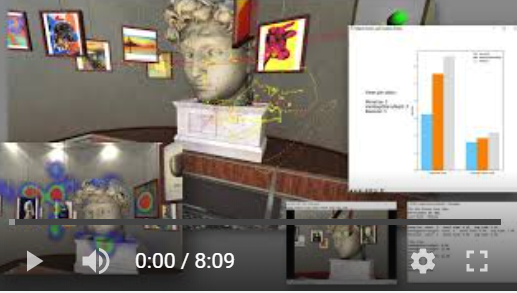
This article will introduce you to the most important features of the WorldViz VR Eye Tracking Analytics Lab and show you how you can easily modify the included template to use your own 3D assets. Once set up, you can collect eye tracking data related to your 3D assets such as number of fixations (as well as average and total fixation time), pupil diameter size, time stamps, gaze intersect visualization and position data, 3D gaze path visualizations, and more! For more information on this or any WorldViz products contact sales@worldviz.com
For a video guide of this tutorial click here
How to set up the Oculus Rift S
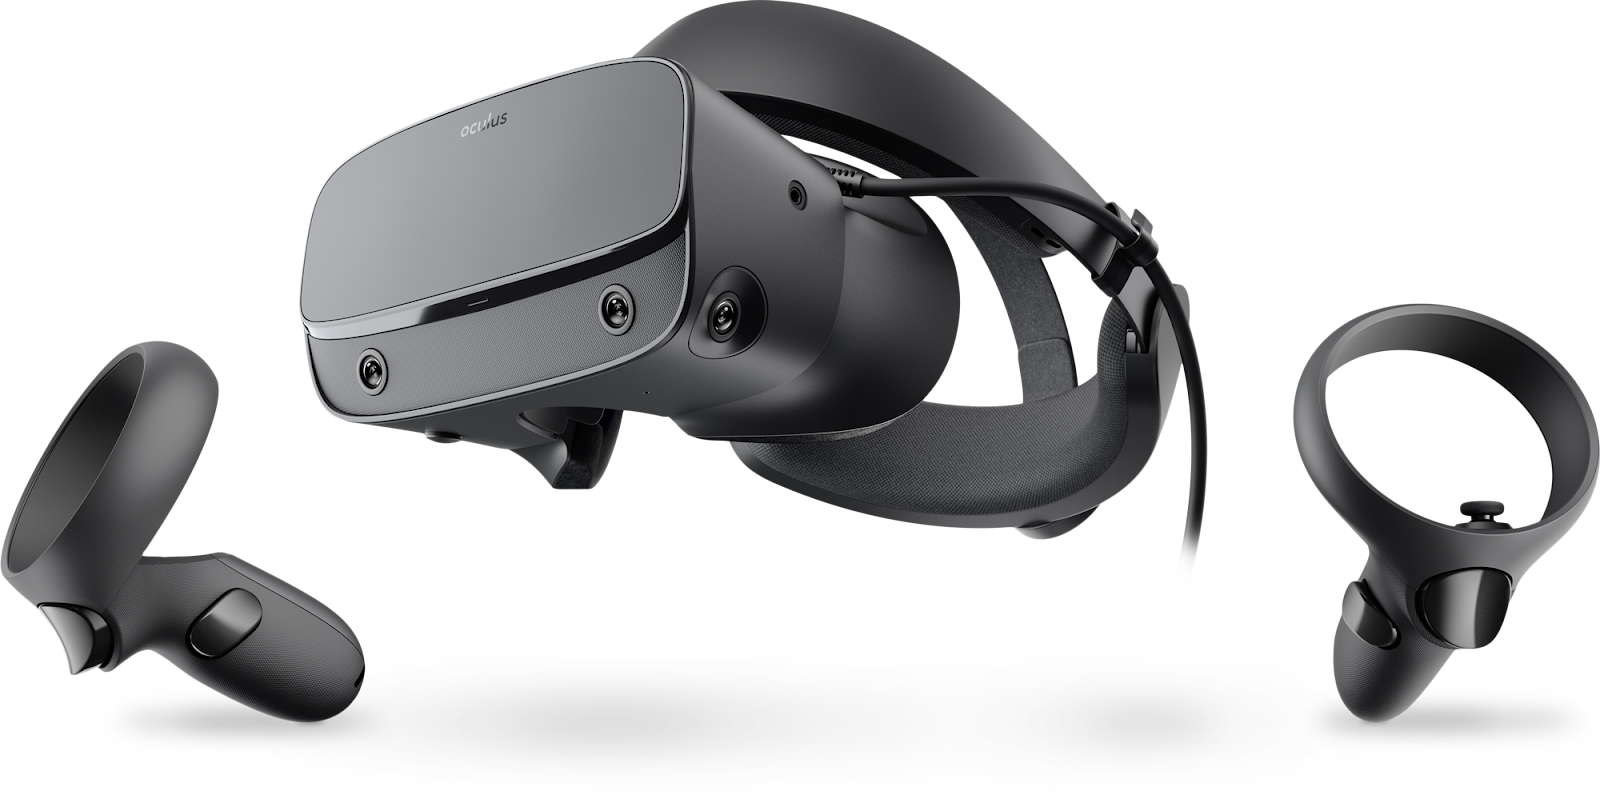
Here are some quick instructions on how to get your Rift S setup and going with Vizard and Vizible.
-
Download and install the Oculus app from www.oculus.com/setup

-
Plug in the USB cable to a USB 3.0 port
-
Plug in the Display port cable to a display port output on your video card (you can also use a mini-display adaptor if you only have mini-display port)


-
In the Oculus App, click on “Devices”

-
Select your Rift S (it should automatically show up once connected) and select “Device Setup”
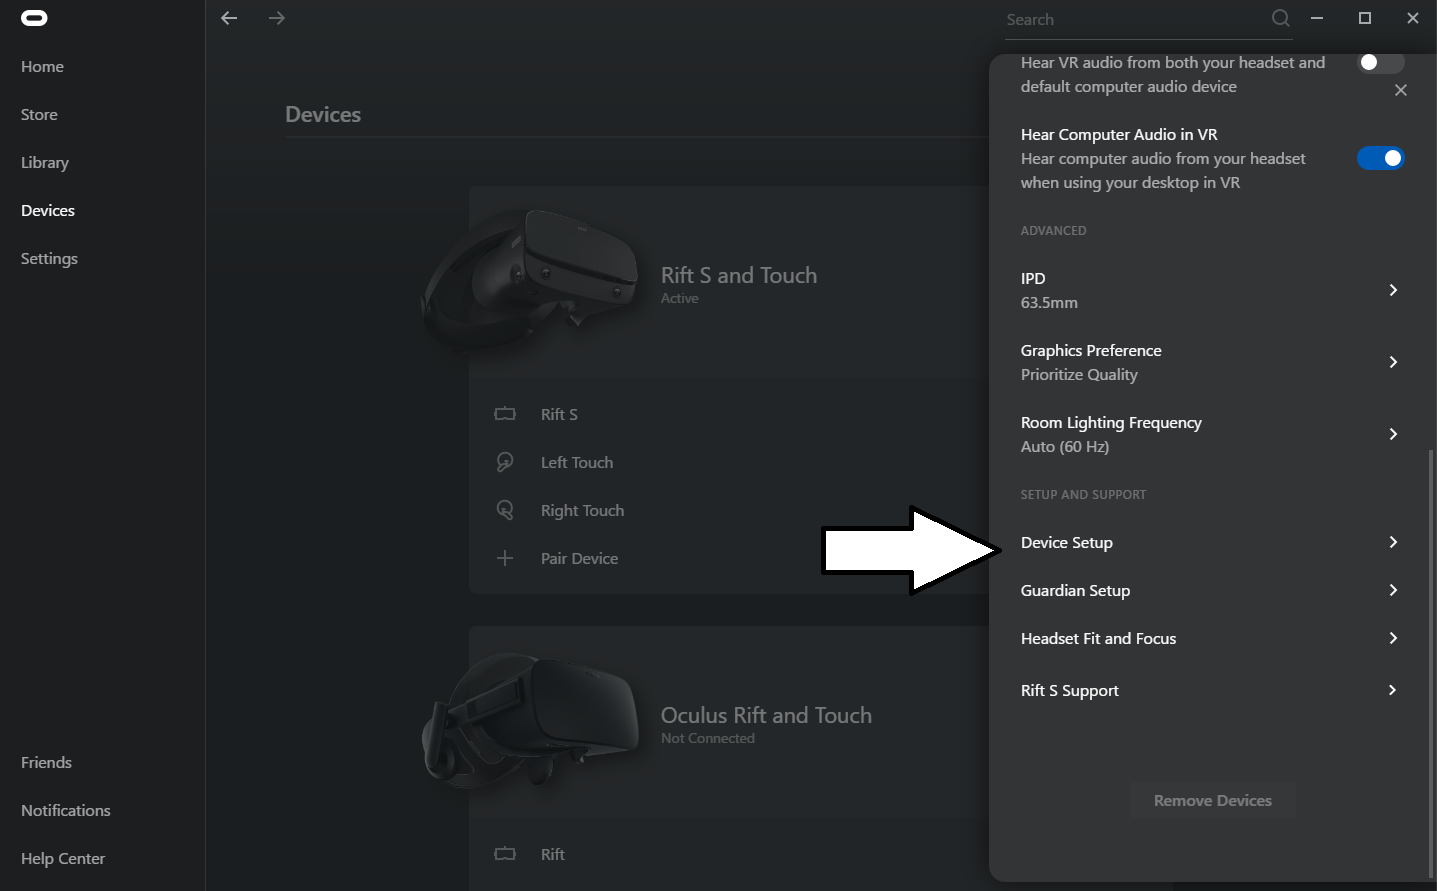
-
Put a battery in each controller and follow the instructions in the Oculus app

-
Hold the menu and “Y” buttons to pair the left controller until the light stops blinking. For right controller hold Oculus and “B” buttons
-
Put on HMD. You can adjust the fit with the fit wheel on the back of the HMD and the velcro strap on top. You can also adjust the depth with the depth adjustment button on the bottom right of the headset.
-
Determine which direction you will be facing in VR
-
Place one of the controllers on the ground to confirm the ground plane
-
Define play area to calculate the Guardian boundary and your play area. Point a controller at the ground and trace an area on the ground around your center point. This can be skipped if you are not going to be walking around.
-
IPD (interpupillary distance) is adjusted via software with the Rift S. To do this click on Device settings- IPD adjustment
-
Connecting to Vizard using vizconnect:
-
Vizard includes an Oculus preset that you can then add to any scene. To do this open up Vizard and go to Tools- vizconnect
-
Choose to save the file to a folder where you have your main Vizard script (can name it anything you want, but suggest “vizconnect_config”)
-
Click on “Select from some common preset configurations”
-
Choose the “Oculus” preset
-
Your settings are automatically saved, so you can now close the vizconnect tool
-
To add to your Vizard scene, add the following code to your Vizard script:
-
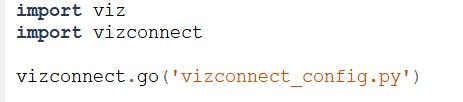
-
Connecting to Oculus directly in the code in Vizard:
If you wish to connect to the Oculus HMD directly in your code, add the following lines of code to your Vizard script:

-
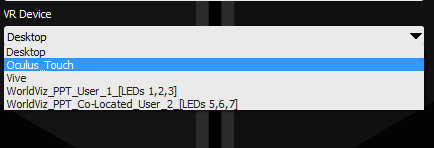
Connecting to Vizible
-
To connect to Vizible, simply choose the “Oculus Touch” preset from the list of dropdown presets in the client interface (Note: that the “Oculus Touch” preset will still recognize the Rift S controllers).
-
Care of your Oculus Rift HMD
-
Keep away from direct sunlight
-
Clean lenses with a dry, microfiber cloth
Vivetracker Setup in Vizard
With the use of the HTC Vivetrackers you can easily setup full body tracking in Vizard. Now fully integrated in Vizard 6.
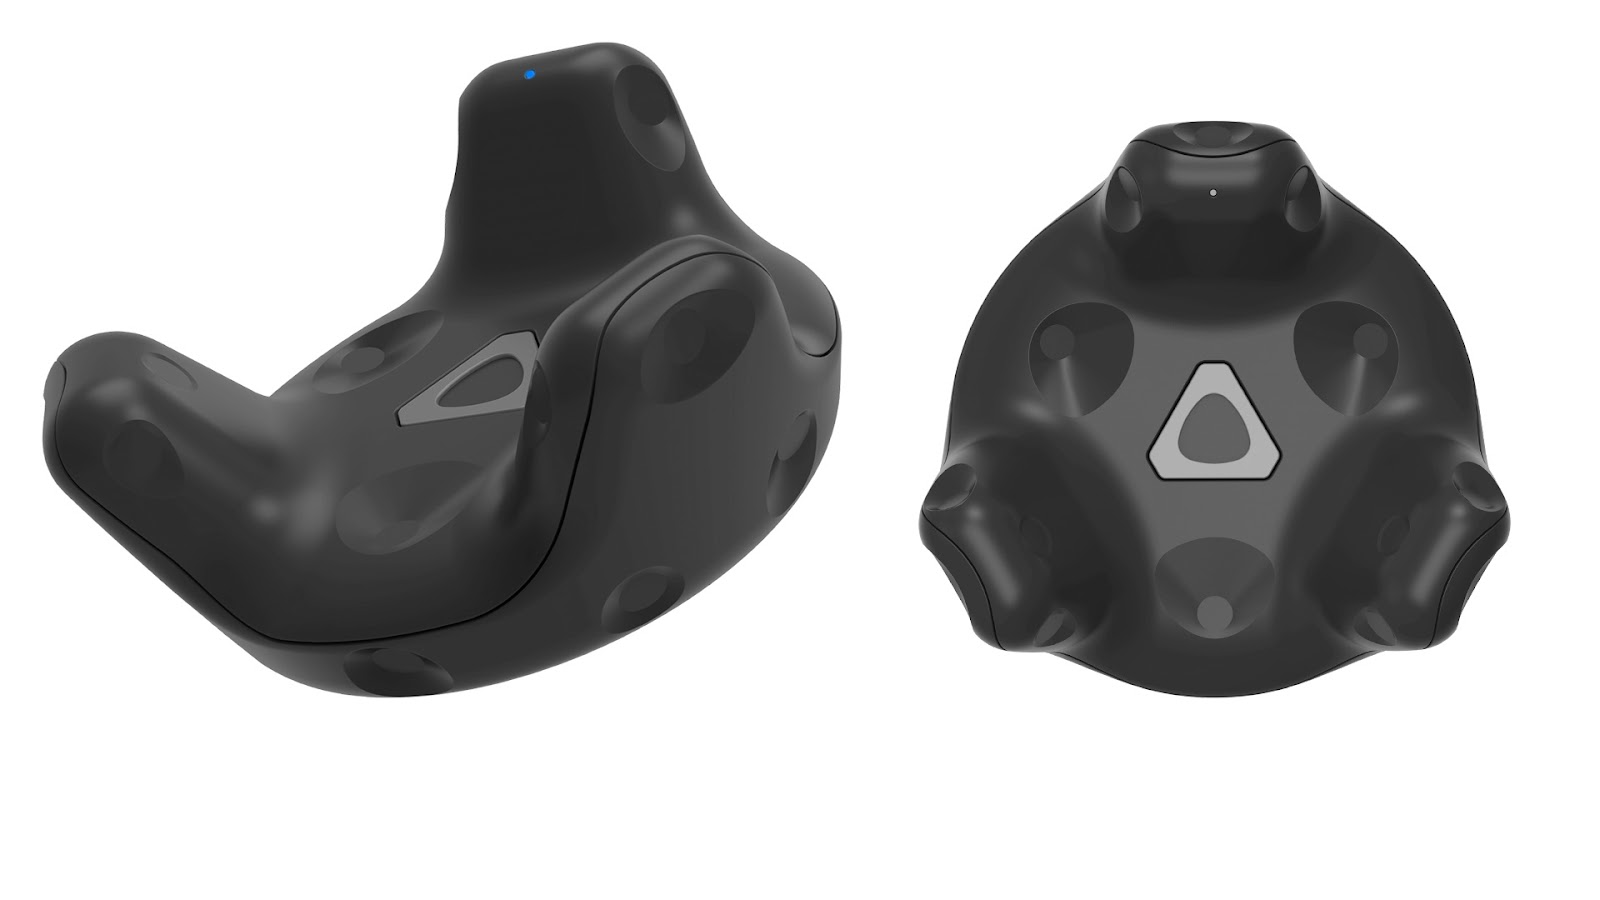
For adding the trackers, you will also need some straps to hold the trackers on, such as these.
Manus VR Prime 2 Gloves Setup

For more information on using the Manus VR Gloves with Vizard, see the following Vizard documentation page
For more information on the Manus VR data gloves visit their website at https://www.manus-vr.com/
To access the latest version of Manus Core (the software needed for running the Manus gloves) sign up and login to the Manus resource center here
More information available in the Vizard Documentation here
Vizconnect files:
Manus gloves with Vivetrackers and articulated glove models
(this is a default setup that is most commonly used)
Note that at times the offset may need to be changed for the hand. This is usually the “pre pitch” and might need to be set to “90” or “0”. This can be accessed by opening the vizconnect file, clicking on “go directly to advanced options”, then on the “trackers” tab clicking on the “offsets” button
Orientation Drift Correction with PPT’s Optical Heading Plug-in
The optical heading plug-in is used in the PPT Studio software to correct yaw (and role) of an inertia cube (IC) using two markers. The two markers have to be attached to the same structure as the IC. Once initialized the markers act as an optical compass.
Read more
Sensory Latency and glFinish
This article discusses the factors that contribute to overall sensor latency and the importance of turning on glFinish in the Vizard script to reduce render latency.
Read more