How to Connect your Oculus Quest to Vizard and Vizible using the new Oculus Link Update

-
Make sure that your Oculus software on your PC is up to date, as well as the firmware on the Quest itself.
-
Turn on your Quest.
-
Plug your USB 3.0 to USB-C cable into a USB 3.0 port on your PC, then plug the USB-C end into your headset (note: the cable that comes with the Quest will not work, so you should either purchase one off of Amazon (such as this one), or you can purchase the official Oculus Link cable from Oculus here.
-
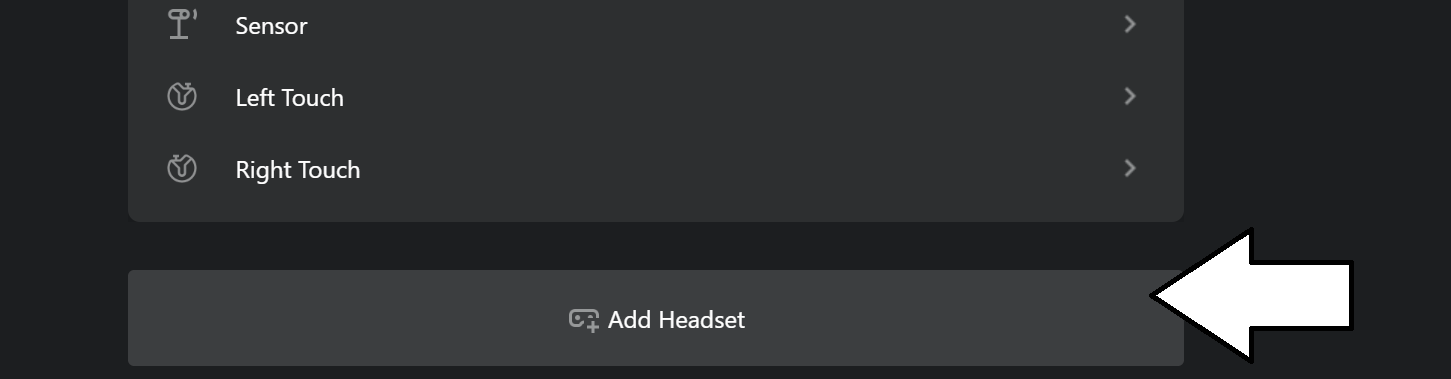
In Oculus, click on “Add Headset” and add the Quest, following the instructions that appear.
-
Once plugged in, you’ll be prompted to enable Oculus Link (beta) on the Quest, select “Enable” to begin remote rendering via Oculus Link.
-
Once connected you can run the VizBox/Oculus touch preset from vizconnect to connect it to Vizard, or connect in the same way that you do for Oculus. See this page in the Vizard Documentation for more details. For Vizible, simply select the Oculus Preset from your choice of hardware.

Some things to consider when using Oculus Link to connect the Quest to your PC:
-
You may have some performance issues due to the compression methods used to deliver the content to the Quest
-
The Quest actually has a slightly higher resolution than the Rift S (1440x1600 per eye for the Quest vs. 1440x1280 per eye for the Rift S)
-
The Quest has a slightly lower refresh rate (72HZ vs. 80Hz for the Rift S)
-
The Rift S has 5 cameras for tracking, while the Quest has just 4
-
The Quest is just slightly heavier at 571 Grams, vs. 500 Grams for the Rift S
-
If having the issue where Oculus is saying you need to update the Quest drivers, but Quest is saying “no updates available”, make sure that you are not on the “public test channel” for Oculus.