Baking Lighting in 3ds Max: A General Overview, Part 2

Baking in Max can be a daunting process. Last time, in Part 1 we talked about what you need to get started, options for renderers, a few of the different kinds of bakes you can do, plus how and why to do test renders.
Part 2
This time, in Part 2, we go into the approach for Unwrapping, the details of Render to Texture, and the actual baking.
Part 1 | Part 2
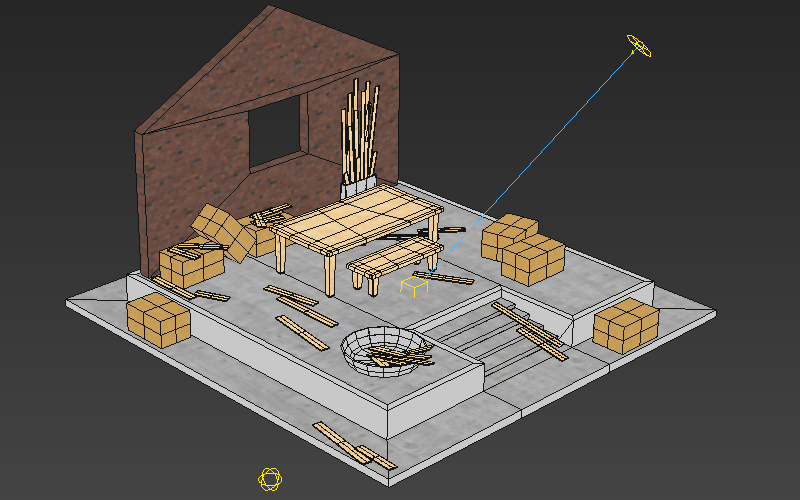
Initial Bake

Unwrap Model
Bakes work by recording the lighting intensity for each point on a model's surface into a texture. This means that, under normal circumstances, you don't want any overlaps or tiling used in the UV channel that you bake to otherwise you may have some very strange results in your baked lighting. While unwrapping by hand produces the best results, automatic unwraps are usually more than enough. Bake UVs are usually unwrapped to channel 3.
There are a few common options for creating lightmap UVs for large numbers of objects. One is to use the automatic unwrap feature of Render to Texture, though this always groups matching material IDs together resulting in a lot of wasted UV space. Another option is to use a scripted tool written in-house called SteamRoller, which does a similar function but isolated from any other dialog and without requiring the material ID option. Paid plugins also exists that can do unwrapping, some of which also have their own special baking options.

Baking Lighting in 3ds Max: A General Overview, Part 1
Baking in Max can be a daunting process. There are numerous choices, and it may be unclear what is going to give the ideal results. This guide gives a general overview of the process to take your work from an unbaked model to final baked scene.
Part 1
In this first section, we talk about what you need to get started, options for renderers, a few of the different kinds of bakes you can do, plus how and why to do test renders, and what mesh issues to look out for.
Part 1 | Part 2
Starting Out

Ready to Go
Before you're ready to bake, you'll ideally have a scene that's realtime ready. This usually means a low-ish polycount (under 2 million), Scanline:Standard materials, and bitmap based textures instead of procedural ones. While it's possible to bake high polycount objects, such as unoptimized architecture scenes, they may take an exceptionally long time to unwrap, and may also have trouble running once exported.
You'll also want to have some familiarity with the OSG Exporter, but if not you can also start off by loading up the sample preset file from the Storing and Loading OSG Settings tutorial.
Storing and Loading Your OSG Export Settings
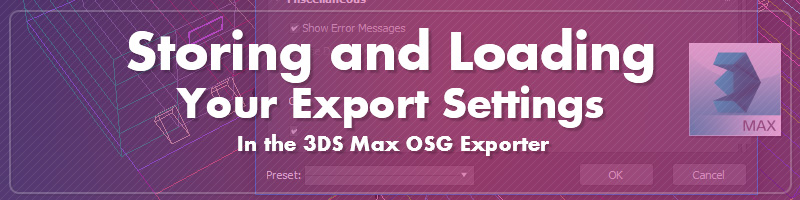
OSGExp preset files are a great way to store and share exporter settings for your own use and for sending your export settings to customer support.
To load a settings file, such as this one (wviz_default.OSGExp), make sure you have the latest version of the 3ds Max OSG exporter from the plugin download page, then open up the exporter dialog, load in the preset using the dropdown list in the lower left, and hit OK.

The default file above contains the settings that WorldViz uses internally for most of its projects. Most of the time the only settings that change from project to project are the "Turn Off Lighting" setting (for disabling realtime lights from affecting baked scenes) and the map type and object type filters (the "maps" and "export objects" rollouts).
Saving a preset works the same way. If there is a setting you need to come back to later, use the Save feature to store it with your project files.
Glossary: Geometry in 3ds Max

Basic Terms
Vertex:
An individual coordinate in 3D space, represented by a dot.


Controlling Imported Animantions
The following types of animations can be exported with OSG models from 3ds Max and played in Vizard:
- Transform: Animations based on translation, rotation, and scale
- UV: Animations based on changing texture coordinates
- OSG sequence: Mesh animations that cycle through a series of saved meshes, one for each frame
Cleaning up FBX imports for baking and realtime use
Follow the instructions in this article to clean up FBX models imported into 3ds Max for export to Vizard. These modifications should be made in the order listed: Read more
Complex Animations – from 3ds Max to Vizard
When exporting a 3ds Max file with the OSG Exporter, by default, only transform based animations (move, rotate, scale) will be exported correctly. In order to use more complex animations with animated meshes you can either use the OSG Sequence Helper or skin the mesh and export it as a Cal3D avatar. This article discusses the pros and cons of each method.
Read more
Creating a toon effect in 3ds Max
Watch the video tutorial in this article to learn how to add a black border around a model in 3ds Max, giving it a toon-like appearance. With just a couple short steps you'll be able to add the same effect to your own models.
Read more
Exporting an Architectural Model from 3ds Max into Vizard
The following video tutorial will guide you through exporting an architectural model with various layers to the binary OSG format.
Read more