Generate Avatar from single image into Vizard using ReadyPlayerMe
Here are the steps to utilize the “Ready Player Me” avatar heads in Vizard, where you can generate an avatar head from a single selfie (using webcam or upload an image) and download as a .glb file
-
Go here to make your avatar from a single selfie https://readyplayer.me/
-
Download .glb file and open in Inspector (open Vizard and choose Tools- Inspector)
-
In Inspector, use the translate tools to move the avatar head to the ground plane. Make sure eyes are at:
0 in the “X” axis , just so eyes are level with 0 in the “Y” axis and just back so that the eyes aren’t being seen in front of your own in the “Z” axis.
You may also need to rotate the head 180 degrees.

Lip Syncing with Fuse/Mixamo Avatars
Programs Needed:
Fuse (available for free if you have a Creative Cloud membership, or on Steam)
3DSMax
Cal3D Exporter (available to download from the WorldViz website)
2. Go to “File- Animate with Mixamo” or click on “Send to Mixamo”

How to have tracked FBX Avatars in vizconnect using 3DSMax and Mixamo’s Auto Rigging
The Autobiped script was created by Ofer Zelichover and Dan Babcock and it is freely released to Mixamo customers
The script will convert any character rigged using Mixamo auto-rigger into a Biped system in 3dsMax
-
If going from Fuse just send to Mixamo and Auto-rig
-
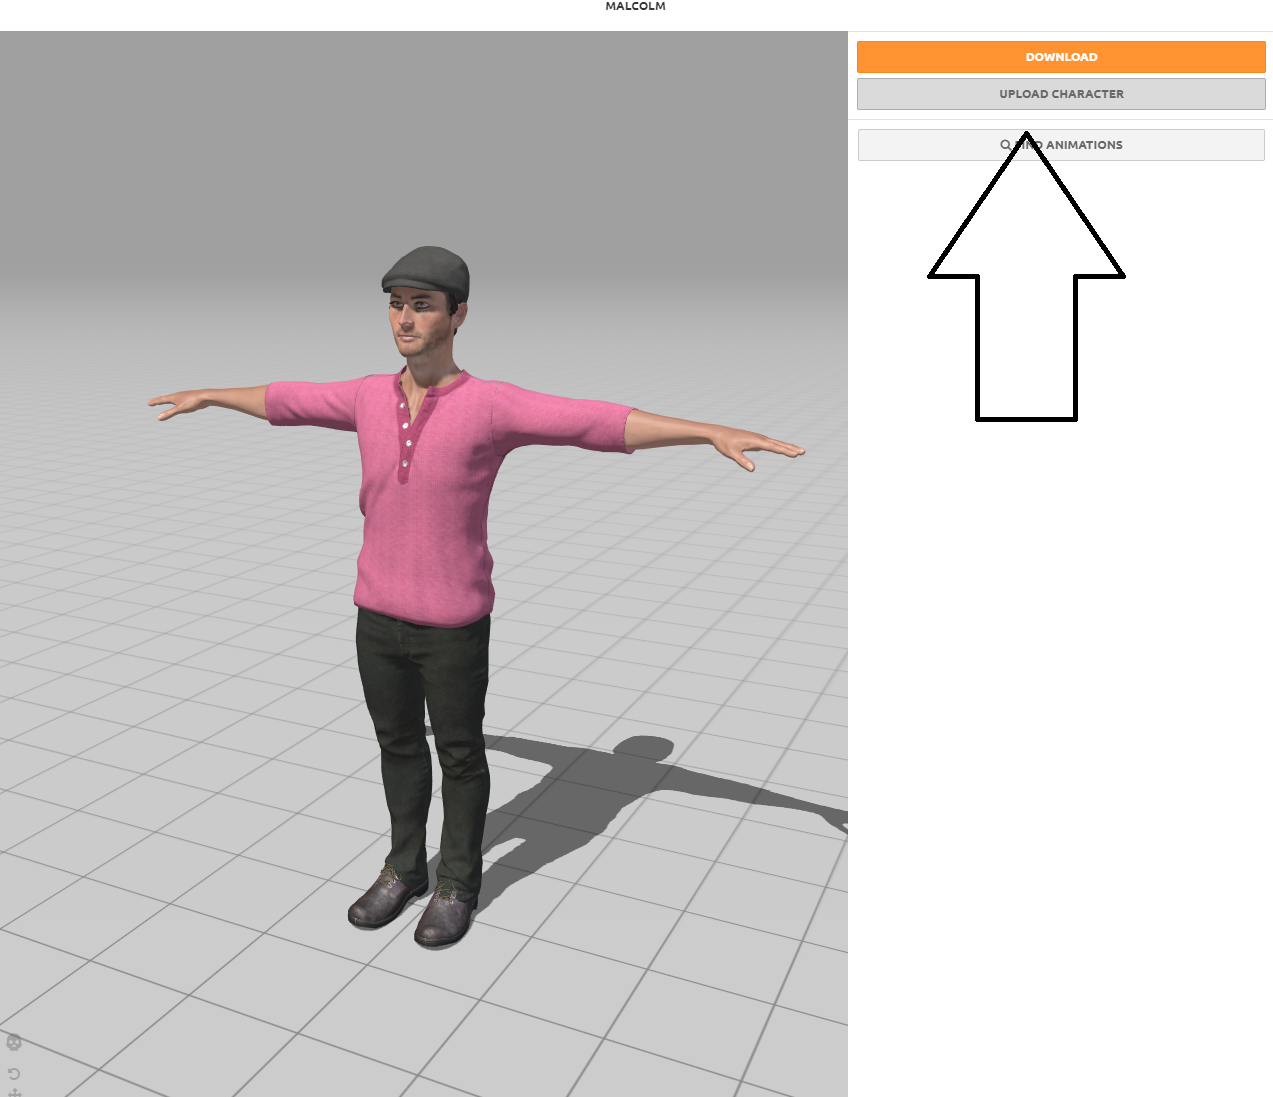
Go to mixamo.com
-
Select “Upload Character”
-
-
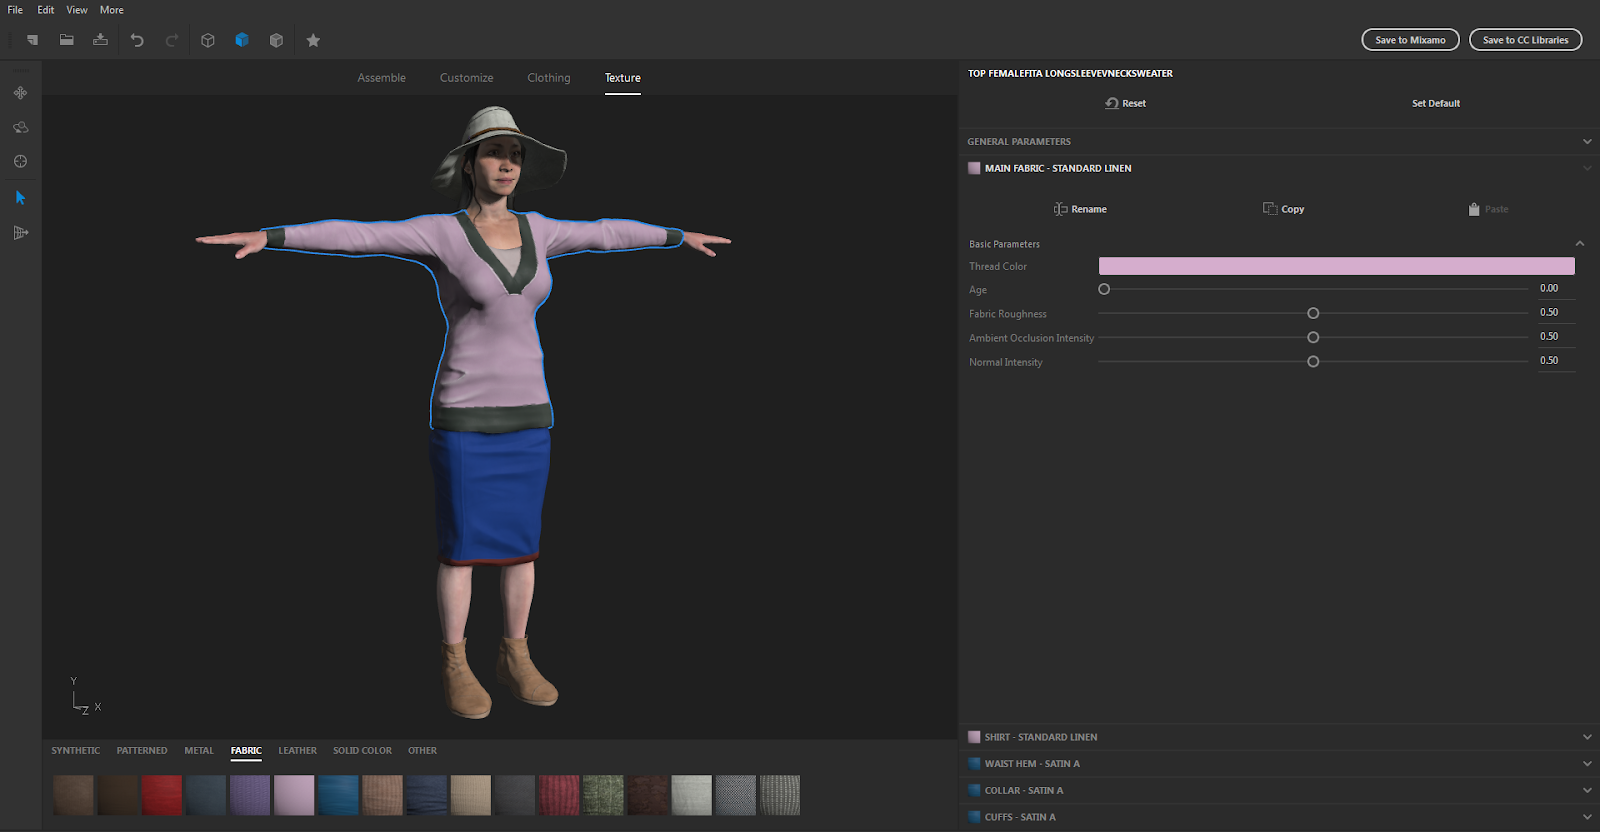
If coming out of other programs (such as Character Creator)
-
Bring avatar into 3DSMax and delete the skeleton (for some models may also have to merge meshes)
-
Export the mesh as an fbx
-
Upload to Mixamo and auto-rig then download
-
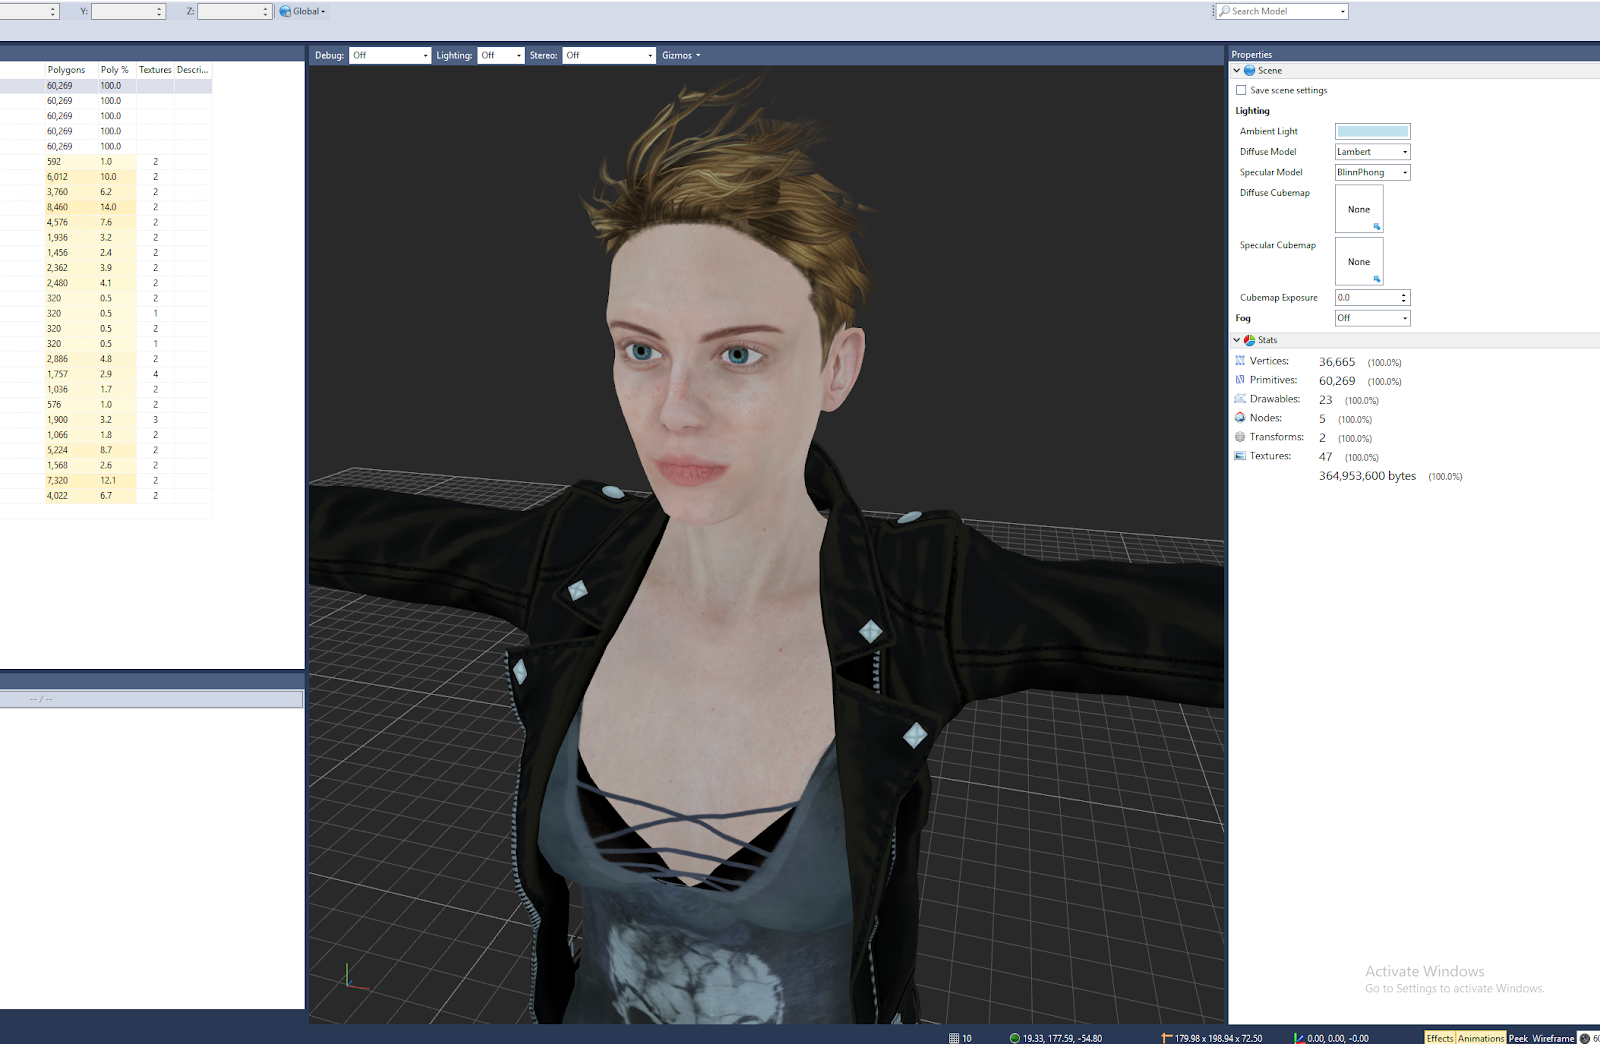
FBX Avatar to Vizard
In earlier versions of Vizard, Cal3D exports out of 3ds Max were the only option for a character workflow. As of version 6, Vizard includes the ability to use any FBX avatar. These can come from a variety of sources. In this case, we'll be using a .FBX avatar exported from a program called “Character Creator”.
Importing and Preview Lighting
First, import your avatar into Inspector. This can be done by using Open With... and selecting Vizard 6 Inspector from the list, or by running Vizard 6 Inspector and dragging the avatar's FBX file into the scene.