How to have tracked FBX Avatars in vizconnect using 3DSMax and Mixamo’s Auto Rigging
The Autobiped script was created by Ofer Zelichover and Dan Babcock and it is freely released to Mixamo customers
The script will convert any character rigged using Mixamo auto-rigger into a Biped system in 3dsMax
-
If going from Fuse just send to Mixamo and Auto-rig
-
Go to mixamo.com
-
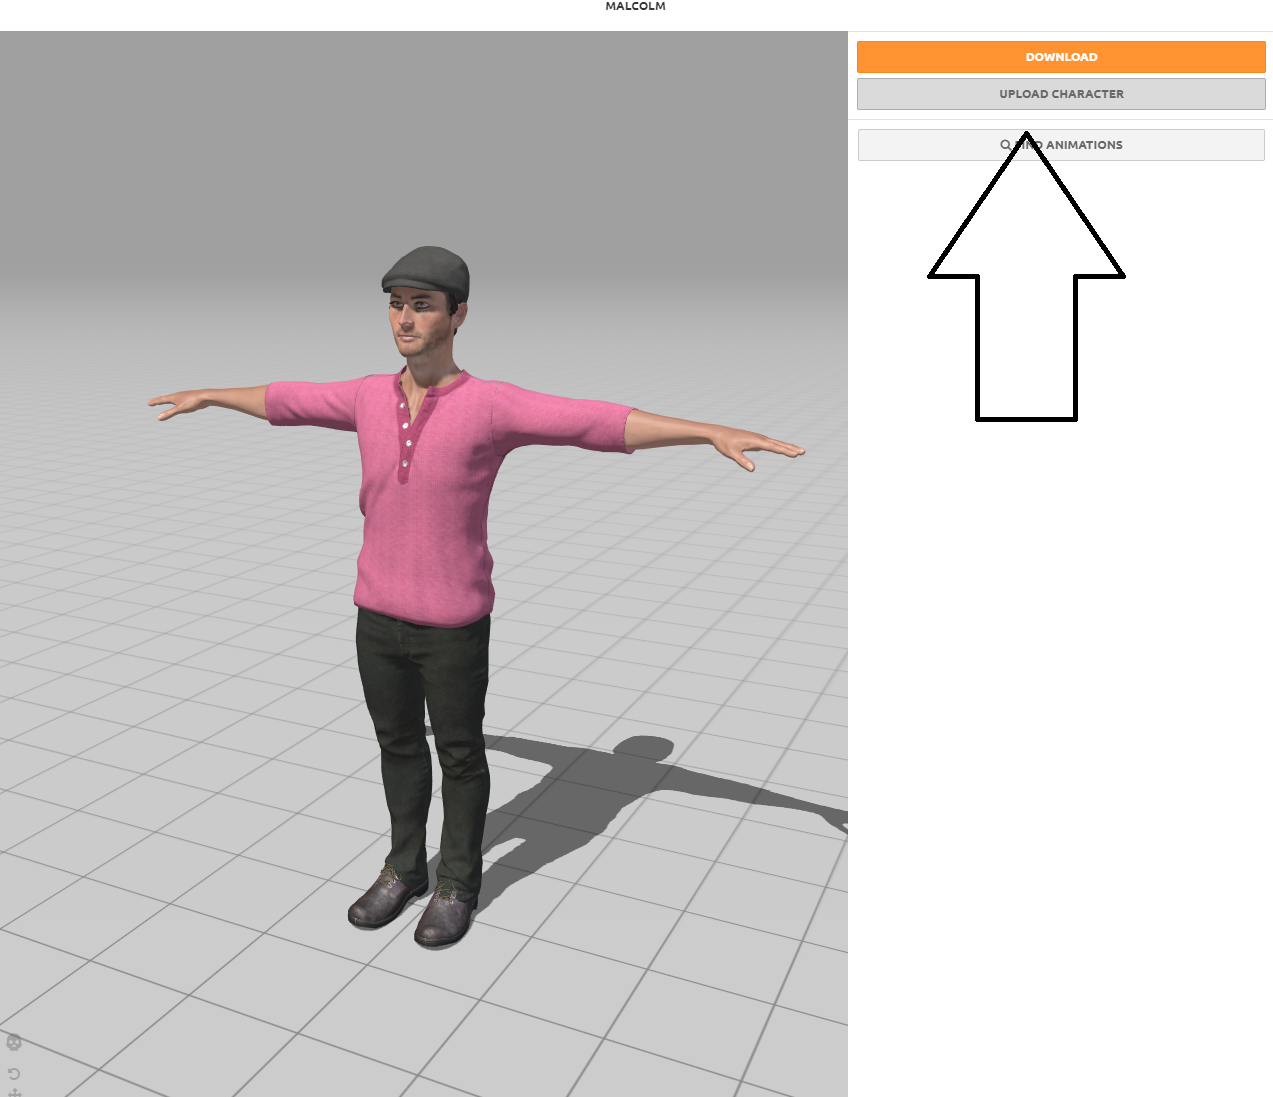
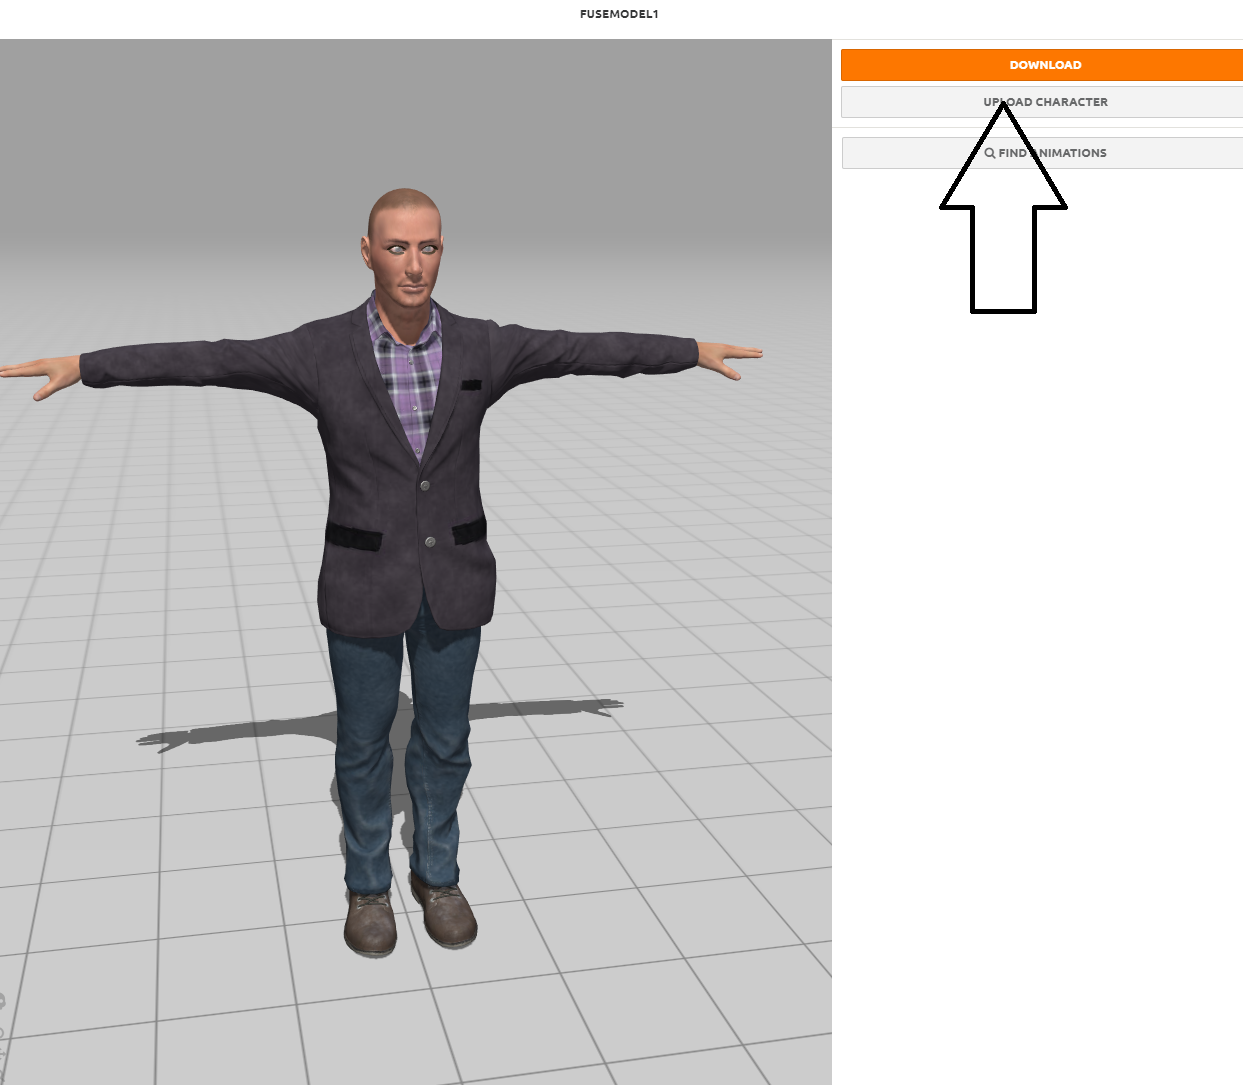
Select “Upload Character”
-
-
If coming out of other programs (such as Character Creator)
-
Bring avatar into 3DSMax and delete the skeleton (for some models may also have to merge meshes)
-
Export the mesh as an fbx
-
Upload to Mixamo and auto-rig then download
-
-
Import downloaded avatar into 3DSMax
-
Check size of avatar (Under Utilities- Measure)
-
May have to uncheck “Always Deform” on the mesh (except for feet) - Under Modify- Advanced Properties. This is if you get undesirable results on how the skeleton attaches to the mesh.
-
Add and run this script (AutoBiped) to convert to 3DSMax biped mesh object (Scripting- Run script)
-
Click on "Create Biped"
-
Rename all bones from Bip001* to Bip01* in 3ds Max (Tools > Rename Objects). Expand all bones in the skeleton and select them all first.
-
-
Export with Cal3D
-
Install Cal3D exporter (download from here)
-
Refer to the Cal3D section of the Vizard documentation on how to export as a .cfg file
-
-
Use as an imported Complete Character in vizconnect
-
Start Vizconnect by going to Tools- Vizconnect in Vizard
-
Setup your trackers/ inputs/ etc. For help with vizconnect and avatars see the Vizard documentation. You can also choose from one of the common presets.
-
Click on “Avatars” tab and remove the current avatar if there is one there.
-
Add new avatar
-
Choose “imported Complete Characters”
-
In Settings under file, choose your exported .cfg file
-
Make sure to then go to the “Animator” tab under "Avatars" and map whatever trackers you are using to the avatar model
-
Drag the main camera under the head component in the scene graph, as well as any tools you may be using under the hand components.
-
Lastly, add gestures and map them to your input device
-
-
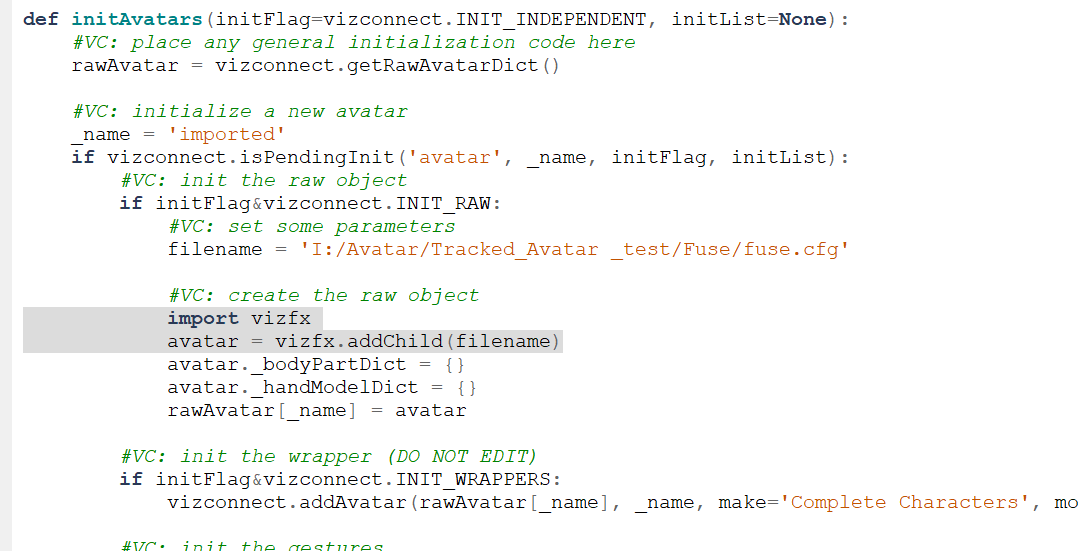
Afterwards you will want to manually edit the vizconnect file where the avatar is added to change the lines to use vizfx instead of viz.add :
-
import vizfx
-
avatar = vizfx.addChild(filename)
-
If wanting to change the avatar, you can just change the path in the code.