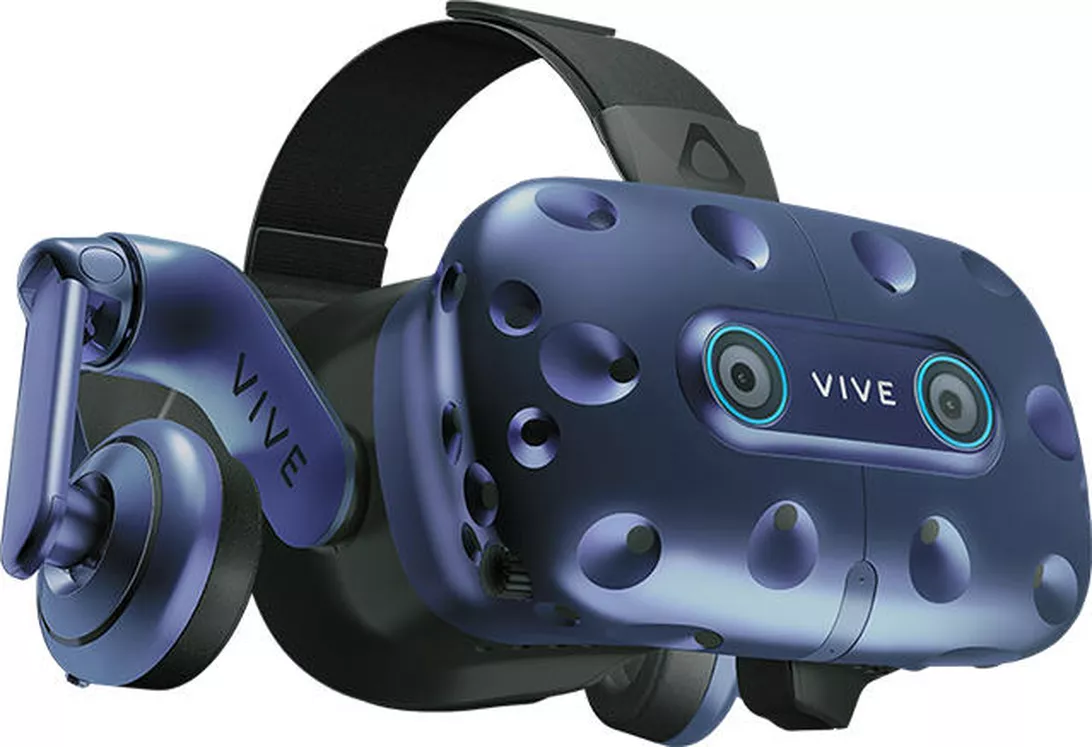
How to setup the Vive Pro Eye
For more information on how you can use the Vive Pro Eye in your research and help with setting up studies, contact sales@worldviz.com
-
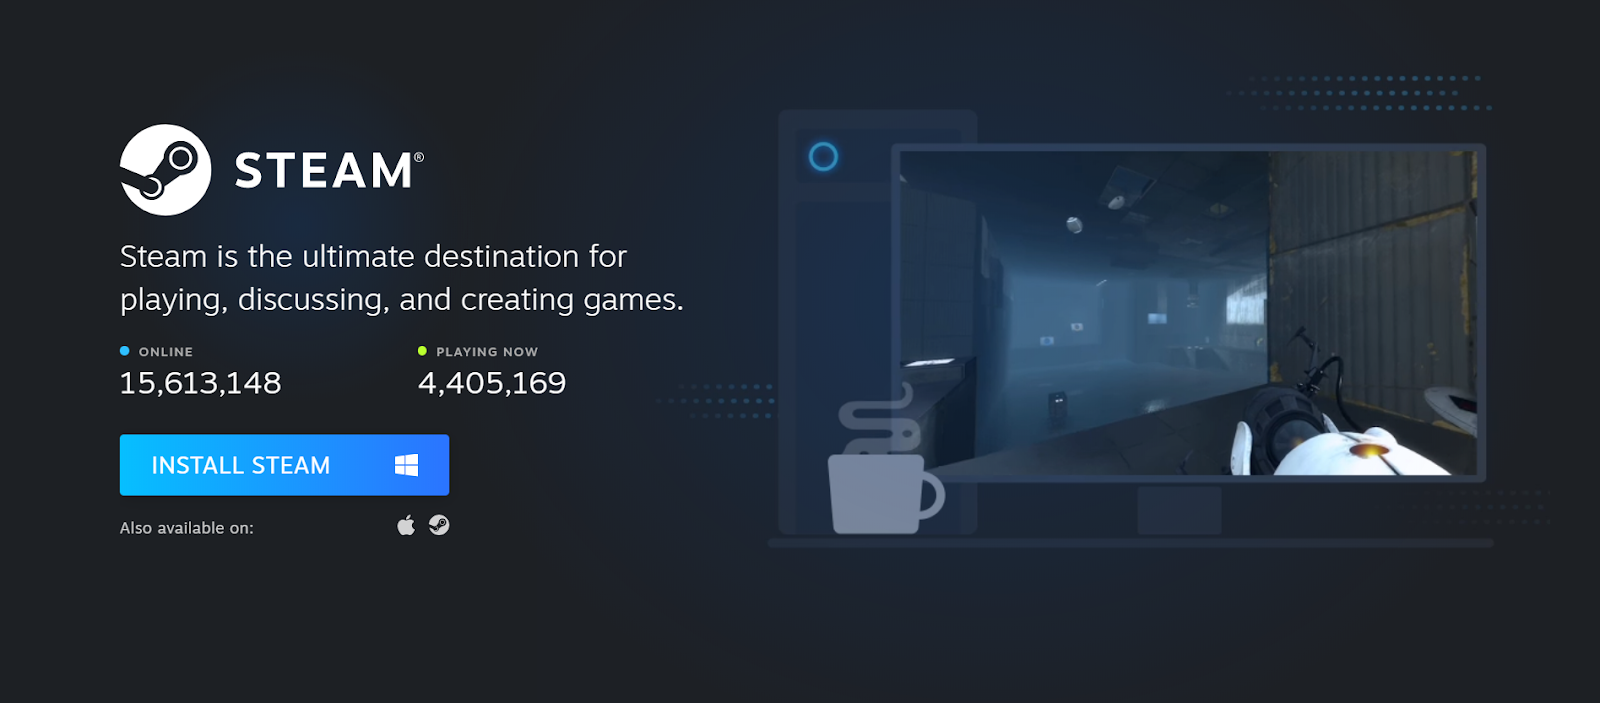
If you do not have SteamVR installed, you will need to do that first. Make a Steam account and download the Steam App from this link.
-
Plug in your headset and when prompted, install SteamVR
-
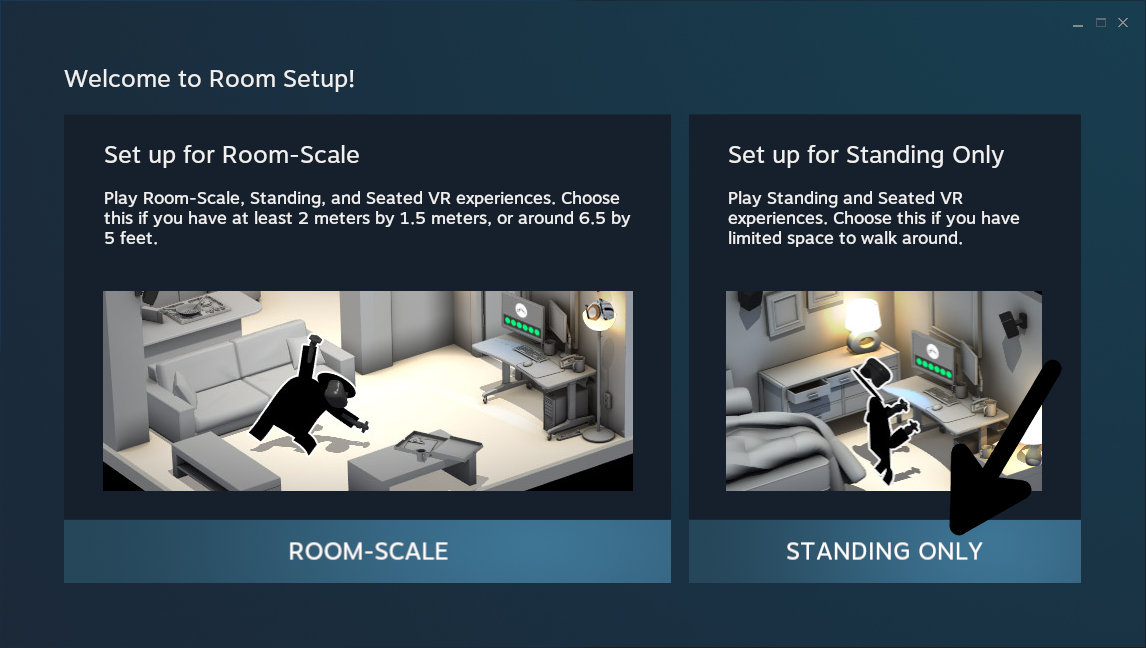
Run SteamVR and do a room setup
-
Download and install the Vive Pro Eye Eye Tracking software from this link
-
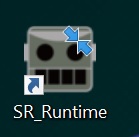
Run SR_Runtime from the shortcut
-
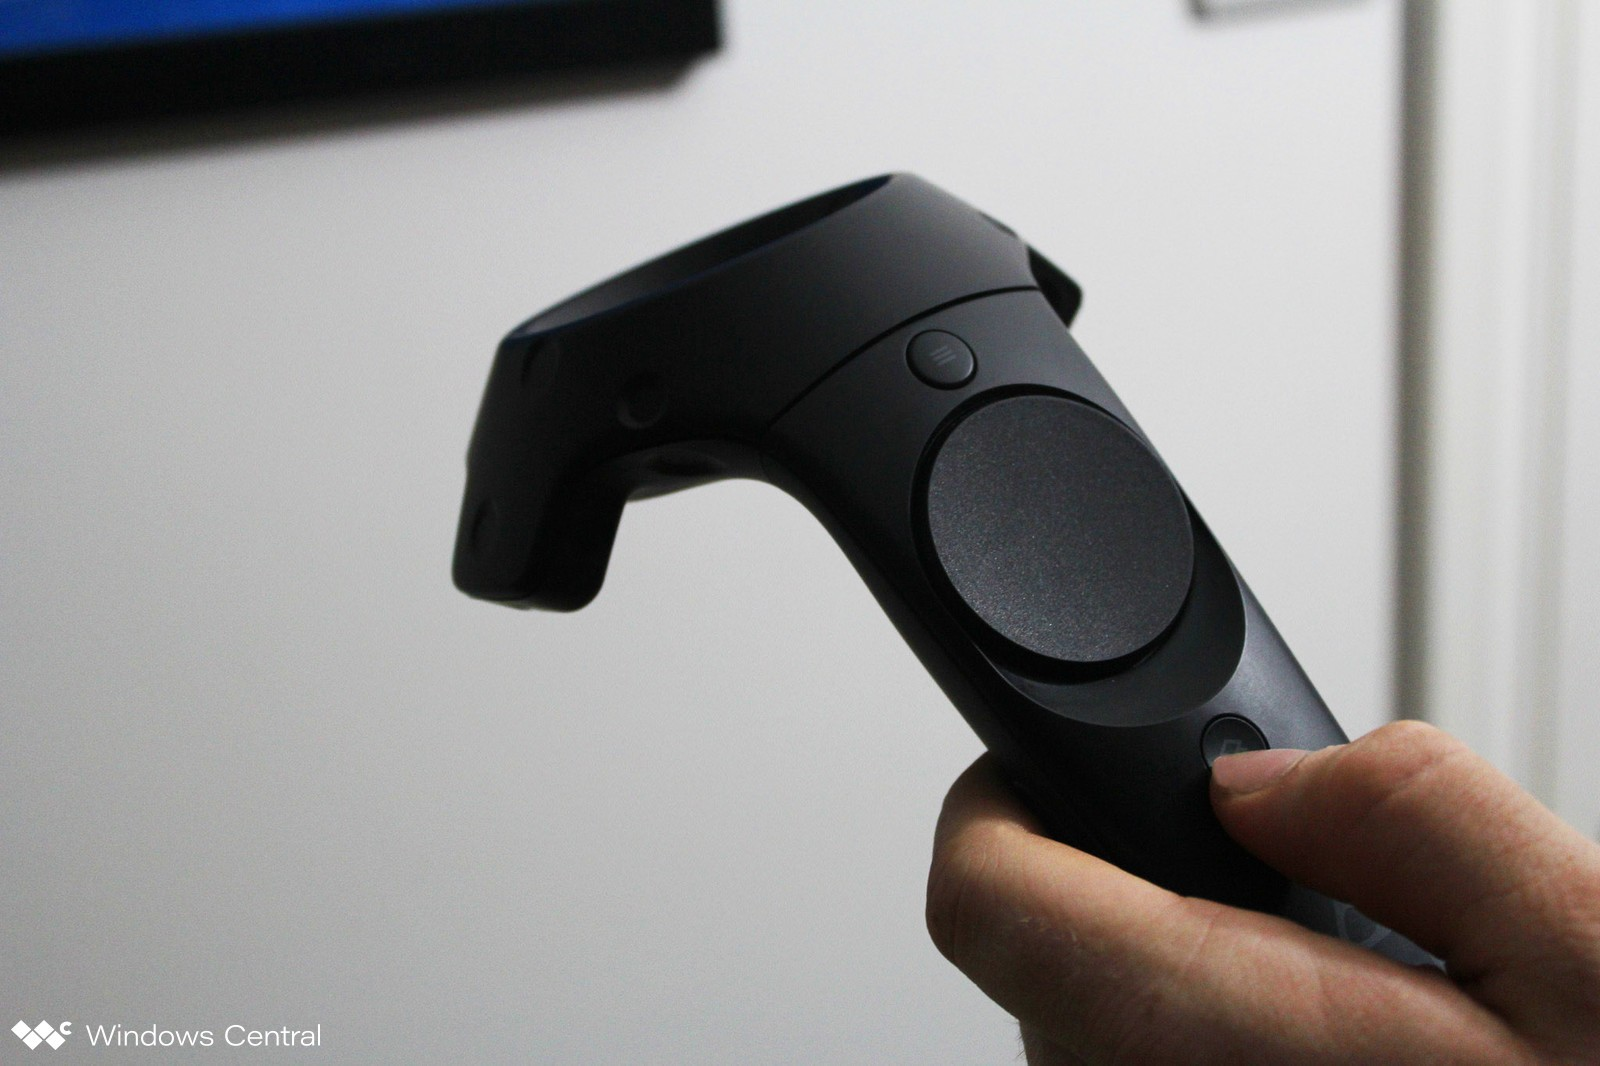
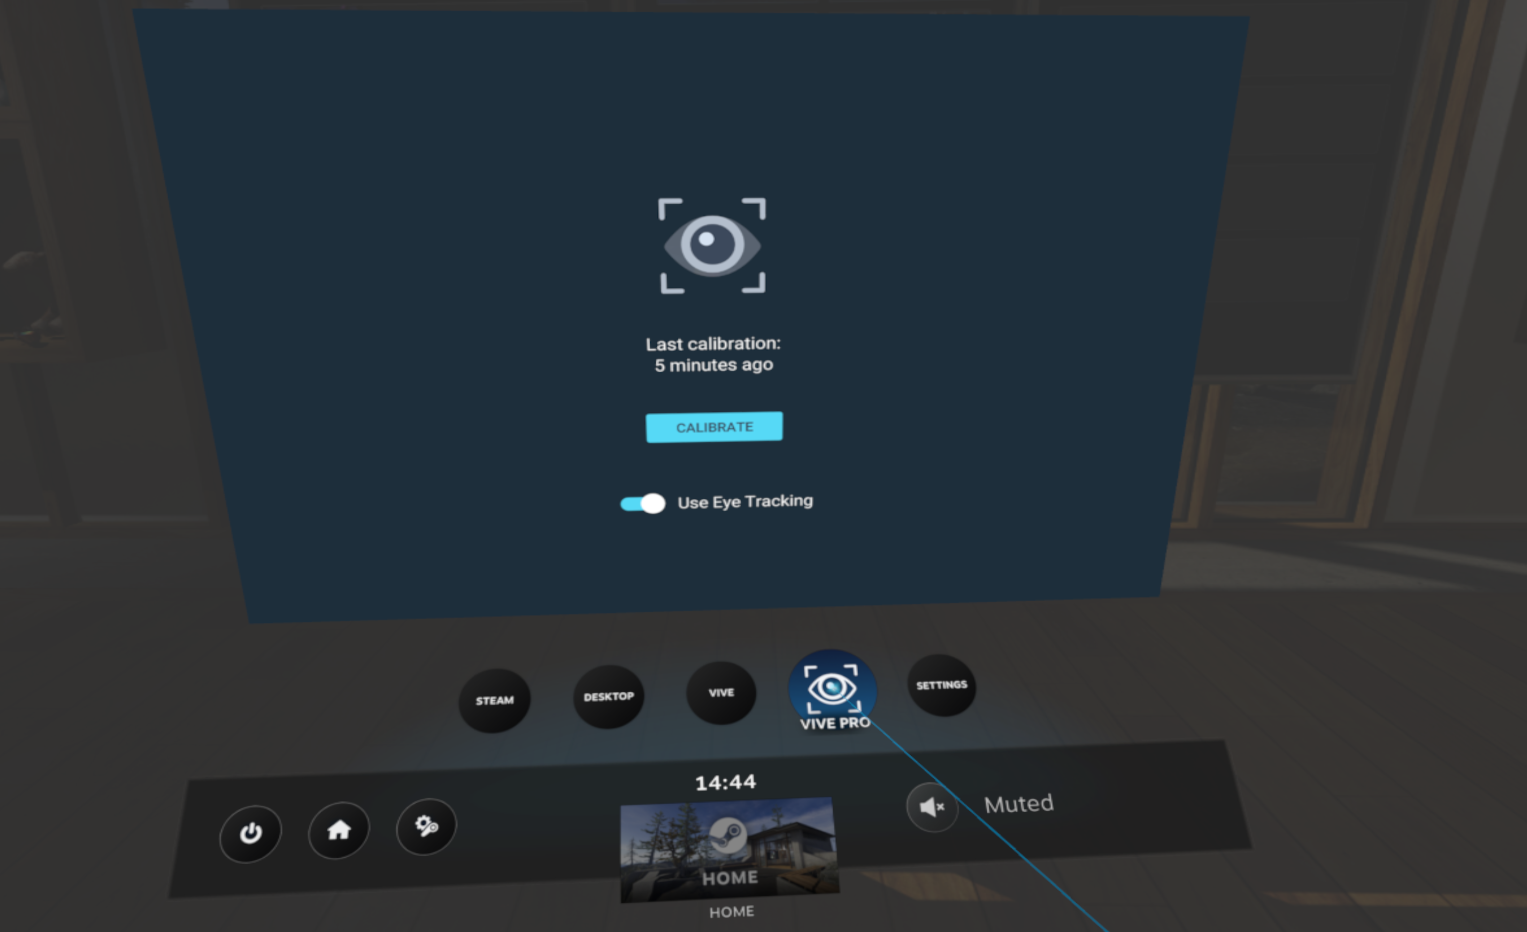
Calibrate within SteamVR by clicking on the menu button on the Vive controller while wearing the headset. This should bring up the settings menu. From here click on the button that says “Vive Pro Eye”
-
If it is the first time you are running the Vive Pro Eye, you will need to agree to some terms and turn on eye tracking by clicking on the agreement that comes up in the headset.
-
Next, click “calibrate” and follow the instructions. To verify eye tracking is working, open up Vizard and go to File- Quick Open and type in “Vivepro” and double click on the viveProEyeExample.py
-
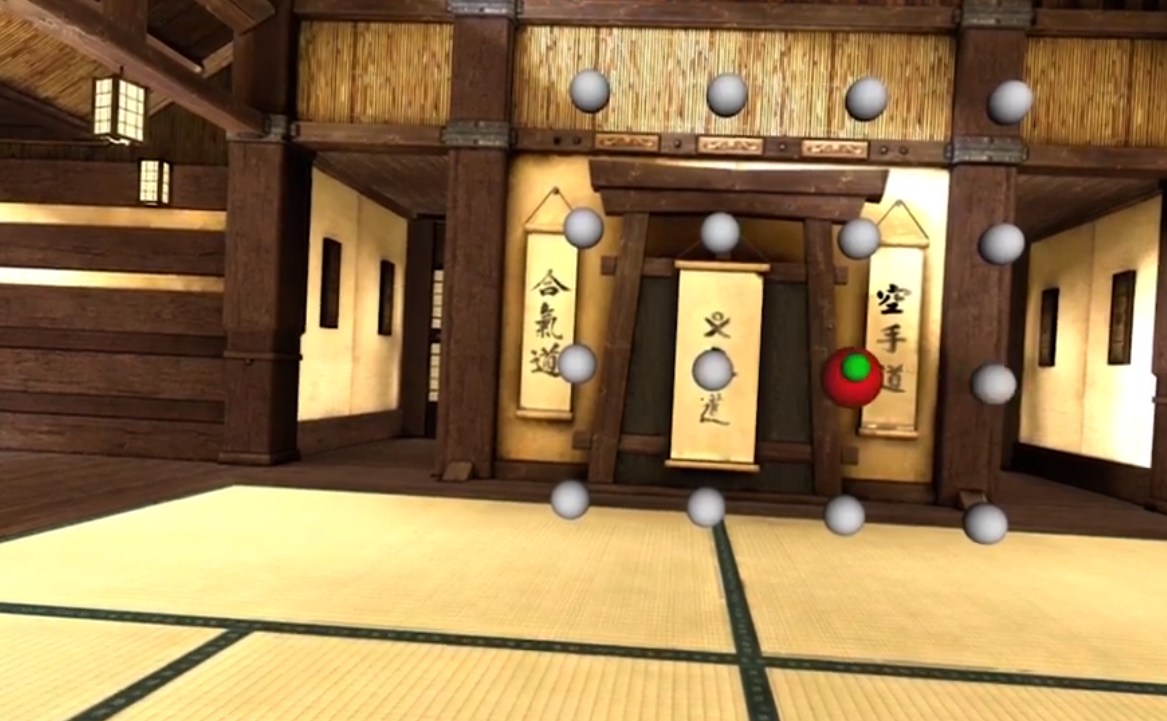
This example allows you to verify that the eye tracking is working. When you look at the array of balls the ones you are looking at should change color. You can also toggle a gaze intersect by pressing the “g” key.
For more information on how you can use the Vive Pro Eye in your research and help with setting up studies, contact sales@worldviz.com