Inspector: Finding Objects in a Scene
Outline:
Part 1: When you know the name but not the location
1. Navigating the hierarchy
2. Verifying a Selection
3. Using the search function
Part 2: When you know the location but not the name
1. Viewport Navigation controls
2. Finding the name through navigation
___
Part 1: When you know the name but not the location
1. Navigating the Scene Graph hierarchy
Inspector displays the full list of objects, lights, geometry, drawables and other node types in a scene graph. Each type of node has its own icon.

The scene graph shows objects in the order they were written during export, and some limited reorganization is possible through dragging, cutting and pasting. Sorting using the header columns is not currently supported. Ideally you'll be searching through a scene graph that has already been organized into a meaningful hierarchy.
Inspector: Particle Systems: The Basics
Creating a Particle System in Inspector
A particle system is a special kind of object that spits out particles - thousands of tiny images that float around in your environment based on the rules specified in the system.
Particle systems can be used for a variety of effects such as smoke, exhaust, rain, bubbles, and dust. Particle systems are extremely efficient, allowing the animation of tens of thousands of particles on screen with no perceptible performance hit.
Running Inspector and Creating a Particle System
Open Inspector, either from the Start Menu or from your Vizard install directory's bin folder.
e.g. C:\Program Files\WorldViz\Vizard7\bin
With Inspector open, go to Create > Particle System. The particle system will appear in the Scene Graph, the Viewport, and its settings will appear in the Properties sub-window.
Read more
Inspector: Toggling Animation Auto-Start
"Autoplaying" means that an animation will play as soon as the model is loaded, instead of waiting to be triggered by python code. This tutorial shows how to toggle the autoplaying of animations within Inspector.
Open Inspector, either from the Start Menu or from your Vizard install directory's bin folder.
e.g. C:\Program Files\WorldViz\Vizard7\bin
First you'll need a file that contains some kind of animation. You can download sample files here.
Objects
For this first part, we'll use AnimatedObject.osgb. Downlead sample files.

Generate Avatar from single image into Vizard using ReadyPlayerMe
Here are the steps to utilize the “Ready Player Me” avatar heads in Vizard, where you can generate an avatar head from a single selfie (using webcam or upload an image) and download as a .glb file
-
Go here to make your avatar from a single selfie https://readyplayer.me/
-
Download .glb file and open in Inspector (open Vizard and choose Tools- Inspector)
-
In Inspector, use the translate tools to move the avatar head to the ground plane. Make sure eyes are at:
0 in the “X” axis , just so eyes are level with 0 in the “Y” axis and just back so that the eyes aren’t being seen in front of your own in the “Z” axis.
You may also need to rotate the head 180 degrees.

PBR Workflow: Reflecting a Scene with Physically Based Rendering
This article applies to environment exported as GLTF to allow the use of its realtime lighting. For fully baked scenes both the ambient and specular reflections can be produced from the scene itself.
To use the result of a render from Max in Lys, you'd do best to save out a cylindrical panorama as a .HDR file and use the Load Panorama button.
Reflection maps mean to represent the existing scene should almost never be generated inside 3ds Max - we're aiming to reflect how Vizard sees objects, not how 3ds Max does. We render those from Inspector instead. The documentation that recommends using 3ds max predates this option and is outdated.
Frustratingly enough Lys currently has an error loading DDS cube maps despite writing them just fine, so cubemapgen is the better option despite looking so outdated.
Read more
Bringing models from Sketchfab into Vizible and Vizard
With the largest 3D content library available and an ever growing community of users, Sketchfab is an extremely powerful tool for finding 3D models for your project. All of the models in Sketchfab’s library can be downloaded in the glTF format, a new 3D model transmission format that standardizes how 3D content is delivered.
Because Vizard and Vizible support the glTF model format, you can utilize the entire Sketchfab library of models, with 150,000+ free models, licensed under Creative Commons. Here is a quick description of how you can bring Sketchfab models into your scene.
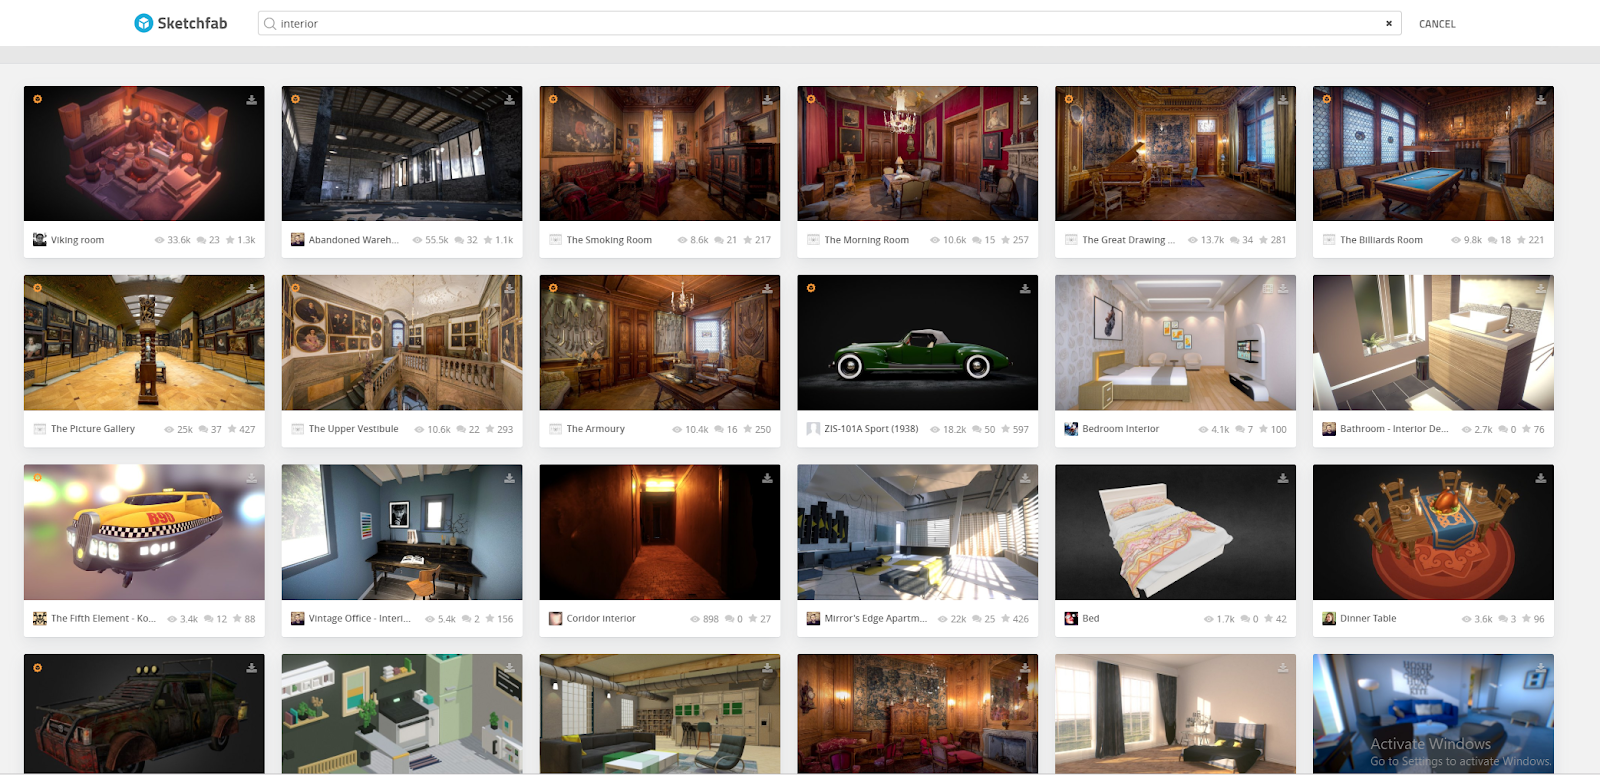
First, go to the Sketchfab website. If you don’t have an account, you’ll have to create one.
Filter your search results for “downloadable”. Most of the models on Sketchfab are free, but a few of them are paid.
Lip Syncing with Fuse/Mixamo Avatars
Programs Needed:
Fuse (available for free if you have a Creative Cloud membership, or on Steam)
3DSMax
Cal3D Exporter (available to download from the WorldViz website)
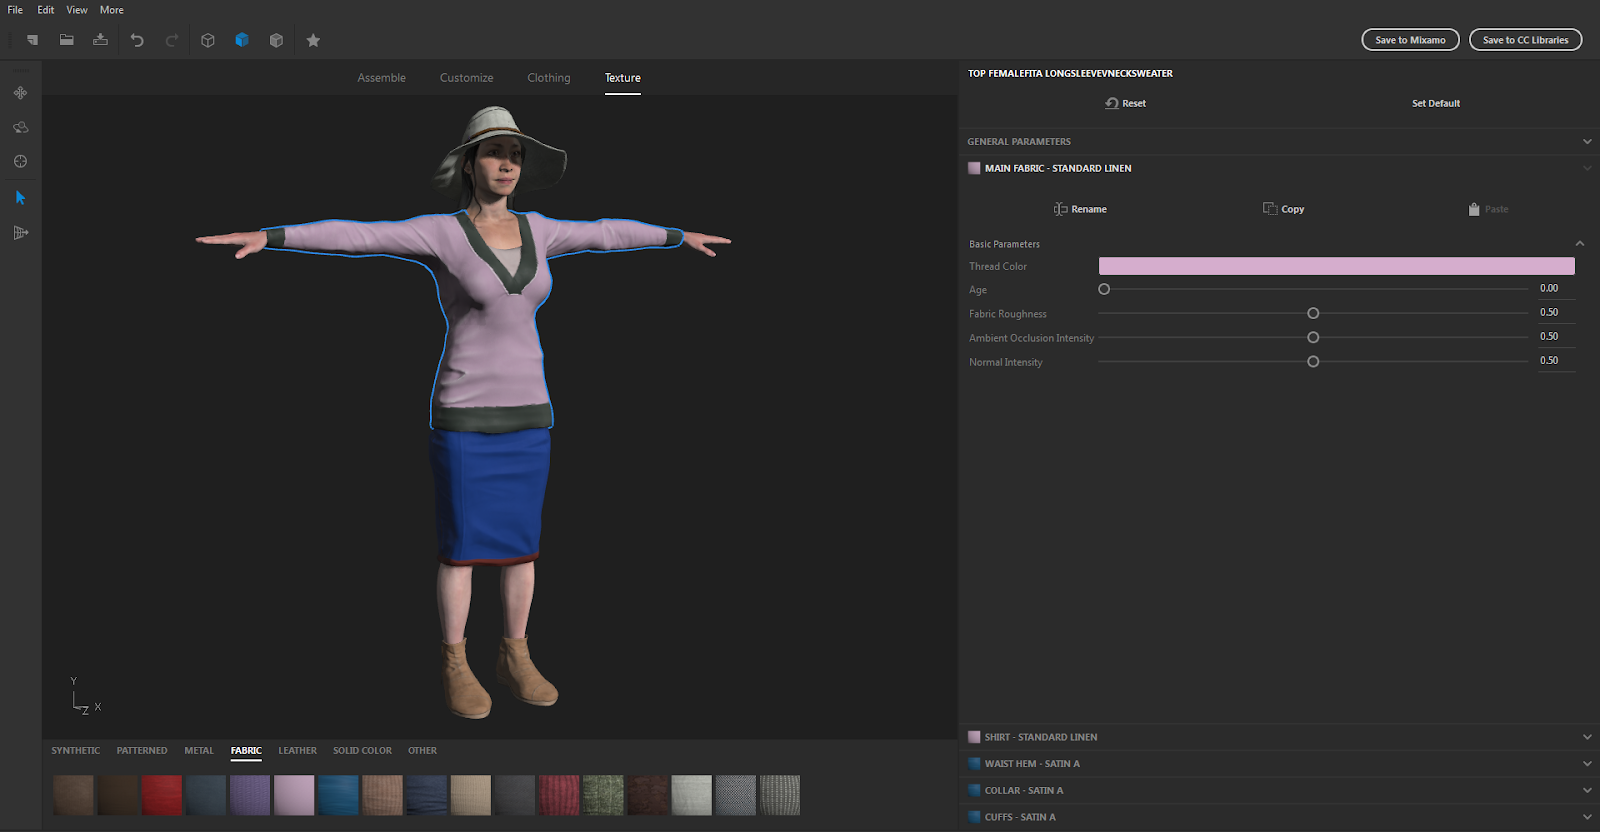
2. Go to “File- Animate with Mixamo” or click on “Send to Mixamo”

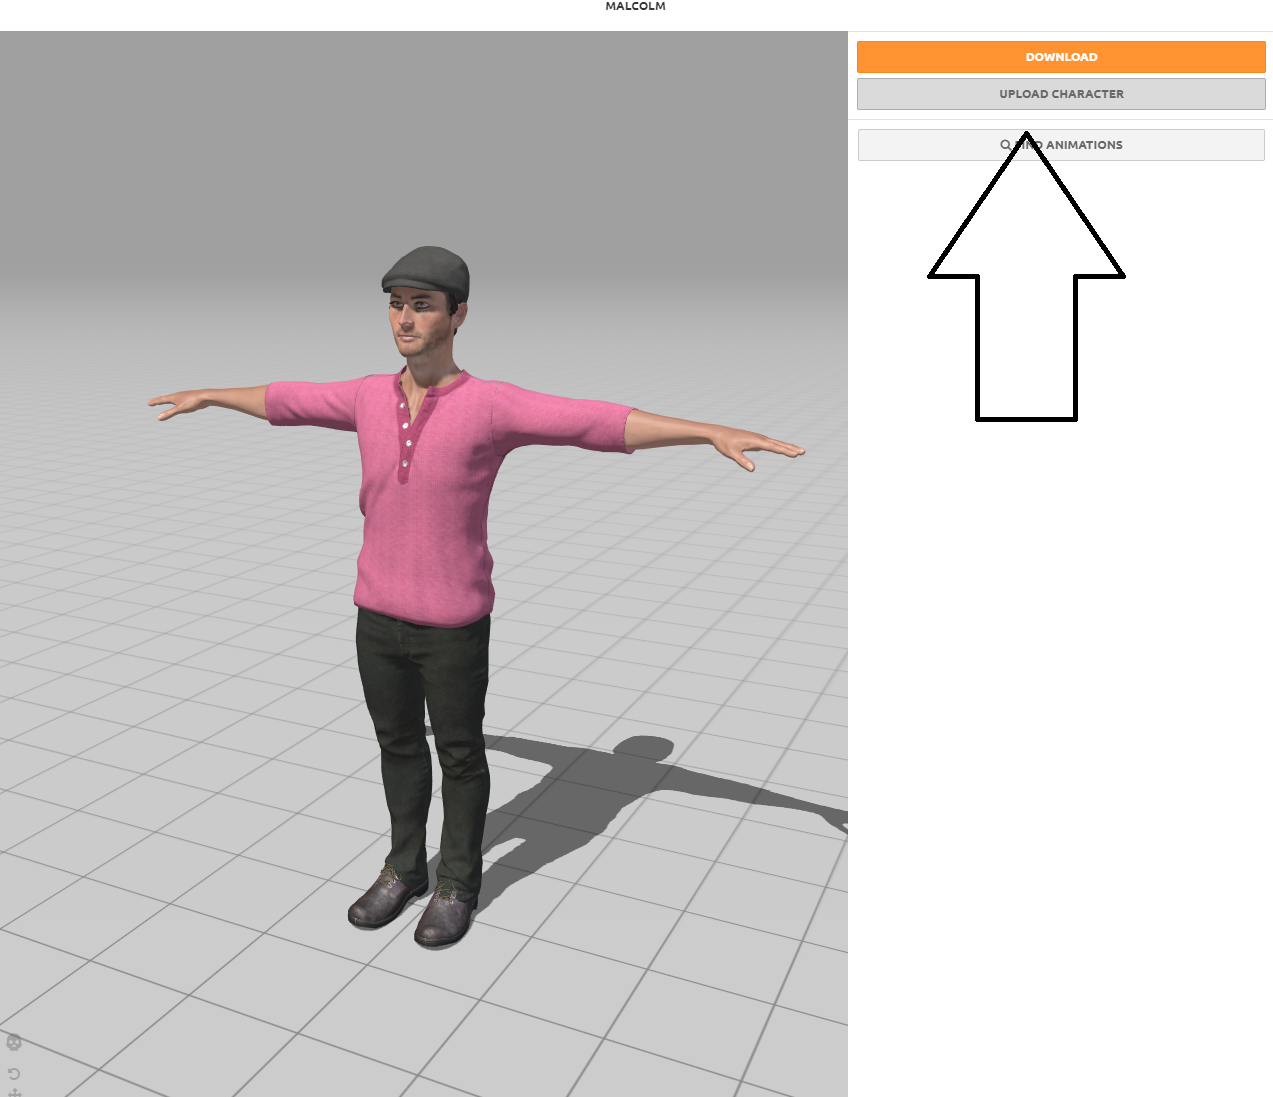
How to have tracked FBX Avatars in vizconnect using 3DSMax and Mixamo’s Auto Rigging
The Autobiped script was created by Ofer Zelichover and Dan Babcock and it is freely released to Mixamo customers
The script will convert any character rigged using Mixamo auto-rigger into a Biped system in 3dsMax
-
If going from Fuse just send to Mixamo and Auto-rig
-
Go to mixamo.com
-
Select “Upload Character”
-
-
If coming out of other programs (such as Character Creator)
-
Bring avatar into 3DSMax and delete the skeleton (for some models may also have to merge meshes)
-
Export the mesh as an fbx
-
Upload to Mixamo and auto-rig then download
-
Moving Unity Assets to Vizard and Vizible with the Sketchfab glTF exporter
This is a method for transferring your Unity assets into Vizible or Vizard using Sketchfab.
Get the latest version here: https://github.com/sketchfab/unity-plugin/releases
Download the Unity Package titled SketchfabForUnity-v1.2.0.unitypackage
Import this into your Unity project
FBX Avatar to Vizard
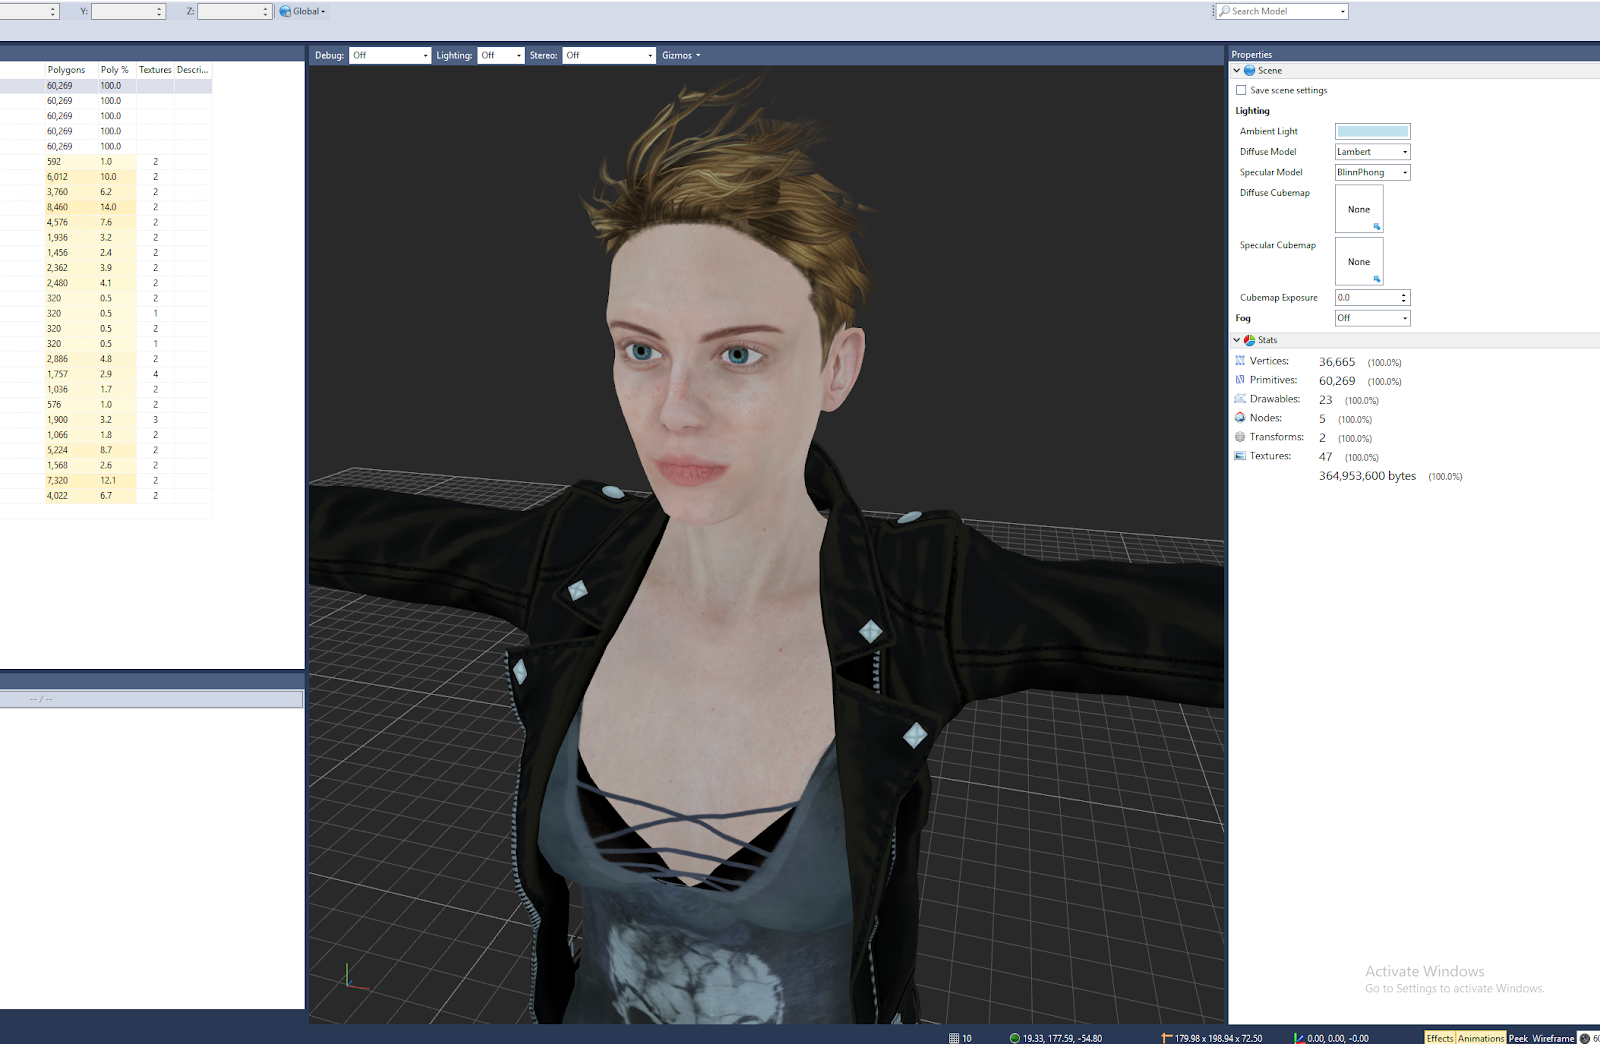
In earlier versions of Vizard, Cal3D exports out of 3ds Max were the only option for a character workflow. As of version 6, Vizard includes the ability to use any FBX avatar. These can come from a variety of sources. In this case, we'll be using a .FBX avatar exported from a program called “Character Creator”.
Importing and Preview Lighting
First, import your avatar into Inspector. This can be done by using Open With... and selecting Vizard 6 Inspector from the list, or by running Vizard 6 Inspector and dragging the avatar's FBX file into the scene.