PBR Workflow: Tools, Resources and Additional Reading

An Industry-Wide Revolution
The addition of physically based rendering to WorldViz products brings us into the fold of an industry-wide revolution in artist workflows. Physically based rendering has a few new concepts and methods compared to older methods, as well as some amazing new capabilities that simplify artist workflows an make sure that once an asset has been made once, it can be used anywhere without having to retouch the source files. This is a list of tools and resources to help you on your way.
Krzysztof Narkowicz's Interactive PBR Example
The most intuitive way to get a feel for the capabilities of a shader is often to simply mess around with some sliders and see how it responds. Krzysztof Narkowicz's embedded below from Shadertoy does just that, and even includes a realtime display of what's going on at the microsurface level.
Permalink: https://www.shadertoy.com/view/4sSfzK
Babylon.js GLTF Exporter for 3DS Max
At the moment, the best way to export models for use with Vizard's new PBR workflow is the GLTF format. GLTF stands for GL Transmission Format, and is designed as an engine-neutral way to deliver models ready for use with PBR conventions. The most popular GLTF exporter for 3ds Max is the one produced by the good people at the Babylon.js project.
Instructions for download and use can be found here:
https://doc.babylonjs.com/resources/3dsmax_to_gltf
Be sure to use the "scale factor" option to convert the units to meters for Vizard/Vizible use. e.g. if your 3ds max system unit is set to 1 unit = 1 cm, the scale factor to use in the exporter is 0.01.
Comparison to the old OSGB workflow
One of the awesome things about the approach is that cube maps are now part of environments instead of individual objects, so objects can be easily transferred between scenes and just reflect what's around them. This is as compared to having to manage reflections on a per-object basis with the old OSGB workflow, and having to replace them on every object anytime you want to bring it to a new scene. With this workflow, you make a prop once and it's done forever.
Read more
PBR Workflow: Processing HDRs for Image based Lighting With Lys

A Tool for Processing HDR Images for Image Based Lighting
Image based lighting can use 8 bit images, but requires true HDRI cube map to get the best results. Once you have on in hand, you'll need a way to process it.
First you'll need a copy of Lys from Knald Technologies. Freeware tools also exist, but many of them are either buggy or are very outdated. Lys can be tried out for free with LDR watermarked images for free, but the paid version is fairly cheap and the reliability and features make it easily worth the price.

Where to get HDR Panoramas and Cube Maps
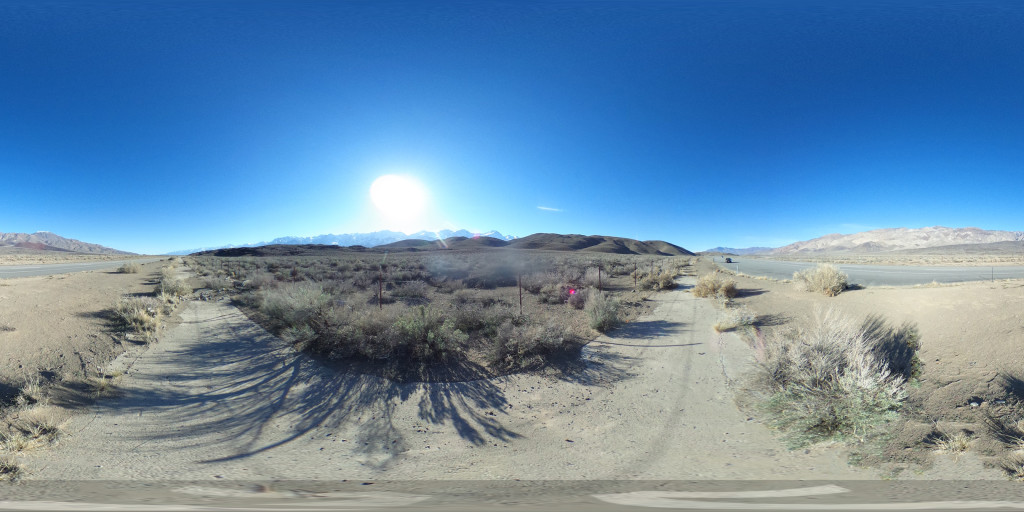
Next you'll need an HDRI panorama or cube map. A great source for free HDRI sky panoramas is HDRI Haven The website is run by CG artist Greg Zaal, who generously puts them out with a CC0 license - free for both personal and commercial use, no catch. Shooting HDRs yourself can be done with any 360 capable camera that supports exposure bracketing, though higher resolutions give better backgrounds.
You can also capture HDRI cubemaps from virtual scenes within Inspector. These currently need to be reorganized into a cross format before use in Lys. This can be done through with AMD's classic editing tool, CubeMapGen. If you're using the modified version of CubeMapGen designed for making quick ambient maps, you'll want to temporarily disable multi-threading first before saving out to cross format.
PBR Workflow: Saving HDR Cube Maps From Inspector

Welcome to Inspector R6
If you've been working with WorldViz products for a while, you may already be aware of our visual editor, Inspector. Inspector allows for the inspection and manipulation of scenes, setting up realtime lighting, particle effects, Level of Detail nodes, and various other options.
New to Inspector in Vizard 6 is the ability to render out High Dynamic Range cube maps that can be processed in external programs for Image Based Lighting in a Physically Based Rendering workflow, such as in commercial tools like Lys, or freeware like IBLBaker.
Inspector is included with all installations of Vizard, and is unrestricted with all licenses including the free mode. If you don't already have a copy of Vizard installed and would like to try Inspector, download the free edition of Vizard here.
Start Inspector and Load the File
To start off, open up inspector from the start menu, then load your environment model using File > Open.
Read more
Baking Lighting in 3ds Max: A General Overview, Part 2

Baking in Max can be a daunting process. Last time, in Part 1 we talked about what you need to get started, options for renderers, a few of the different kinds of bakes you can do, plus how and why to do test renders.
Part 2
This time, in Part 2, we go into the approach for Unwrapping, the details of Render to Texture, and the actual baking.
Part 1 | Part 2
Initial Bake

Unwrap Model
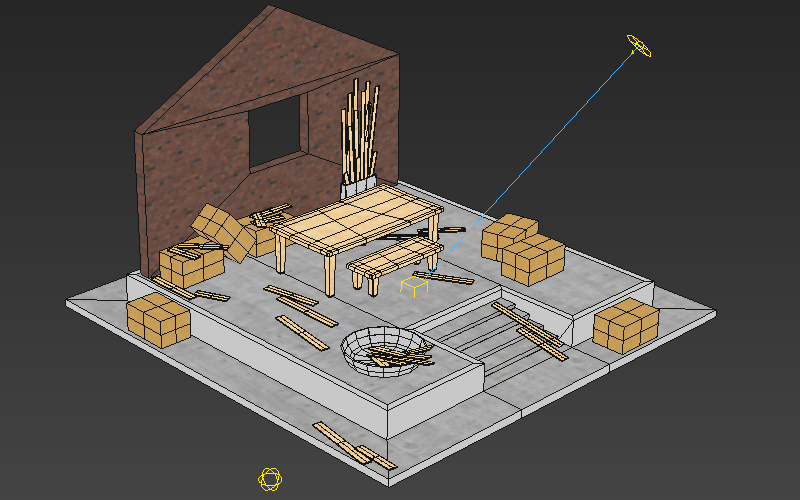
Bakes work by recording the lighting intensity for each point on a model's surface into a texture. This means that, under normal circumstances, you don't want any overlaps or tiling used in the UV channel that you bake to otherwise you may have some very strange results in your baked lighting. While unwrapping by hand produces the best results, automatic unwraps are usually more than enough. Bake UVs are usually unwrapped to channel 3.
There are a few common options for creating lightmap UVs for large numbers of objects. One is to use the automatic unwrap feature of Render to Texture, though this always groups matching material IDs together resulting in a lot of wasted UV space. Another option is to use a scripted tool written in-house called SteamRoller, which does a similar function but isolated from any other dialog and without requiring the material ID option. Paid plugins also exists that can do unwrapping, some of which also have their own special baking options.
Baking Lighting in 3ds Max: A General Overview, Part 1

Baking in Max can be a daunting process. There are numerous choices, and it may be unclear what is going to give the ideal results. This guide gives a general overview of the process to take your work from an unbaked model to final baked scene.
Part 1
In this first section, we talk about what you need to get started, options for renderers, a few of the different kinds of bakes you can do, plus how and why to do test renders, and what mesh issues to look out for.
Part 1 | Part 2
Starting Out

Ready to Go
Before you're ready to bake, you'll ideally have a scene that's realtime ready. This usually means a low-ish polycount (under 2 million), Scanline:Standard materials, and bitmap based textures instead of procedural ones. While it's possible to bake high polycount objects, such as unoptimized architecture scenes, they may take an exceptionally long time to unwrap, and may also have trouble running once exported.
You'll also want to have some familiarity with the OSG Exporter, but if not you can also start off by loading up the sample preset file from the Storing and Loading OSG Settings tutorial.
Quick Previews with the Max OSG Exporter

The OpensceneGraph exporter's toolbar is the best and quickest way to export and preview a Vizard/Visible scene in Inspector when working in 3ds Max. Adding the toolbar, and setting it up, is quick and easy.
If you'd like to quickly set up the rest of your OSG Exporter's settings to match what we use here at WorldViz check out the tutorial on Storing and Loading Your OSG Export Settings, which also includes a downloadable preset file.

Let's get started.
Skydomes and the OSG Background Map Export Setting
Many scenes benefit from having a skydome in the background - an image of a sky that replaces the flat background color of a scene. The easiest way to do this with an OSG Export is to take advantage of the exporter's "Background Map" feature. This feature automatically generates an infinitely distant skydome that will never accidentally cut off our models or mess with your model's clip plane.
At the moment HDRI skydomes are not supported, but this feature may be coming sometime in the future.
Where to Get a Sky Texture
You can start off by grabbing high quality skydomes off of places like https://www.cgskies.com/, stock texture sites, or make your own with a 360 camera on a tripod (such as the Ricoh Theta) and capture through its associated remote shutter app. Various other solutions for capturing professional panoramas exist as well, such as incremental nodal camera mounts (e.g. Nodal Ninja) or automated heads (e.g. Gigapan), though these methods may have trouble stitching together moving objects such as clouds.
Here's a sample spherical panorama you can grab for testing, captured with an older Theta. The Theta has some stitching artifacts where the edges of its two lenses come together, but this is most noticeable when placed directly on a flat surface instead of a tripod. This version of the Theta also has a noticeable amount of color noise, even when shooting in well-lit situations with a low ISO.
In this example the tripod was originally visible, edited out in Photoshop using the polar coordinates filter and content aware fill, and the photographer (yours truly) was also removed using content aware fill. This sky texture has a small worldviz logo watermark at the very bottom which should not typically be visible unless a user manages to look underneath the ground.
Storing and Loading Your OSG Export Settings
OSGExp preset files are a great way to store and share exporter settings for your own use and for sending your export settings to customer support.
To load a settings file, such as this one (wviz_default.OSGExp), make sure you have the latest version of the 3ds Max OSG exporter from the plugin download page, then open up the exporter dialog, load in the preset using the dropdown list in the lower left, and hit OK.

The default file above contains the settings that WorldViz uses internally for most of its projects. Most of the time the only settings that change from project to project are the "Turn Off Lighting" setting (for disabling realtime lights from affecting baked scenes) and the map type and object type filters (the "maps" and "export objects" rollouts).
Saving a preset works the same way. If there is a setting you need to come back to later, use the Save feature to store it with your project files.
What is … PureRef?
Pureref is a image display program designed to streamline the display of an artist's reference images. It is simple and straightforward program that works better than just about anything else for it's intended purpose. In addition to displaying reference material, it can also be used for storyboarding. Pureref is also incredibly cheap to buy, at an optional 5£ donation.
Pureref works by dragging pictures into its window, from desktop or web. This places each item on a scalable virtual tile that can be arranged on on the virtual surface, and zoomed in and out as needed.
Glossary: Geometry in 3ds Max
Basic Terms
Vertex:
An individual coordinate in 3D space, represented by a dot.


