Baking Lighting in 3ds Max: A General Overview, Part 1

Baking in Max can be a daunting process. There are numerous choices, and it may be unclear what is going to give the ideal results. This guide gives a general overview of the process to take your work from an unbaked model to final baked scene.
Part 1
In this first section, we talk about what you need to get started, options for renderers, a few of the different kinds of bakes you can do, plus how and why to do test renders, and what mesh issues to look out for.
Part 1 | Part 2
Starting Out

Ready to Go
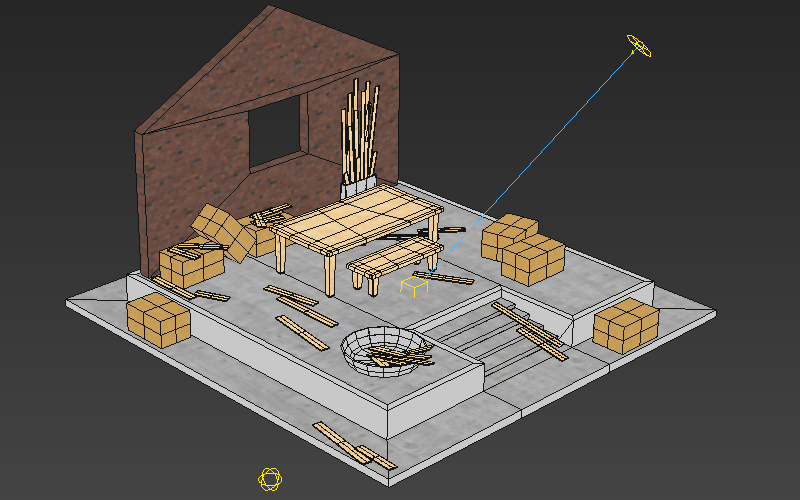
Before you're ready to bake, you'll ideally have a scene that's realtime ready. This usually means a low-ish polycount (under 2 million), Scanline:Standard materials, and bitmap based textures instead of procedural ones. While it's possible to bake high polycount objects, such as unoptimized architecture scenes, they may take an exceptionally long time to unwrap, and may also have trouble running once exported.
You'll also want to have some familiarity with the OSG Exporter, but if not you can also start off by loading up the sample preset file from the Storing and Loading OSG Settings tutorial.
Set The Renderer
Once you're sure your model is realtime-ready, you'll want to pick a renderer that supports baking. This can include renderers that are included in Max, such as Scanline and Mental Ray (discontinued in newer versions), or 3rd party renderers such as VRay.
- VRay: WorldViz currently favors VRay for baking because of its speed and reliability over Scanline and Mental Ray. It's not without it's quirks, but the quirks it does have aren't going to be as severe as finding failed islands after an 80 hour render, as was a constant issue with Mental Ray.
Arnold: While the Arnold renderer itself supports texture baking, as the time of writing (November 2017) 3ds Max does not yet have this feature implemented, a source at Autodesk reports that it's on the backlog and a high priority item.
Scanline: Scanline is old and slow, but it's better than nothing and the results are relatively clean even if the renderer itself is outdated. Now that Mental Ray is being removed and, at the time of writing, Max doesn't yet have baking support Arnold then if you're using Max without any plugins Scanline is going to be your main option.
Mental Ray (discontinued): For users that aren't quite up to the latest version of Max, Mental Ray can be a decent alternative to Scanline. Mental ray has one big catch - a long-standing issue where any small or long and thin UV islands that render smaller than a pixel Mental Ray will assume to be unimportant and fail to render, unlike other renderers which will just put padding around those sections. This is especially and issue on spheres and chamfered edges. The problem can be partially addressed by supersampling, but this also greatly increases render time.

Decide on your Approach
- Classic Bake: A full bake stores a model's lighting as it's own texture, and is one of the more straightforward and efficient methods of baking. The biggest benefit of any baked method that stays separate from other maps is that the difference in UVs allows the lightmap, typically made up of mostly smooth gradients, to be a much lower texel density than the diffuse map. A high resolution lightmap on a flat wall or curved surface looks just about the same as the interpolated pixels of a map 1/256th of the size. Intricate objects can still require detailed lighting, but buildings often do just fine with a single pixel of lighting covering a square meter of detailed diffuse mapping. The big downside of using lightmaps is the lack of directional information which prevents them from being affected by Normal Maps.


- Indirect Only: Similar to a Full Bake, an Indirect Only bake keeps the lighting separate from the diffuse map, allowing for lighting information to be much less detailed than the tiled diffuse. The main difference between the two is that true to it's name, an Indirect Only bake only bakes Indirect Lighting, also known as bounced light or radiosity. This, combined with a shadow casting realtime light produces a result very similar to a full bake, but one that also produces lighting that is correctly affected by Normal Maps. Some renderers may not have this option available.


- CompleteMap: CompleteMaps work differently than other kinds of bakes. Instead of combining different maps together at render time, CompleteMaps aim to record in the texture something as close as possible to what you see in a render. Done well, the result is along the lines of a high quality photogrammetry capture. In some cases, CompleteMap render element can also be used to create classic and ambient only lightmaps.


CompleteMap Drawbacks
CompleteMaps, used the typical way, also have some major downsides.
- Large File Sizes: Similar to lightmaps, every part of a completemap texture needs unique UVs with no tiling or overlaps. With other kinds of baked in lighting this isn't an issue because all the fine grain detail is coming from a heavily tile diffuse textures. For CompleteMaps, the detail in the map is the detail you see in the world. This means that to get a reasonable amount of close texture detail, e.g. 1 texel per 1/4 cm^2 of surface area or smaller, you'll need to have massive textures. Even a scene the size of a single Condo home can easily have several hundred megabytes of texture data, several times larger than other techniques.
- Long Render Times: High resolutions also mean long render times. A classic lightmap that takes 15 minutes to render, because of the low resolution, can easily take several hours to render as a completemap.
- Static Reflection and Transparency: Like with Photogrammetry, reflections and transparency in CompleteMaps can appear to be "painted on". In real life reflections change based on viewing angle, but there is no way to represent this in a single static map. In some cases it can be useful to combine CompleteMaps with realtime reflection techniques such as Cube Maps.
- Lack of Flexibility: CompleteMaps are very resistant to change and revisions needed down the line. Simple edits can be done in an image editor, such as Photoshop, but anything major is going to need a rebake. Compare this to traditional bakes, where changing the diffuse color work the same way it does on an unbaked model - by swapping that texture. The only time a high quality traditional bake needs to be redone is when the lighting changes.
Initial Renders

Renderer Settings
During your initial renders, start off by setting things up as you would for a still. There are some differences with the way anti-aliasing and sharpening can work on baked textures versus stills, so generally you'll want to handle these through supersampling instead. Sharpening artifacts on the edges hard shadows look especially noticeable in realtime 3D, while anti-aliasing can cause issues on the edges of texture islands in some renderers. Sampling and light leaks are also often very noticeable. You'll need to experiment with your specific renderer's settings to find the quality target that best suits your needs.
Set Up the Static Lighting
For classic bakes and complete maps, lights are set up fairly normally. You can set your ambient light as a flat ambient, a skybox, or use an ambient light that works with AO if your renderer supports that (e.g. VRay). You'll also want to choose whether you'll be aiming for high realism renders that use actual bounced lighting, or if you'll just be simulating it with another faster method. If you're going for an ambient lighting approach, this can often be set either within the render elements, or within the light settings themselves. Setting this within just the lights themselves is a good way to produce a solution in between classic lightmaps and ambient only lightmaps - most commonly seen in projects where the sun node will be realtime but everything else is baked in.
It is also possible to bake high bit depth lightmaps, and to manipulate the exposure through code, though 16 and 32 bit exposure control do not currently work with all HMDs. High bit depth images take up more space and should be saved for scenes that use re-exposure and need to cover a wide range of exposures. When not doing any kind of exposure control, lightmaps are fine to stay 8 bit and should have their intensities weighted around 50% gray which acts as a neutral, similar to Photoshop's Overlay and Hard Light blending modes.
The actual math of the lightmaps works out like this:
(Diffuse * Lightmap * 2), where diffuse and lightmap are interpreted as a 0 to 1 range. So a diffuse texture with a brightness of 20% gray (0.2) * a 50% gray lightmap (0.5) * 2 becomes 20% gray * 1, which results back in the original brightness of 20%. Anything brighter than 50% in the lightmap will brighten the lit model and anything darker than 50% will darken it.

Test Renders
As you are finding your ideal settings, you should also be able to start detecting flaws in models that will interfere with the baked result. Models imported from other programs, such as Revit or Sketchup, are prone to artifacts that severely interfere with the quality of your baked results. Some artifacts may also only show up in bakes, or will only be visible when backfaces are disabled in the render. The most common ones are:
-
Flipped normals: Found when objects render dark. Sometimes also caused by a negative model scale and mirroring.
Unwelded vertices: Found by splits in lighting
Explicit normals: Found when an edited model appears to be lit from the wrong direction
Overlapped Faces: Found by dark sections of a model that aren't caused by flipped normals
Coming Up Next
Next time, in Part 2, we get into the details of the actual baking and the interface of Render to Texture.