How to Setup an Eye Tracking Experiment using the WorldViz VR Eye Tracking Analytics Lab
This article will introduce you to the most important features of the WorldViz VR Eye Tracking Analytics Lab and show you how you can easily modify the included template to use your own 3D assets. Once set up, you can collect eye tracking data related to your 3D assets such as number of fixations (as well as average and total fixation time), pupil diameter size, time stamps, gaze intersect visualization and position data, 3D gaze path visualizations, and more! For more information on this or any WorldViz products contact sales@worldviz.com
For a video guide of this tutorial click here
Getting Started and Setting Up Your Scene
When you first install the VR Eye Tracking Analytics Lab, you will have a folder with some template scripts you can use to build an eye tracking experiment, as well as folders to store your resources, saved recordings and data files. We will start first by loading your environment and fixation objects into the configuration tool, Vizard’s “Inspector”.
First, open up Inspector (in Vizard- under “Tools- Inspector”) and load your environment model by going to “File- Open”.

You can find 3D models off of websites like Sketchfab, use 3D modeling software, or various other sources. For more information on getting models out of Sketchfab see our blog post on this topic.
If your environment model already includes your fixation objects, then you can skip this step, otherwise, go to “File- Add” and add objects that you would like to measure eye tracking data on. You can then use the transform tools to position, rotate and scale the object(s).
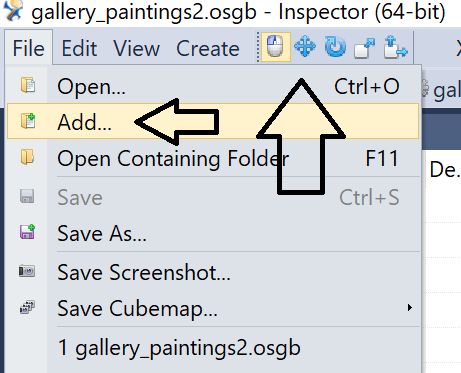
Now you will need to save this model into the “resources” folder in the VR Eyetracking Analytics Lab folder by choosing “File-Save As”, navigating to that folder and then giving it a name.

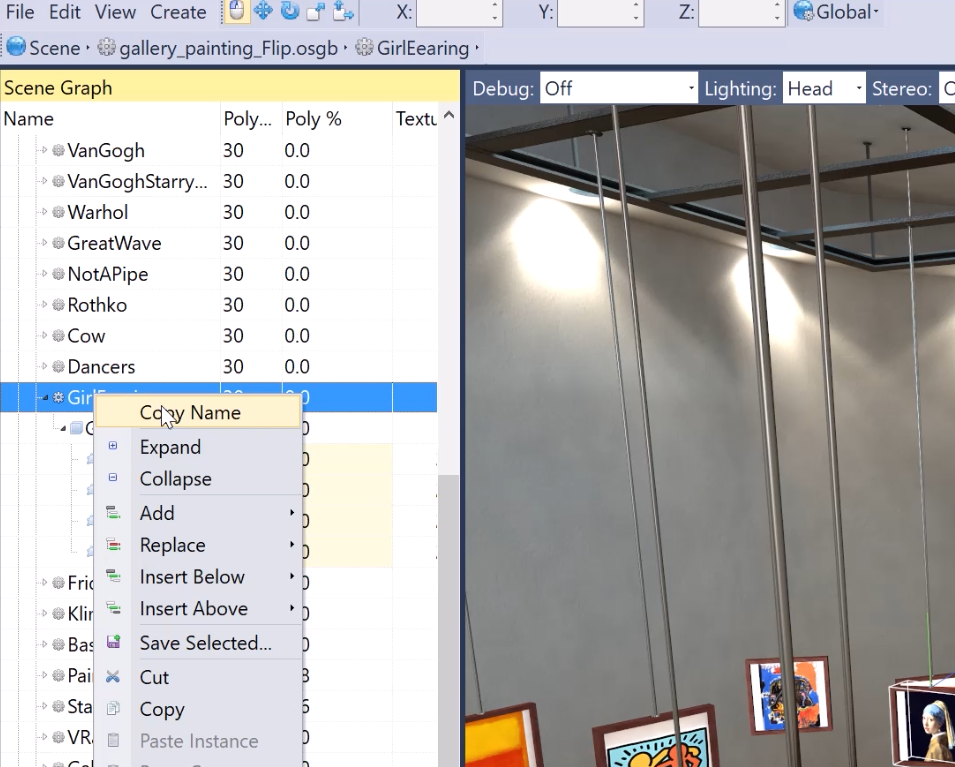
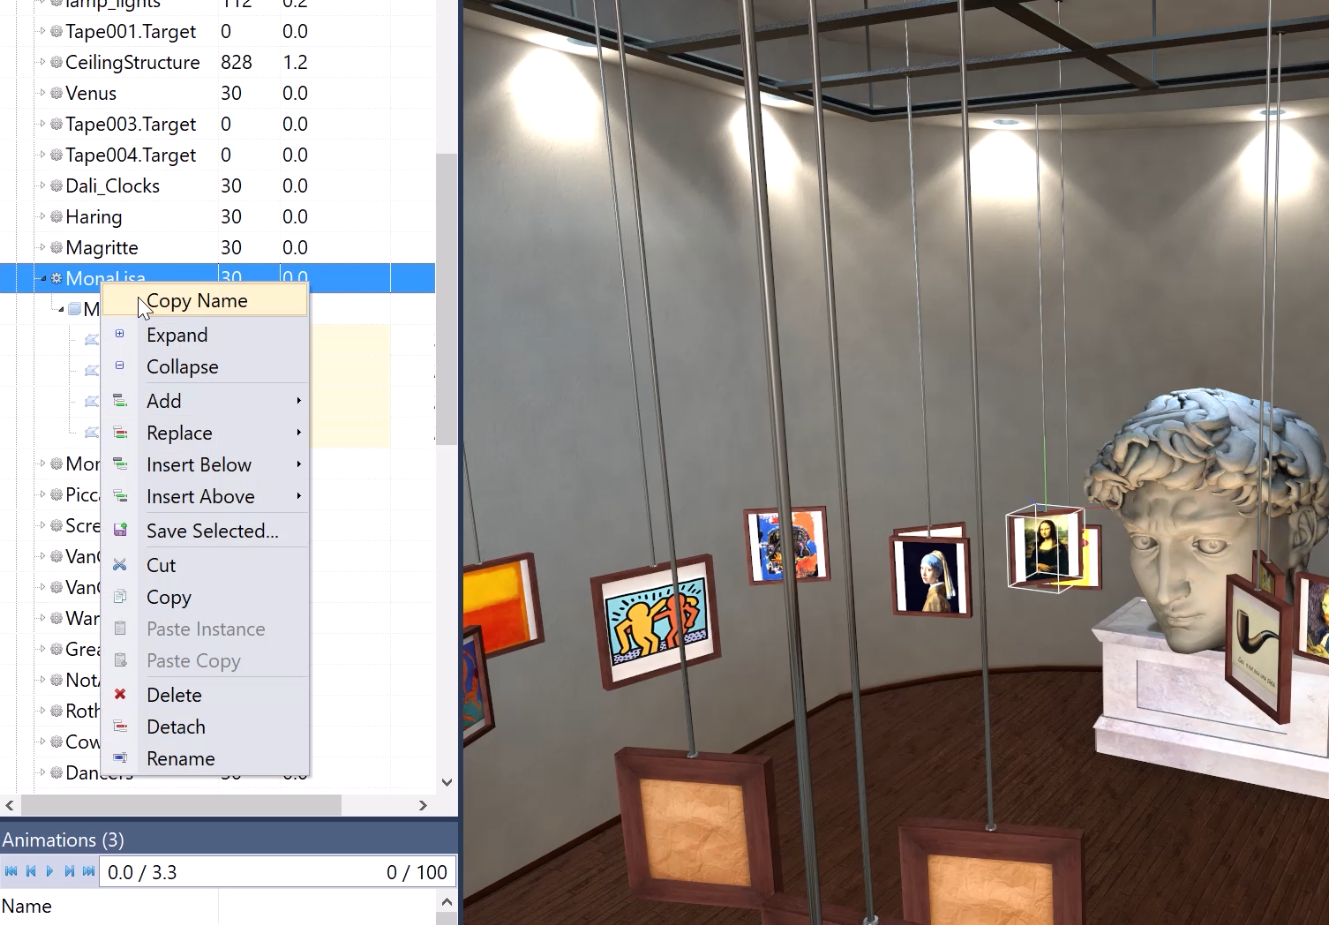
Next, copy the name of your first object by right clicking on its name in the Scene Graph. You can also rename the object if you like by choosing “rename” from the context menu.
The next step is to open up the “eye_tracker_complete.py” script by either right clicking and choosing “edit” (if you have chosen Vizard as your Python editing tool), or opening Vizard and going to “File-Open” to load this script.

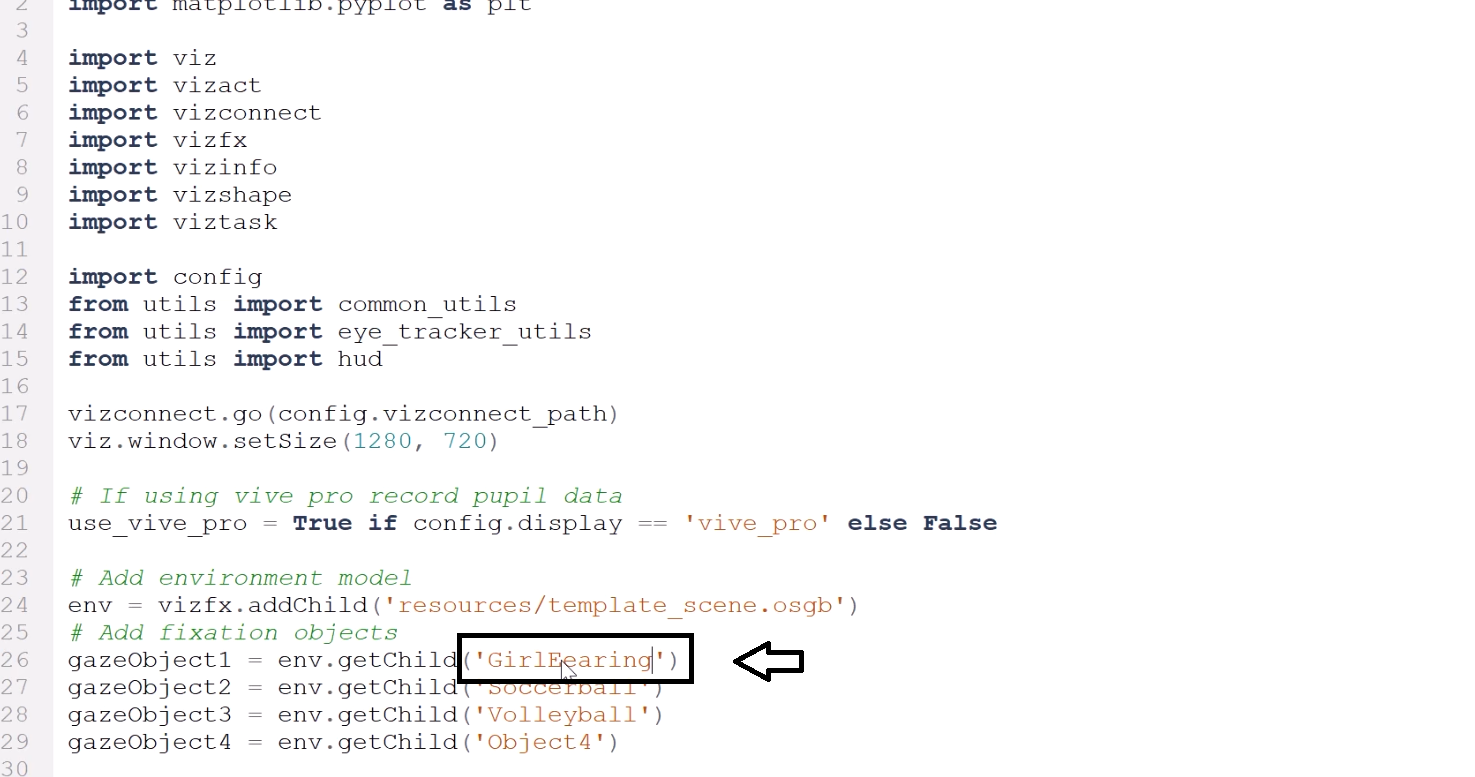
Since you copied the name of your object of interest in the last step, all you need to do now is to paste that name into the script where it says “gazeObject1” after “getChild”, overwriting the existing objects (the default template comes with a few objects already set up by default (a basketball, soccer ball and volleyball)) and then also in the location where you are labeling the gaze objects for the data files (line 30). If you wish to add more or less than the included three you just need to either remove or add more lines to the gazeObject and gazeObjectsDict sections.

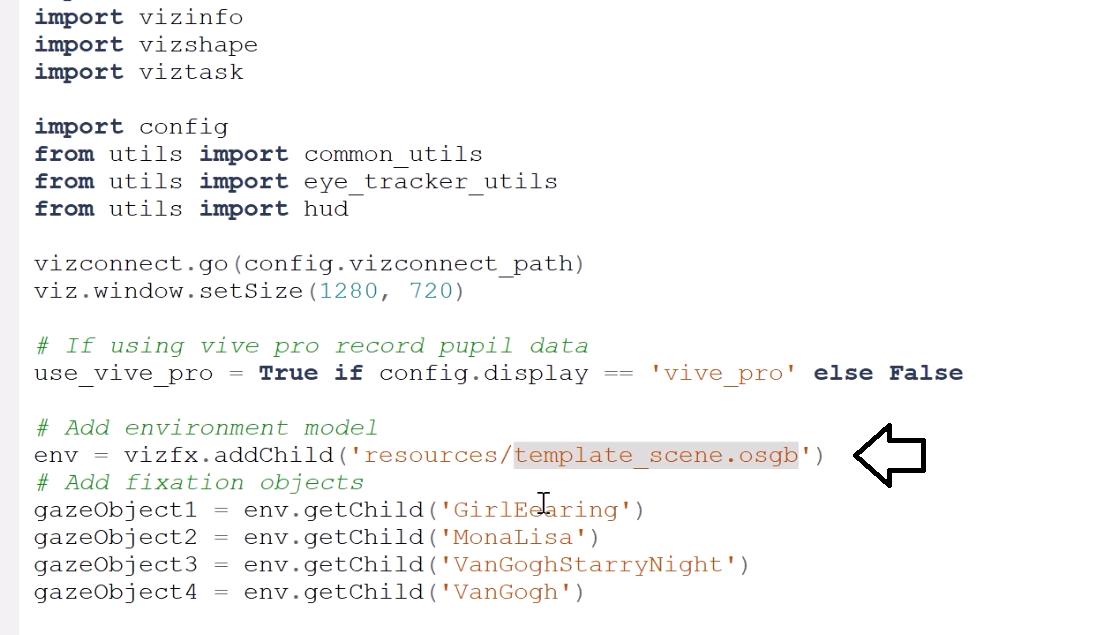
Repeat this step for all the objects you wish to collect and visualize eye tracking data with (going back to Inspector, right clicking to copy the name of the object and pasting the name into the gazeObject list and “gazeObjectsDict”).
Now rename the “env” model to be the name of your saved environment.
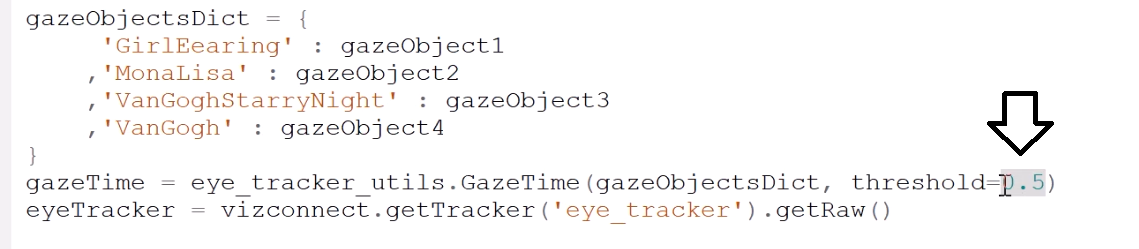
If you wish to change the fixation threshold you can change this on Line 35 next to “threshold”. The default is set to 500 milliseconds (meaning if you stare at an object for more than 500 milliseconds it will register as a fixation).
And that’s it! You now have your eye tracking experiment setup to run in your eye tracker of choice and collect data and visualize it.
Choosing your Hardware and Preferences
To choose your hardware open the “config” file in Vizard and change the name of device from either the Vive Pro Eye, Pupil Labs, Tobii VR (for original Tobii Vive integration), or a desktop mode that simulates an eye tracker (if you don’t have access to one or wish to just prototype on a desktop). You can also choose whether you want to save a video recording of your experiment in the config file.

Running the Experiment
To run the experiment, just click the green arrow in the Vizard interface, press the “F5” key or go to “Script- Run”. When it first opens a user will be prompted to enter in their name and ID number and click “submit” (this is so that you can more easily identify each user’s data, if you wish to skip this you can just click “submit”).

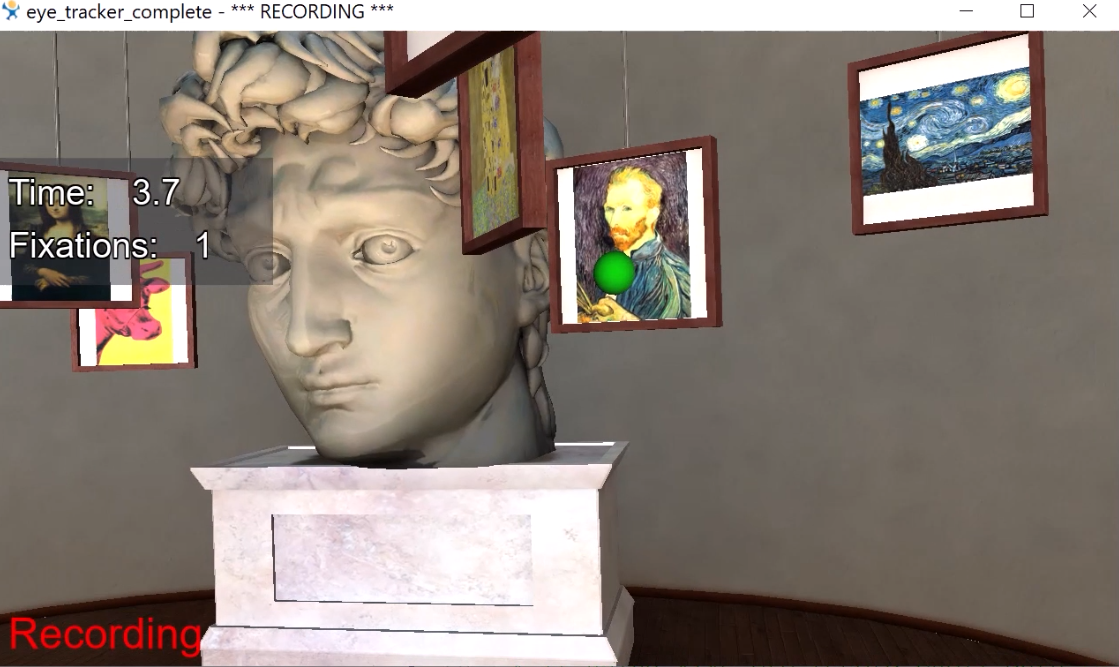
Put on the headset and press “spacebar” to begin recording
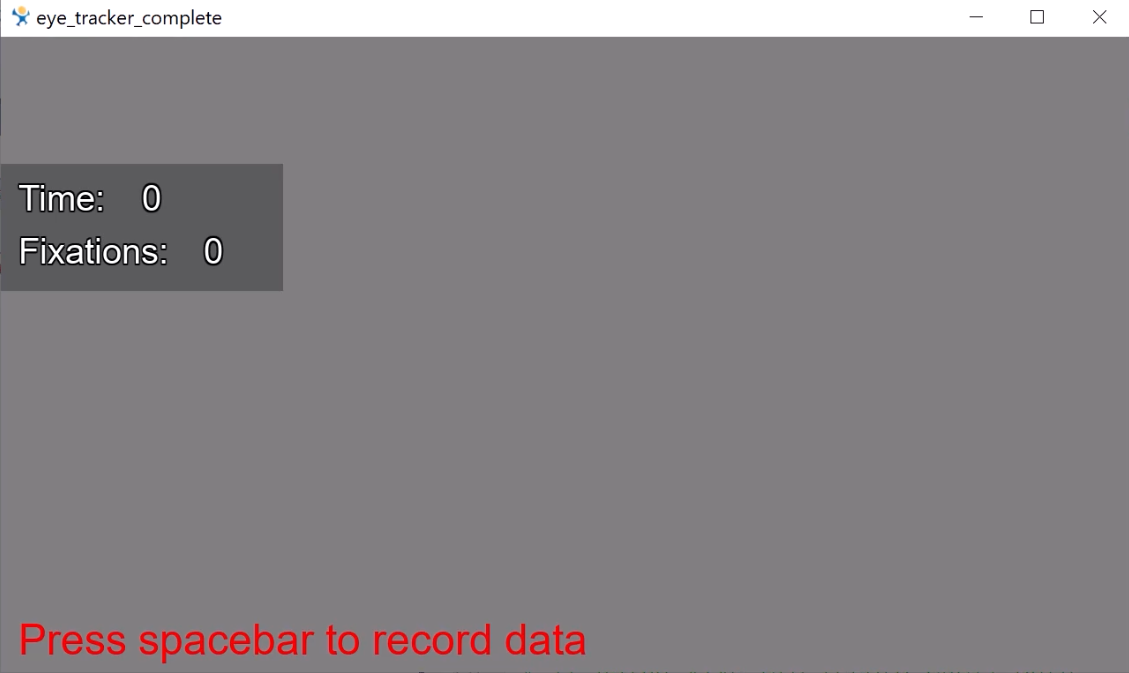
As your experiment is running you will see a gaze point intersect on the mirrored desktop view. If you wish to have the participant see this, you can toggle it on with the “P” key. It is set to only be on the mirrored view by default. The mirrored view will also display the elapsed time of the experiment as well as the number of fixations. You can easily add more information to this viewpoint.
Analyzing the Data
When the experiment has finished you can now view and analyze the data. Here are a few of the ways:
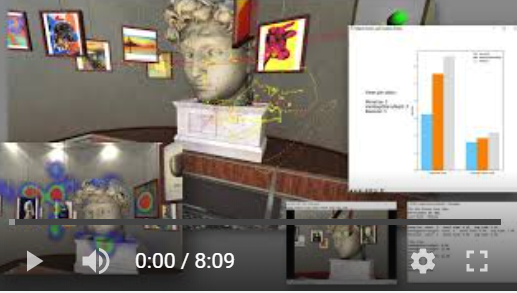
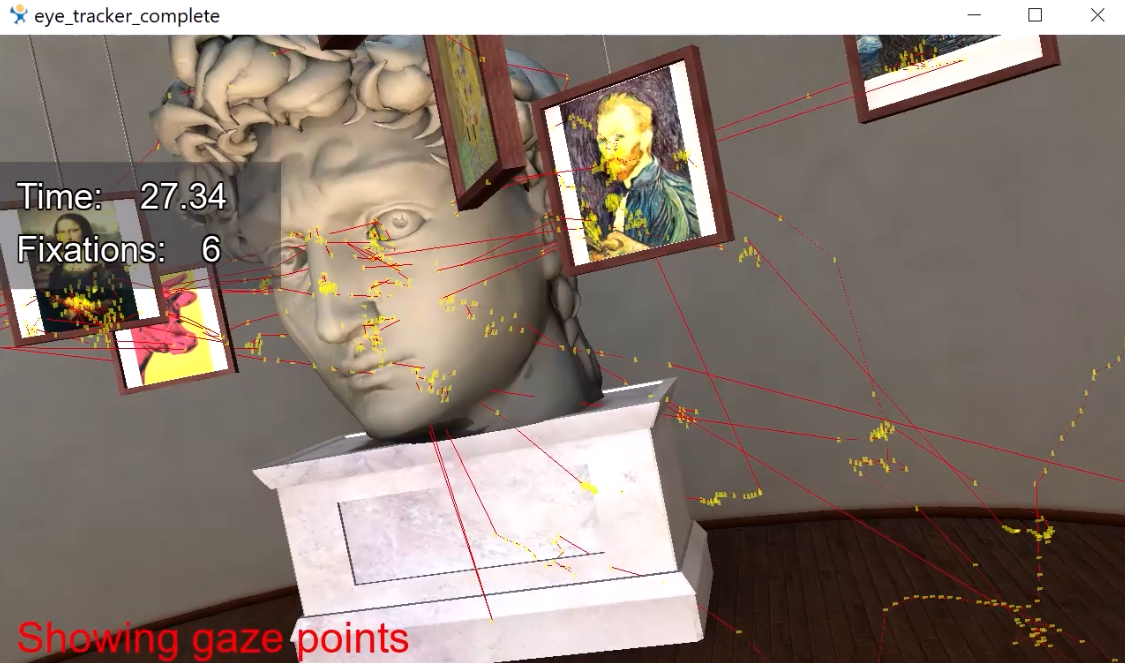
3D gaze path: This can both be viewed on the desktop, or also in a headset (so you can walk around and see it in 3D).
Bar Chart of Fixation views per object, total view time and average fixation time:

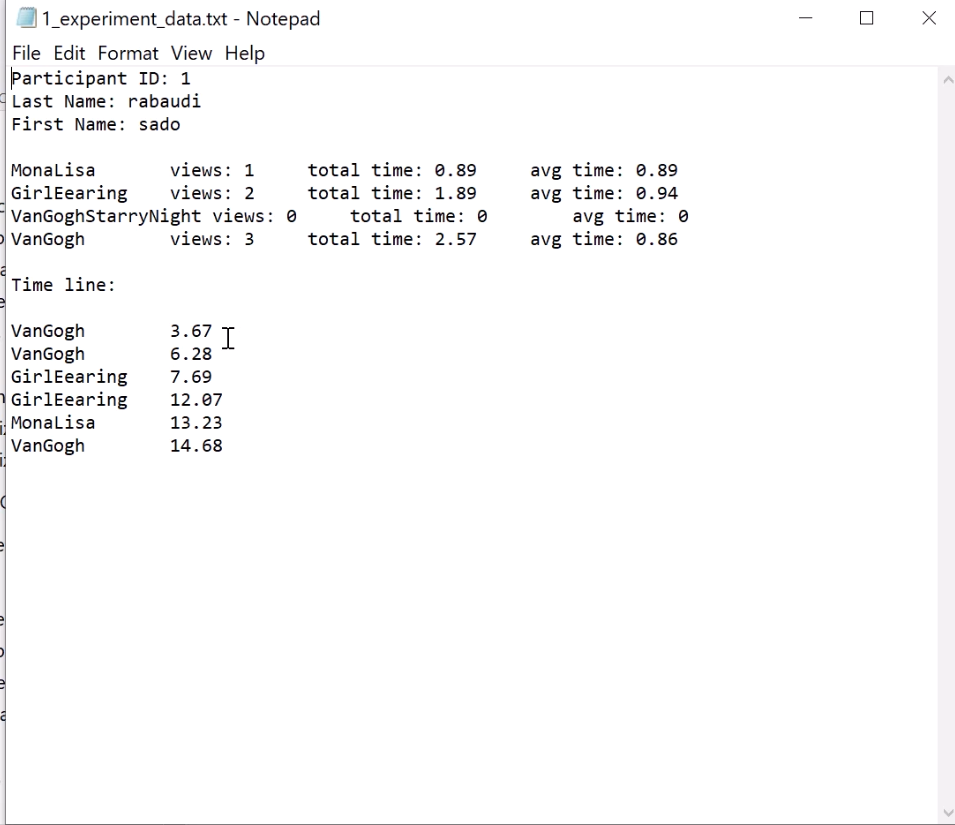
Experiment data text file showing a timeline of when each object was fixated on, as well as a summary of fixations.
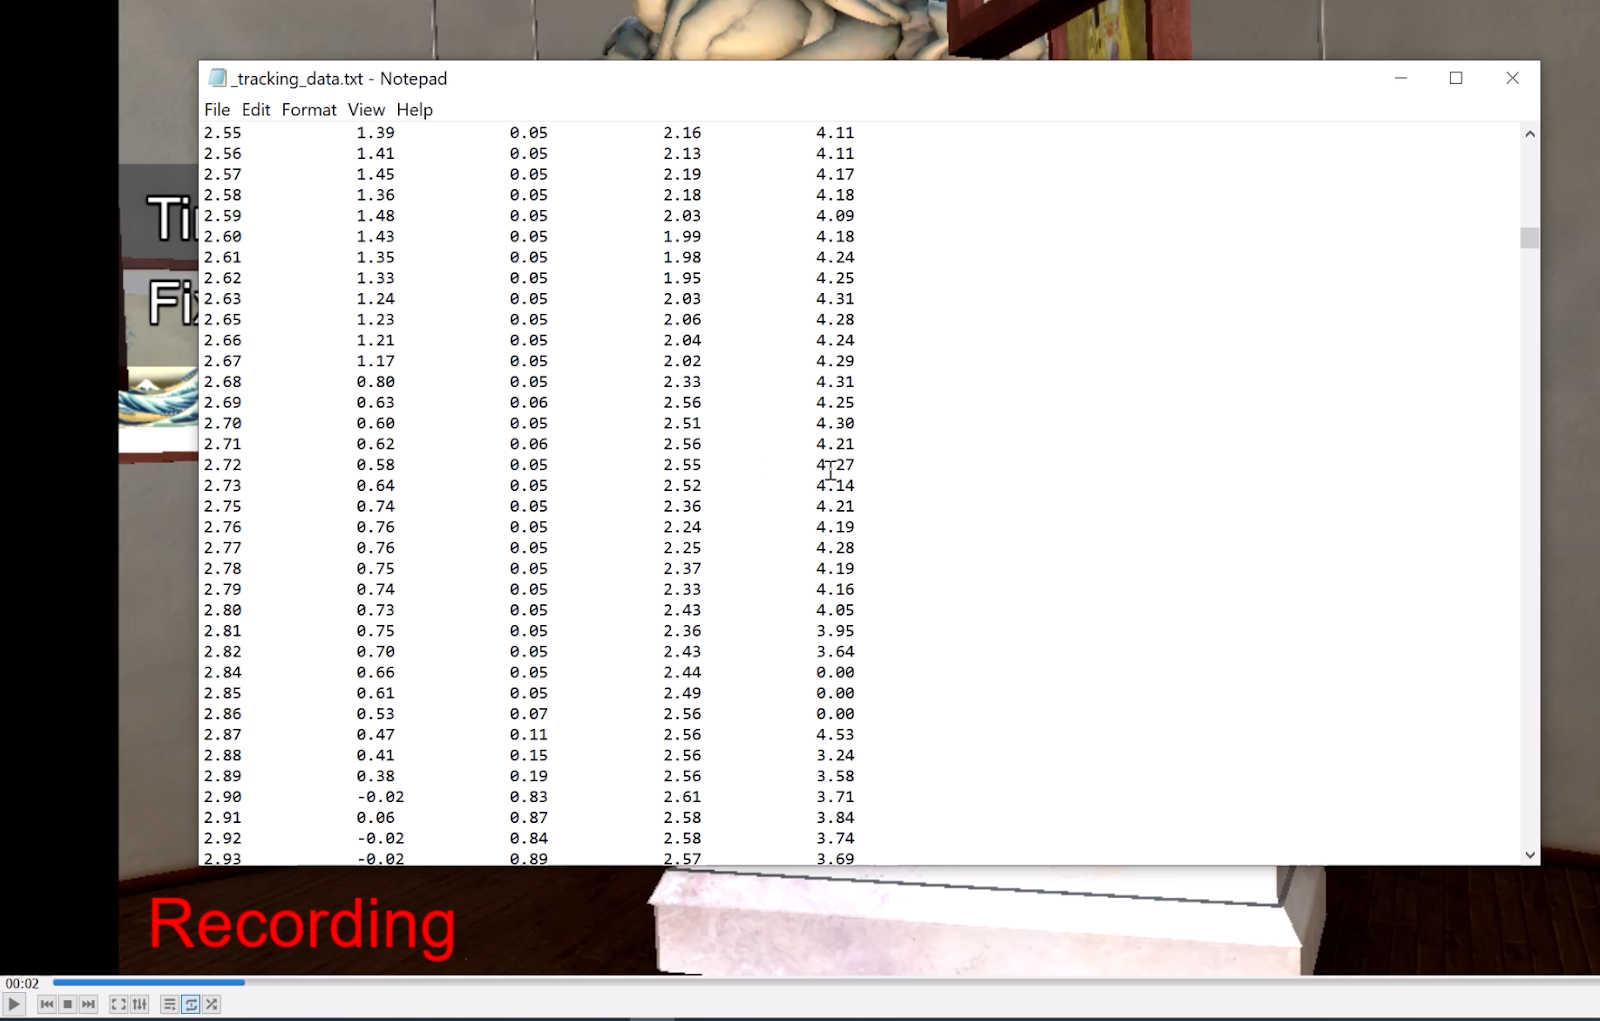
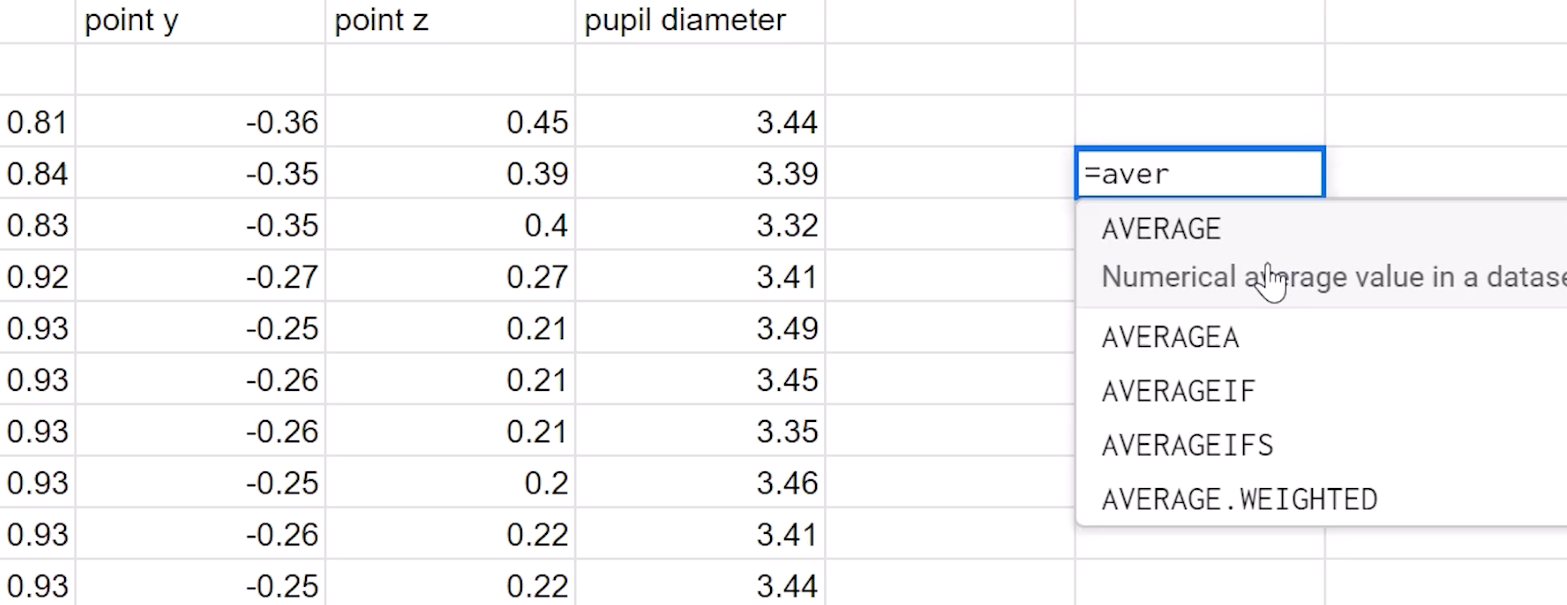
Tracking data showing a timestamp along with the x,y,z position of the gaze intersect point and pupil diameter. This can also be changed to a .csv file so you can use a spreadsheet editor to calculate things like average pupil diameter, etc.
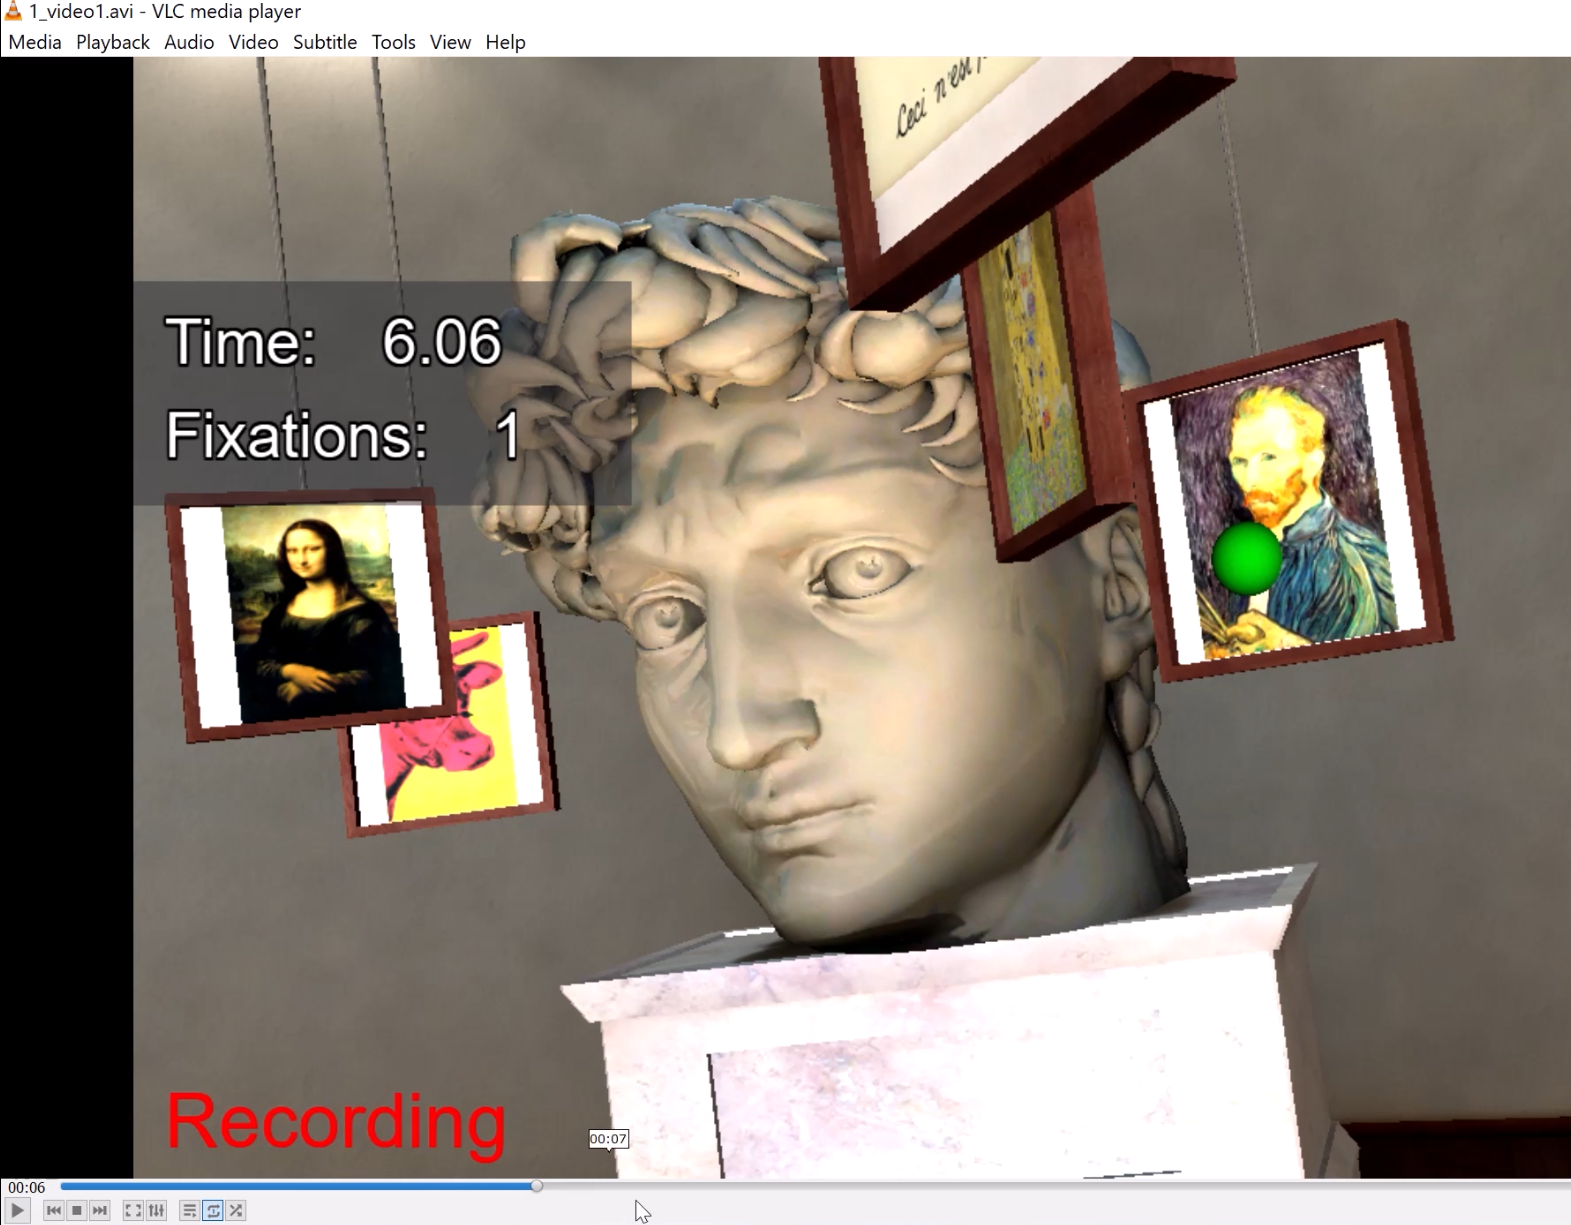
Video Recording Playback
After you’ve run your experiment there will be a video recording saved in the “recordings” folder (if you’ve selected this option in the config file). This will allow you to review the experiment while seeing the gaze intersect point and a time stamp. Using this, you can do such things as match what a user was looking at in the scene with a metric such as pupil diameter.
In addition you can add your own, custom events (such as gaze based interactions, etc.) by placing custom code inside the following functions
onGazeBegin for your event to be triggered as soon as a gazeObject is seen.
onGazeEnd to trigger something to happen when a user’s gaze point is no longer intersecting with that object.
onGazeTime to trigger something that happens only when an object is in fixation.
Spherical video and images
You can also use 360 videos and images for your experiment (both monoscopic and stereoscopic) instead of 3D models.
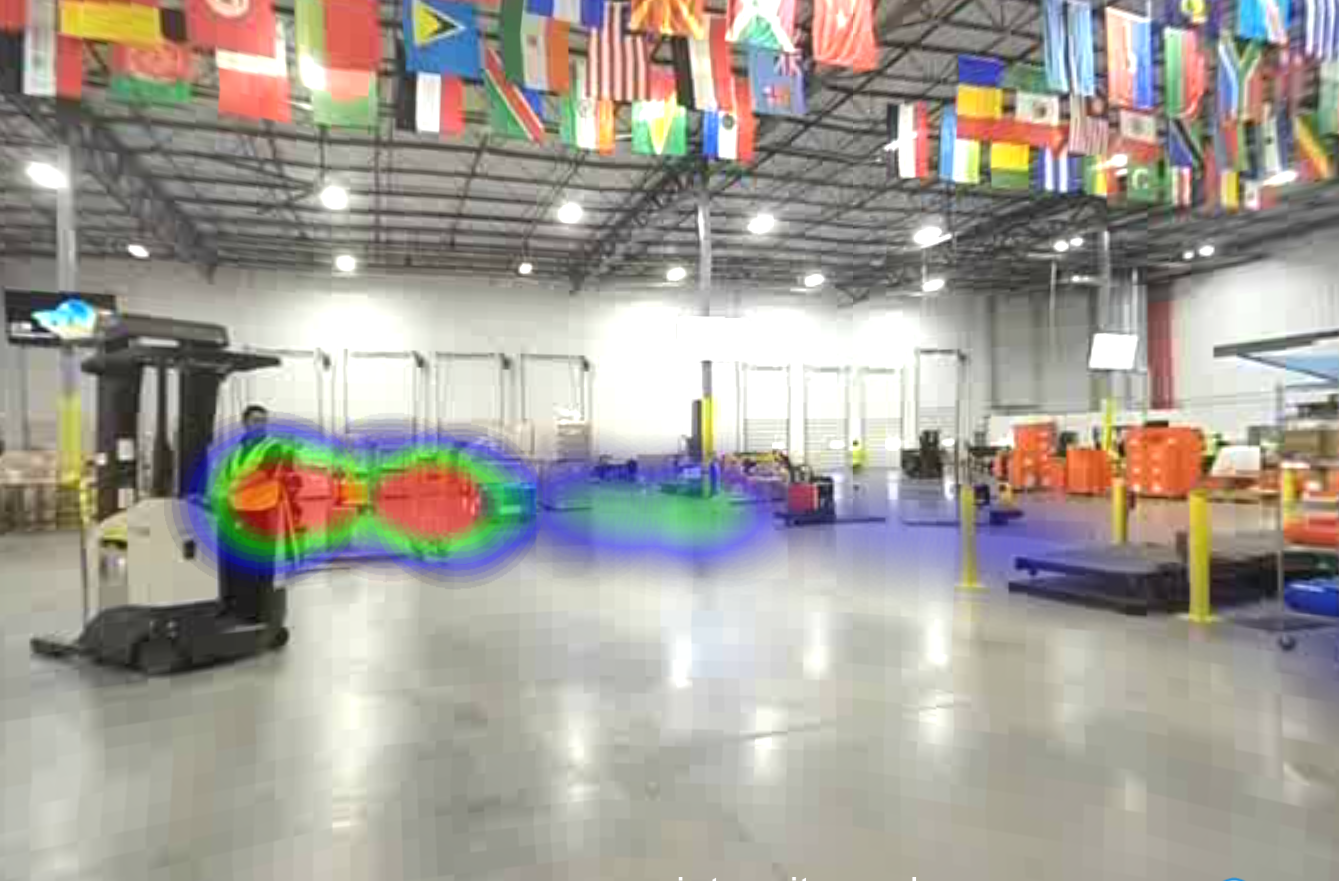
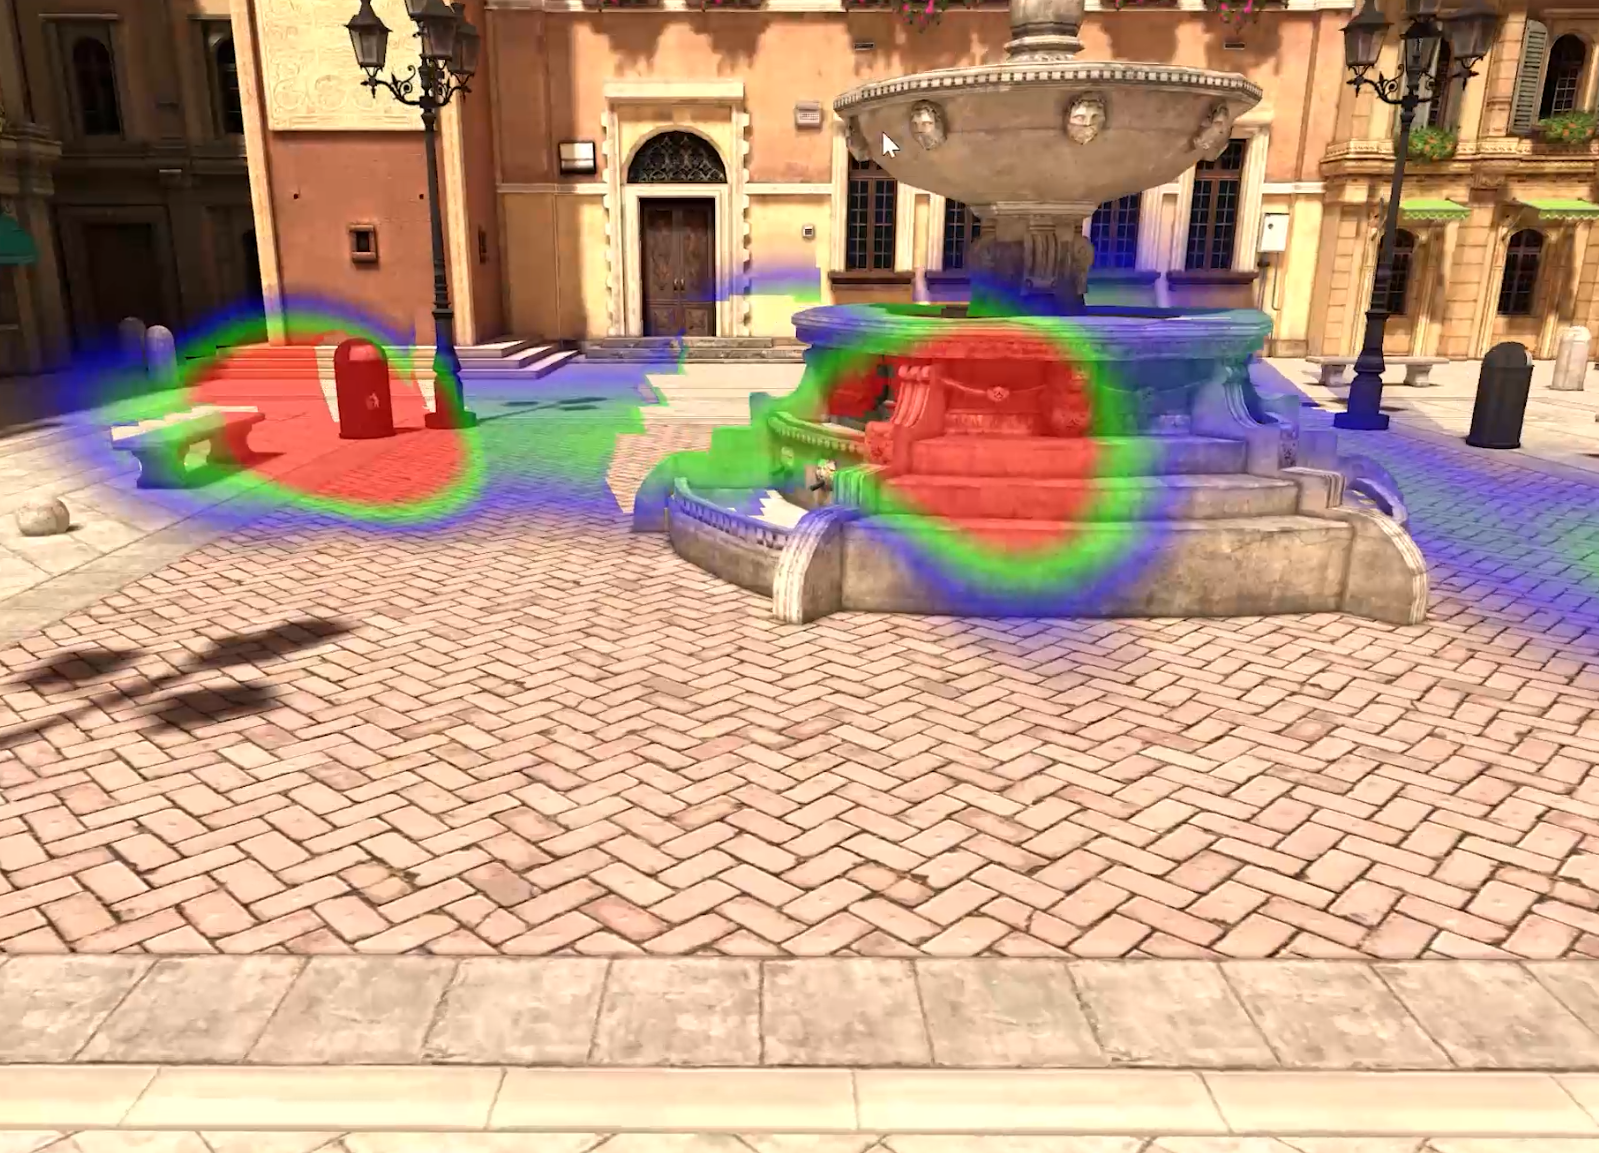
Heatmaps
For visualizing heatmaps you need to use the “heatmap” script found in the folder of the same name. From here you can swap out the environment or use a 360 video or image to view a heatmap overlay.
So that’s a really quick overview of setting up an eye tracking experiment using the VR Eye Tracking Analytics Lab. In addition to the main script there are also smaller scripts that highlight specific features, such as 3D data visualizations, etc. as well as a demo tailored to using a library of 360 videos and images.
For more information on our Eye Tracking Analytics Lab or any WorldViz products, please contact sales@worldviz.com