FBX Avatar to Vizard
In earlier versions of Vizard, Cal3D exports out of 3ds Max were the only option for a character workflow. As of version 6, Vizard includes the ability to use any FBX avatar. These can come from a variety of sources. In this case, we'll be using a .FBX avatar exported from a program called “Character Creator”.
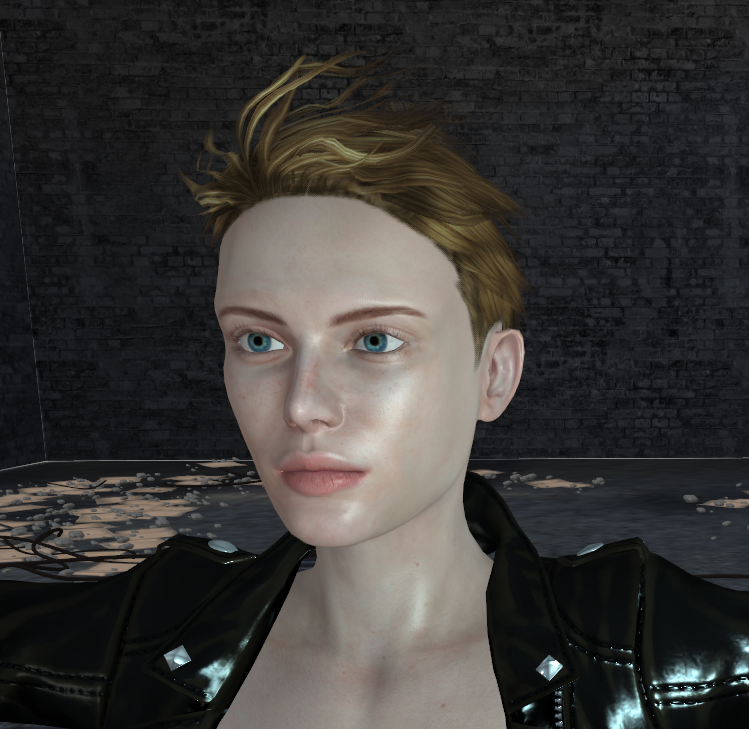
Importing and Preview Lighting
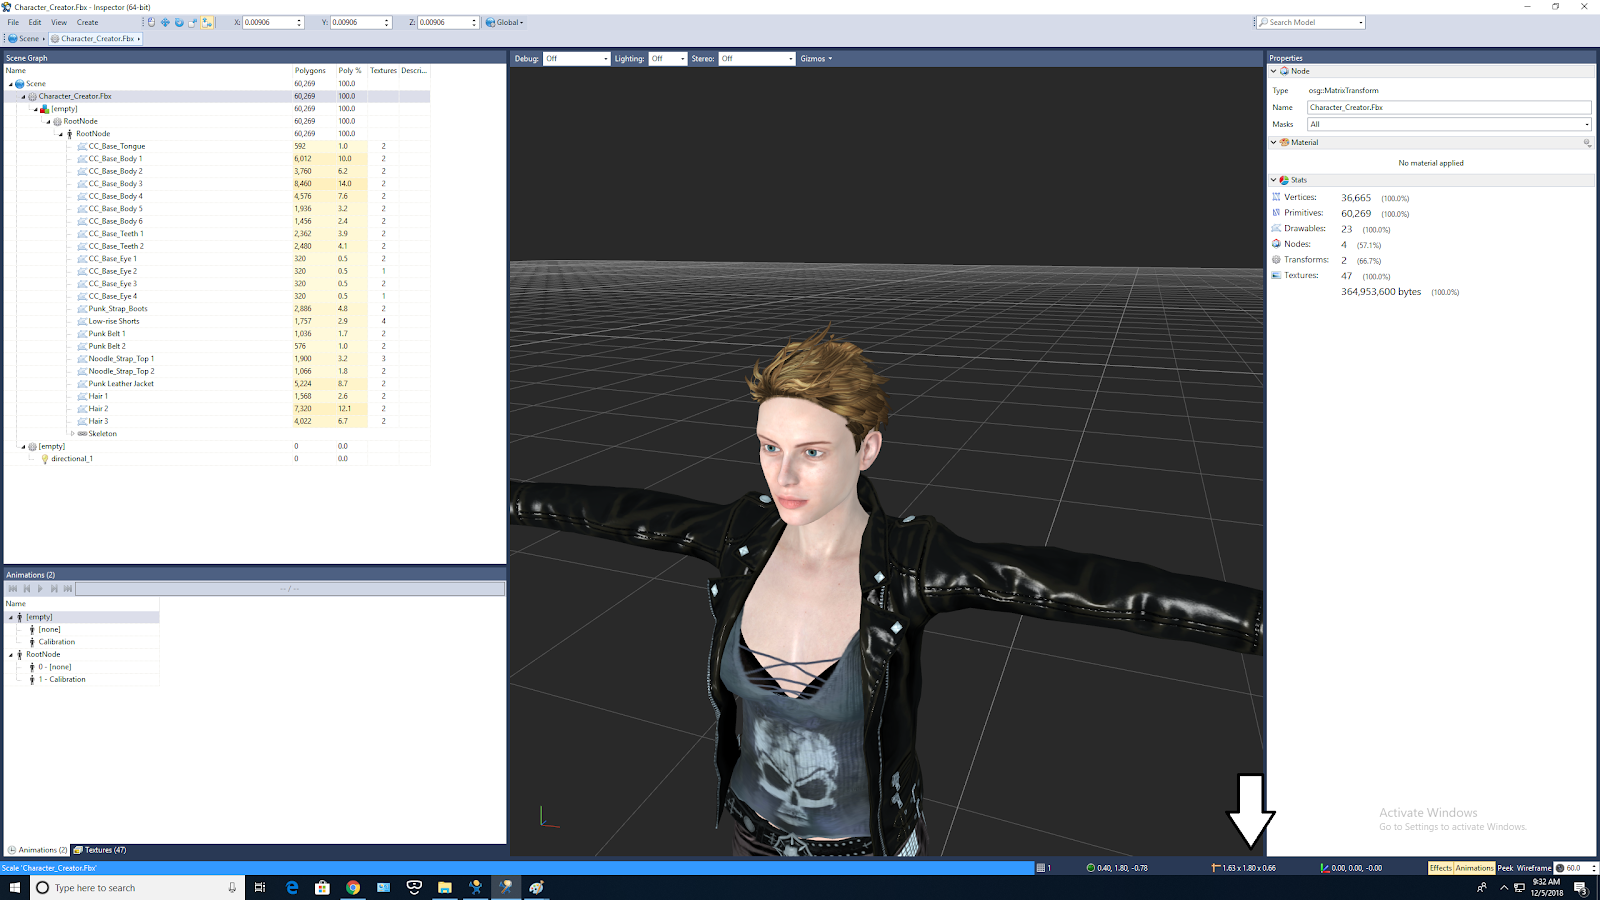
First, import your avatar into Inspector. This can be done by using Open With... and selecting Vizard 6 Inspector from the list, or by running Vizard 6 Inspector and dragging the avatar's FBX file into the scene.
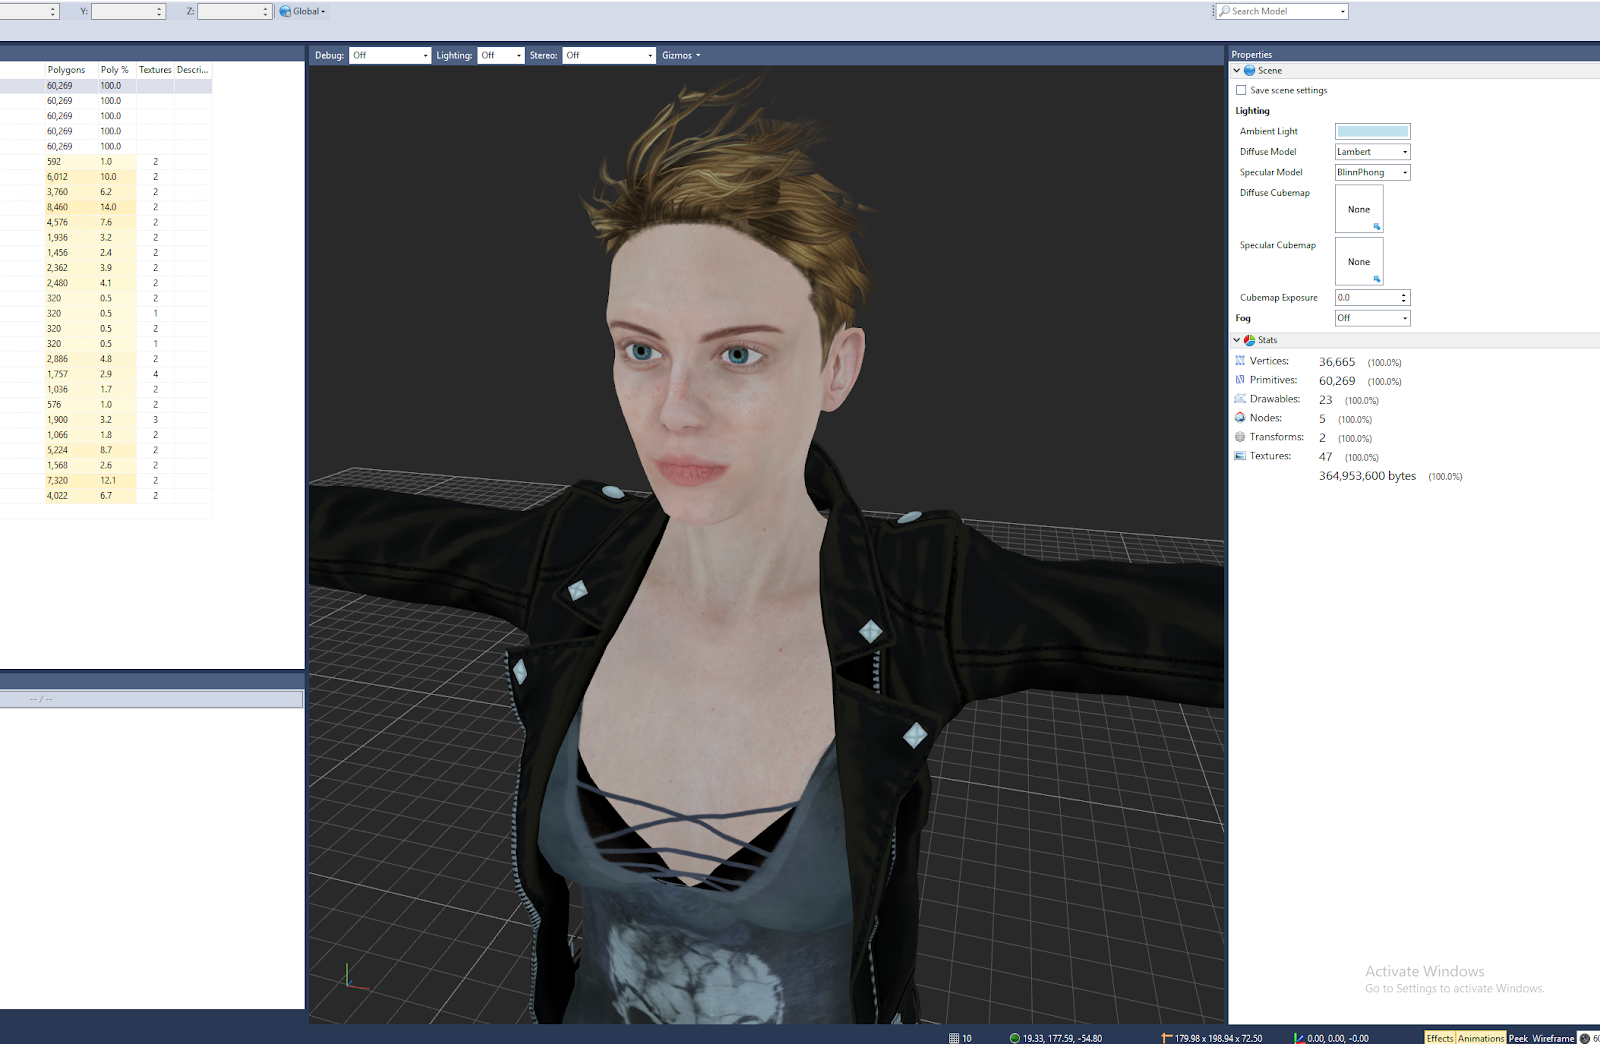
Make sure to toggle “Effects” on. This is necessary to show shader effects. Disabling the option shows the avatar in legacy mode.
If the avatar looks flat, you can add a temporary light from your current view direction by pressing Ctrl+L on the keyboard. This preview light is not stored within your scene.
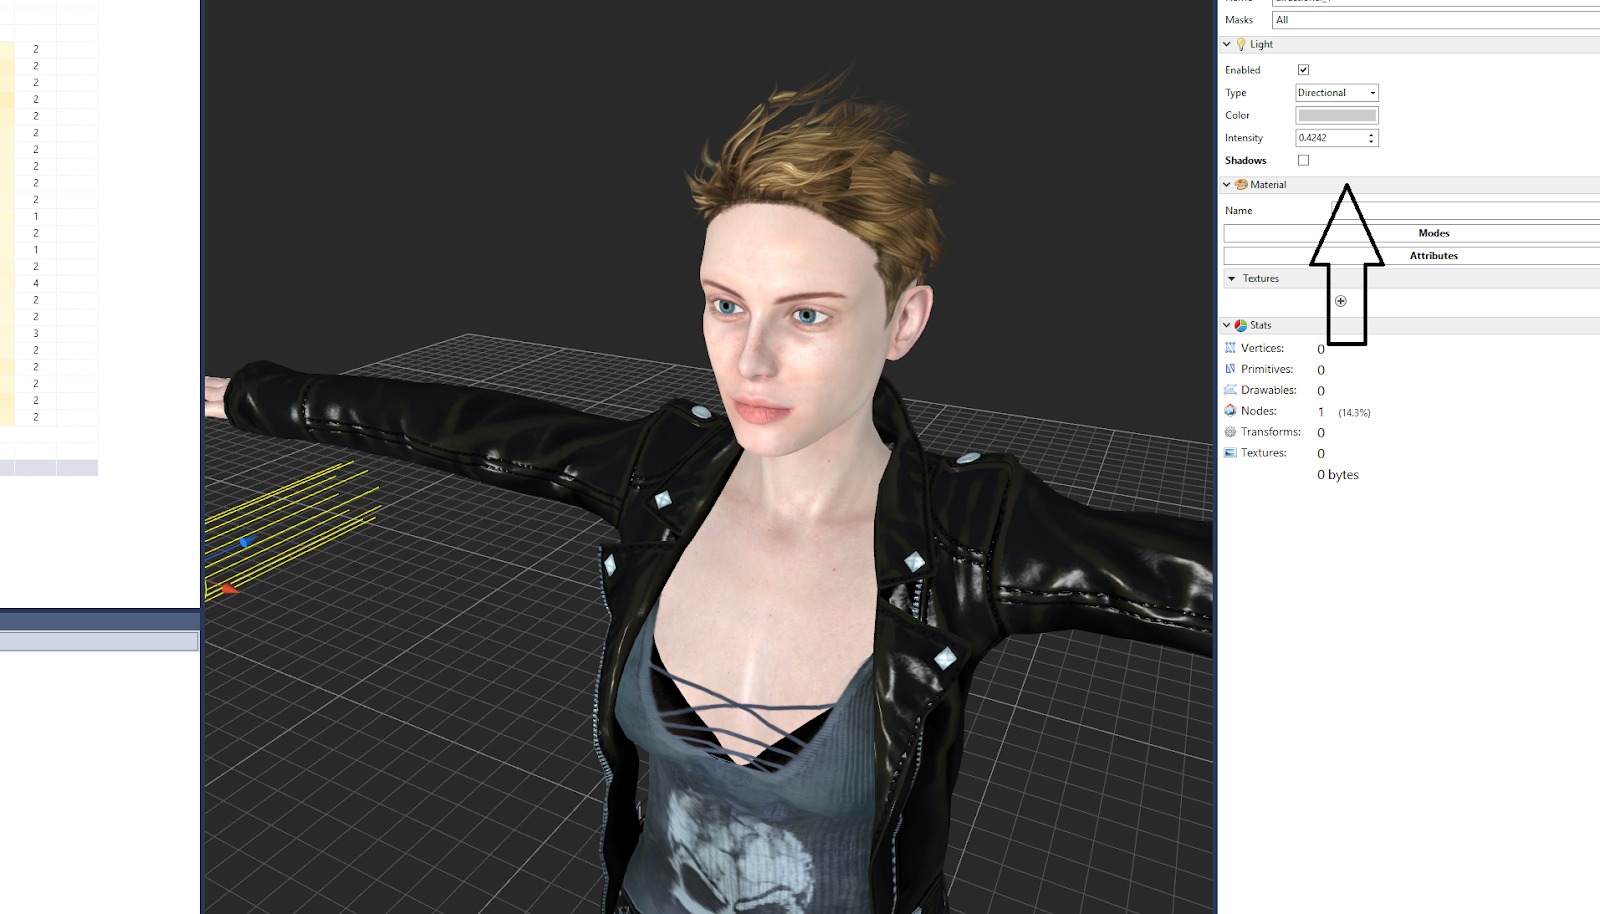
It's also possible to add permanent lights within Inspector, but in most cases you'll want to remove them before using the avatar so they don't have a light following them around. To add a light in Inspector, go to Create > Light and choose which light type you want from Directional, Spot, or Point. You can further adjust the light in the Properties panel on the right. The same method can be used to add lights to an environment model, and they can also be added through code when necessary. For more on adding lights in Vizard, see the official documentation.
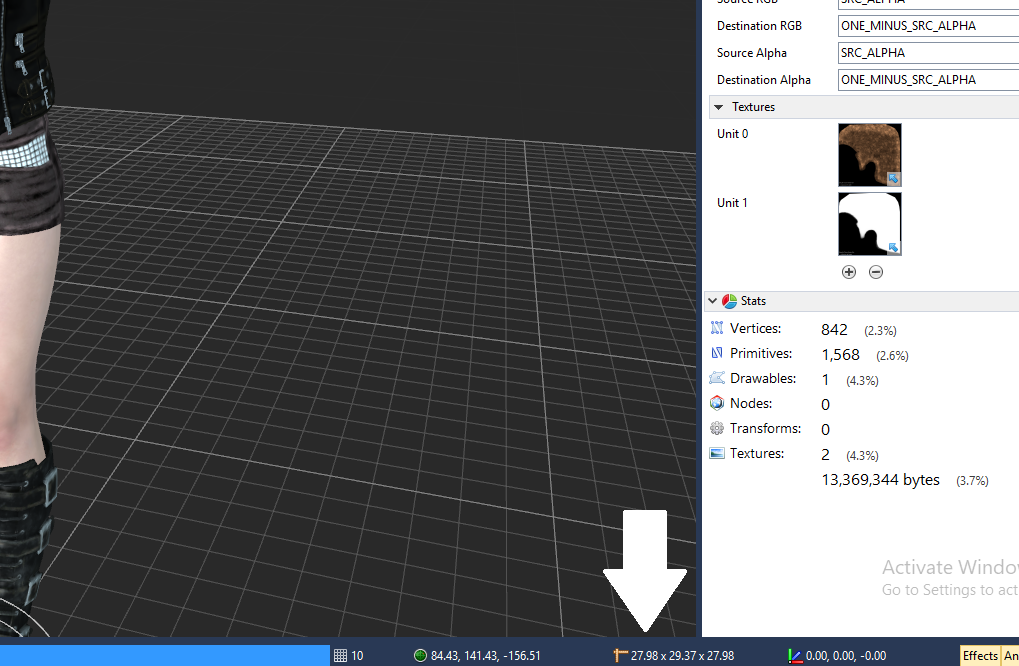
Transparency
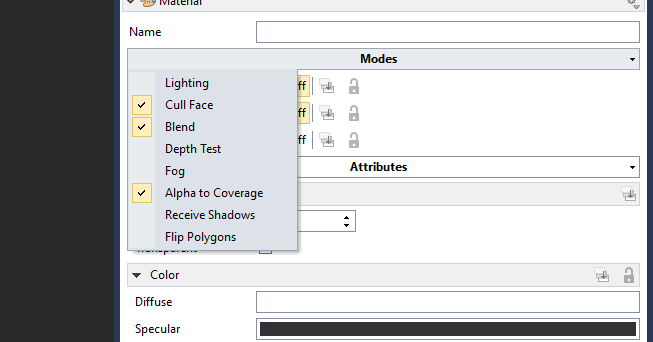
Overlapping transparent objects can often have draw order artifacts. If the hair looks odd at certain angles, toggle on “Alpha to Coverage” and toggle off “Blend” and “Cull Face” for pieces of the model. Changes apply to all faces sharing the same material. If those options are not showing you can choose them by clicking on “Modes” and using the dropdown menu.

Next you will need to check the size of your avatar. Vizard uses meters. A good general size is to have the ‘Y” value be around 1.8 meters.
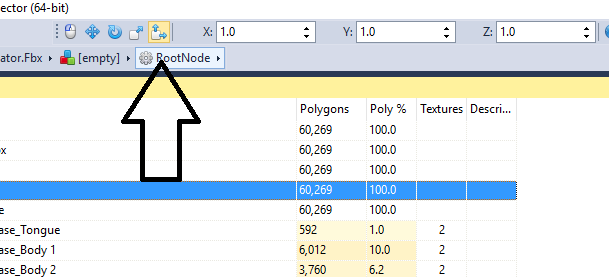
Model Scale
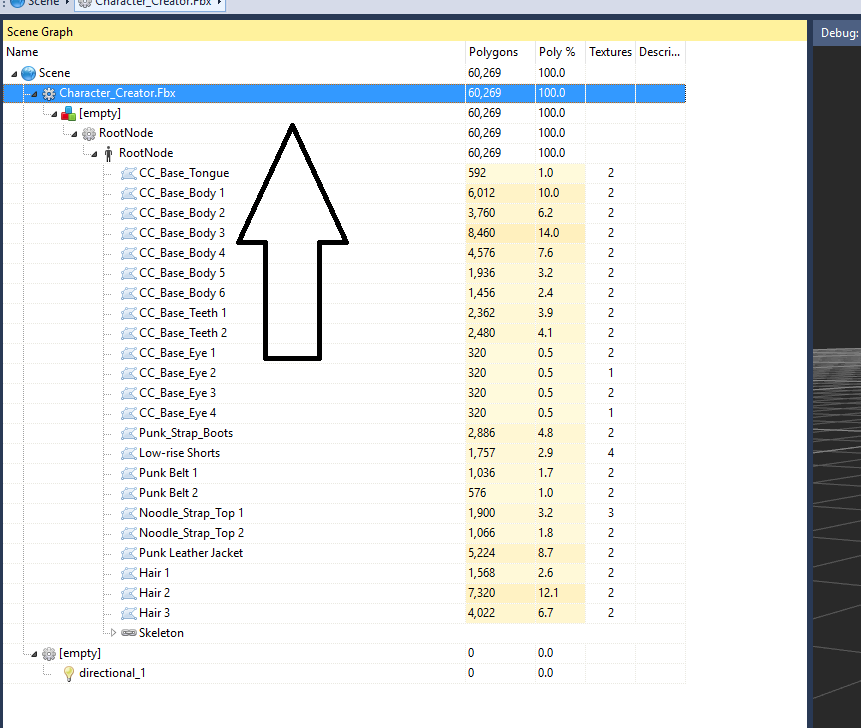
Use the “Scale” tool to scale your avatar, making sure that the topmost node is selected in your scene graph. This should be the one that contains the avatar’s name.
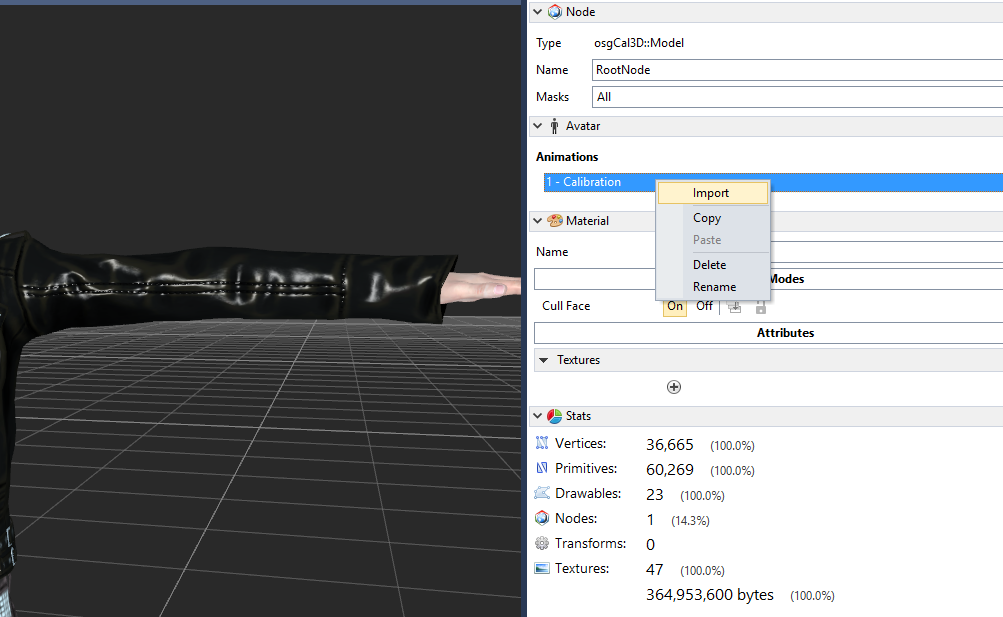
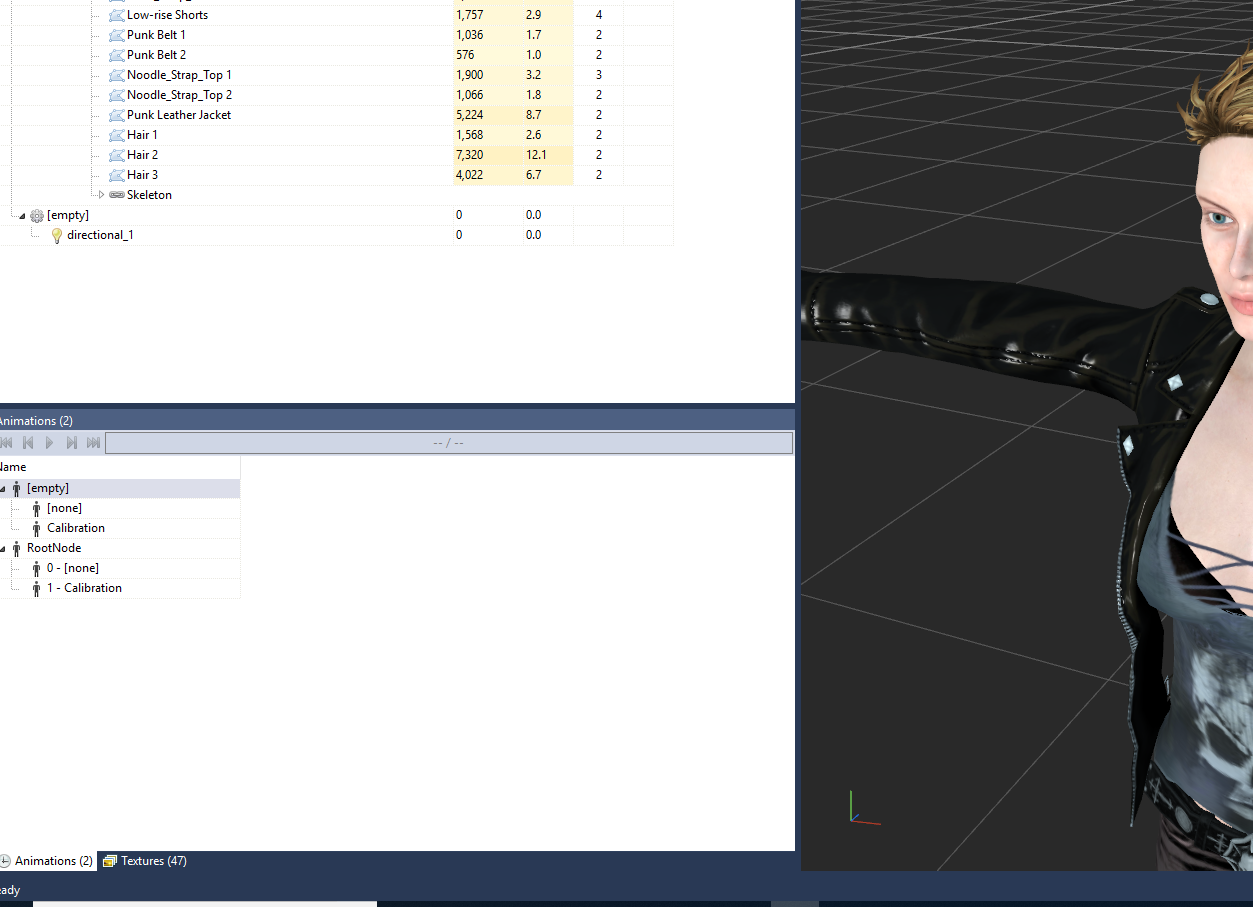
Animations
Any animations that are included with your avatar will be shown in the bottom left panel under “Animations” . You can also add more animations by selecting the “root node” and then right clicking under “Animations” and selecting “import”
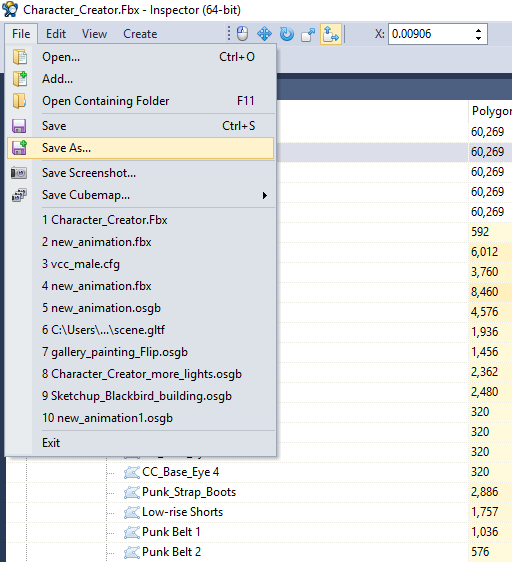
Saving
Now save your avatar, making sure it is saved in the same folder as your Vizard project. If you haven’t already, create a new folder to save your project in. The avatar will be saved in Vizard’s default format “OSGB”.
Adding to Code in Vizard
Create a new Vizard file by going to File- “New Vizard File” and add the following code to bring in your avatar. Note that “vizfx” is needed if your avatar uses shader effects
Here is some more detailed code that also adds an environment, changes the lighting a bit, changes the position of your avatar, triggers an animation state, and uses “setMultiSample” to increase the antialiasing.
See Also
For more information on using avatars in Vizard see this page in the documentation. FBX Morph targets are not yet supported, so avatars that need them will need the Cal3D exporter through 3DSMax and create morph targets. See this page on how to do that.
Programs for creating avatars:
Mixamo: https://www.mixamo.com/
Fuse: https://www.adobe.com/products/fuse.html
Character Creator: https://www.reallusion.com/character-creator/
Make Human: http://www.makehumancommunity.org/